Personal

Why I Love Taking Pictures With My Phone (+ Some Tips): Part 2

Smart Phone Food Photography Tips by Brian Samuels of A Thought for Food - www.athoughtforfood.net

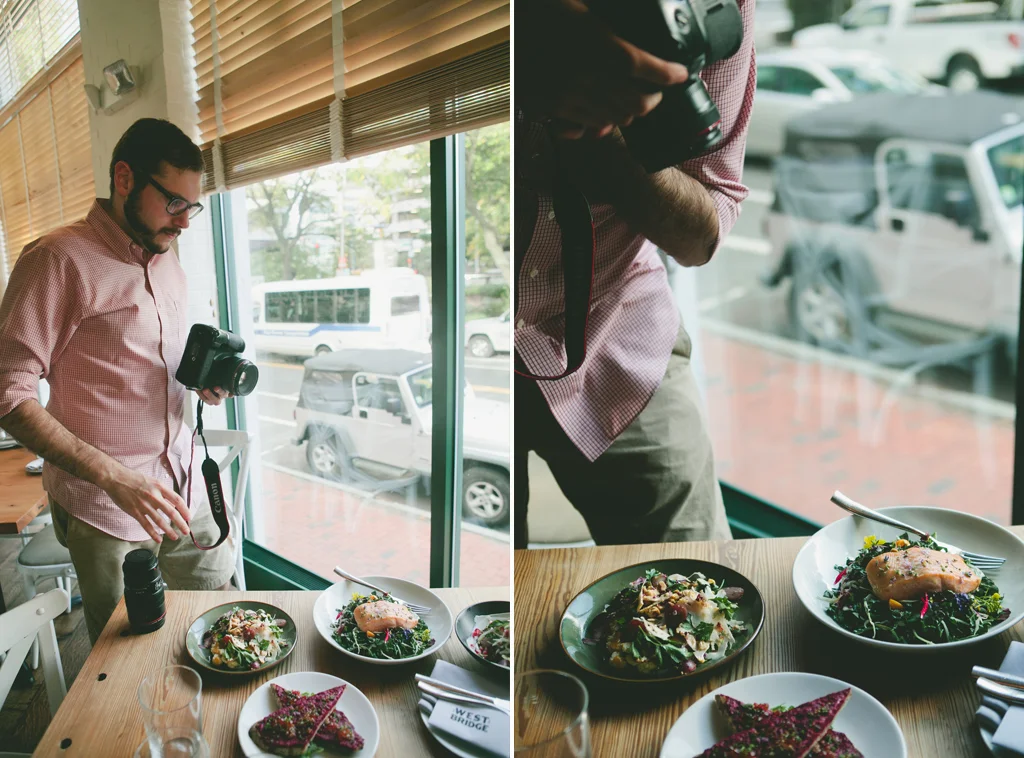
I used to take my camera all over the place, lugging a DSLR and a 50mm to every restaurant. I'd try to remain inconspicuous as I grabbed shots of the dining room and each plate that was brought to the table. I'm sure I wasn't as subtle as I thought I was being.

Things have changed a lot over these last three years. Smart phones have effected my experience as a photographer. It's allowed me to not only develop my photographic style, but it's given me the chance to hone my skills. Since my last post on smart phone photography, the quality of the cameras has gotten exceedingly better. I never thought I'd get to the point where I'd look at a picture on my computer and think, "Did I take that on my phone or my camera?" Everything is crisp and clean, with very little grain. It's a very exciting time in the world of photography and, today, I want to go over a few points about what I think about when I'm making photographs with my iPhone. In the below examples, you may see a slight difference in the quality. The majority were taken with an iPhone 6+ but others are older and were photographed using an iPhone 5s.

You can view my earlier post here: PART 1

1. Tell a story

There's always a story to be told. What that story is and how it's told is up to the photographer. I spend a lot of time thinking about what it is I want to say in a picture. Rarely is it a closeup of a finished dish. I like to pull back and reveal something else in the scene or show action. Food is so much more than a pretty plate. It's about how it's prepared, who is preparing it, how it's being served, where it's being served, how it's consumed (You get the point). Sometimes that's much more compelling than a beauty shot.
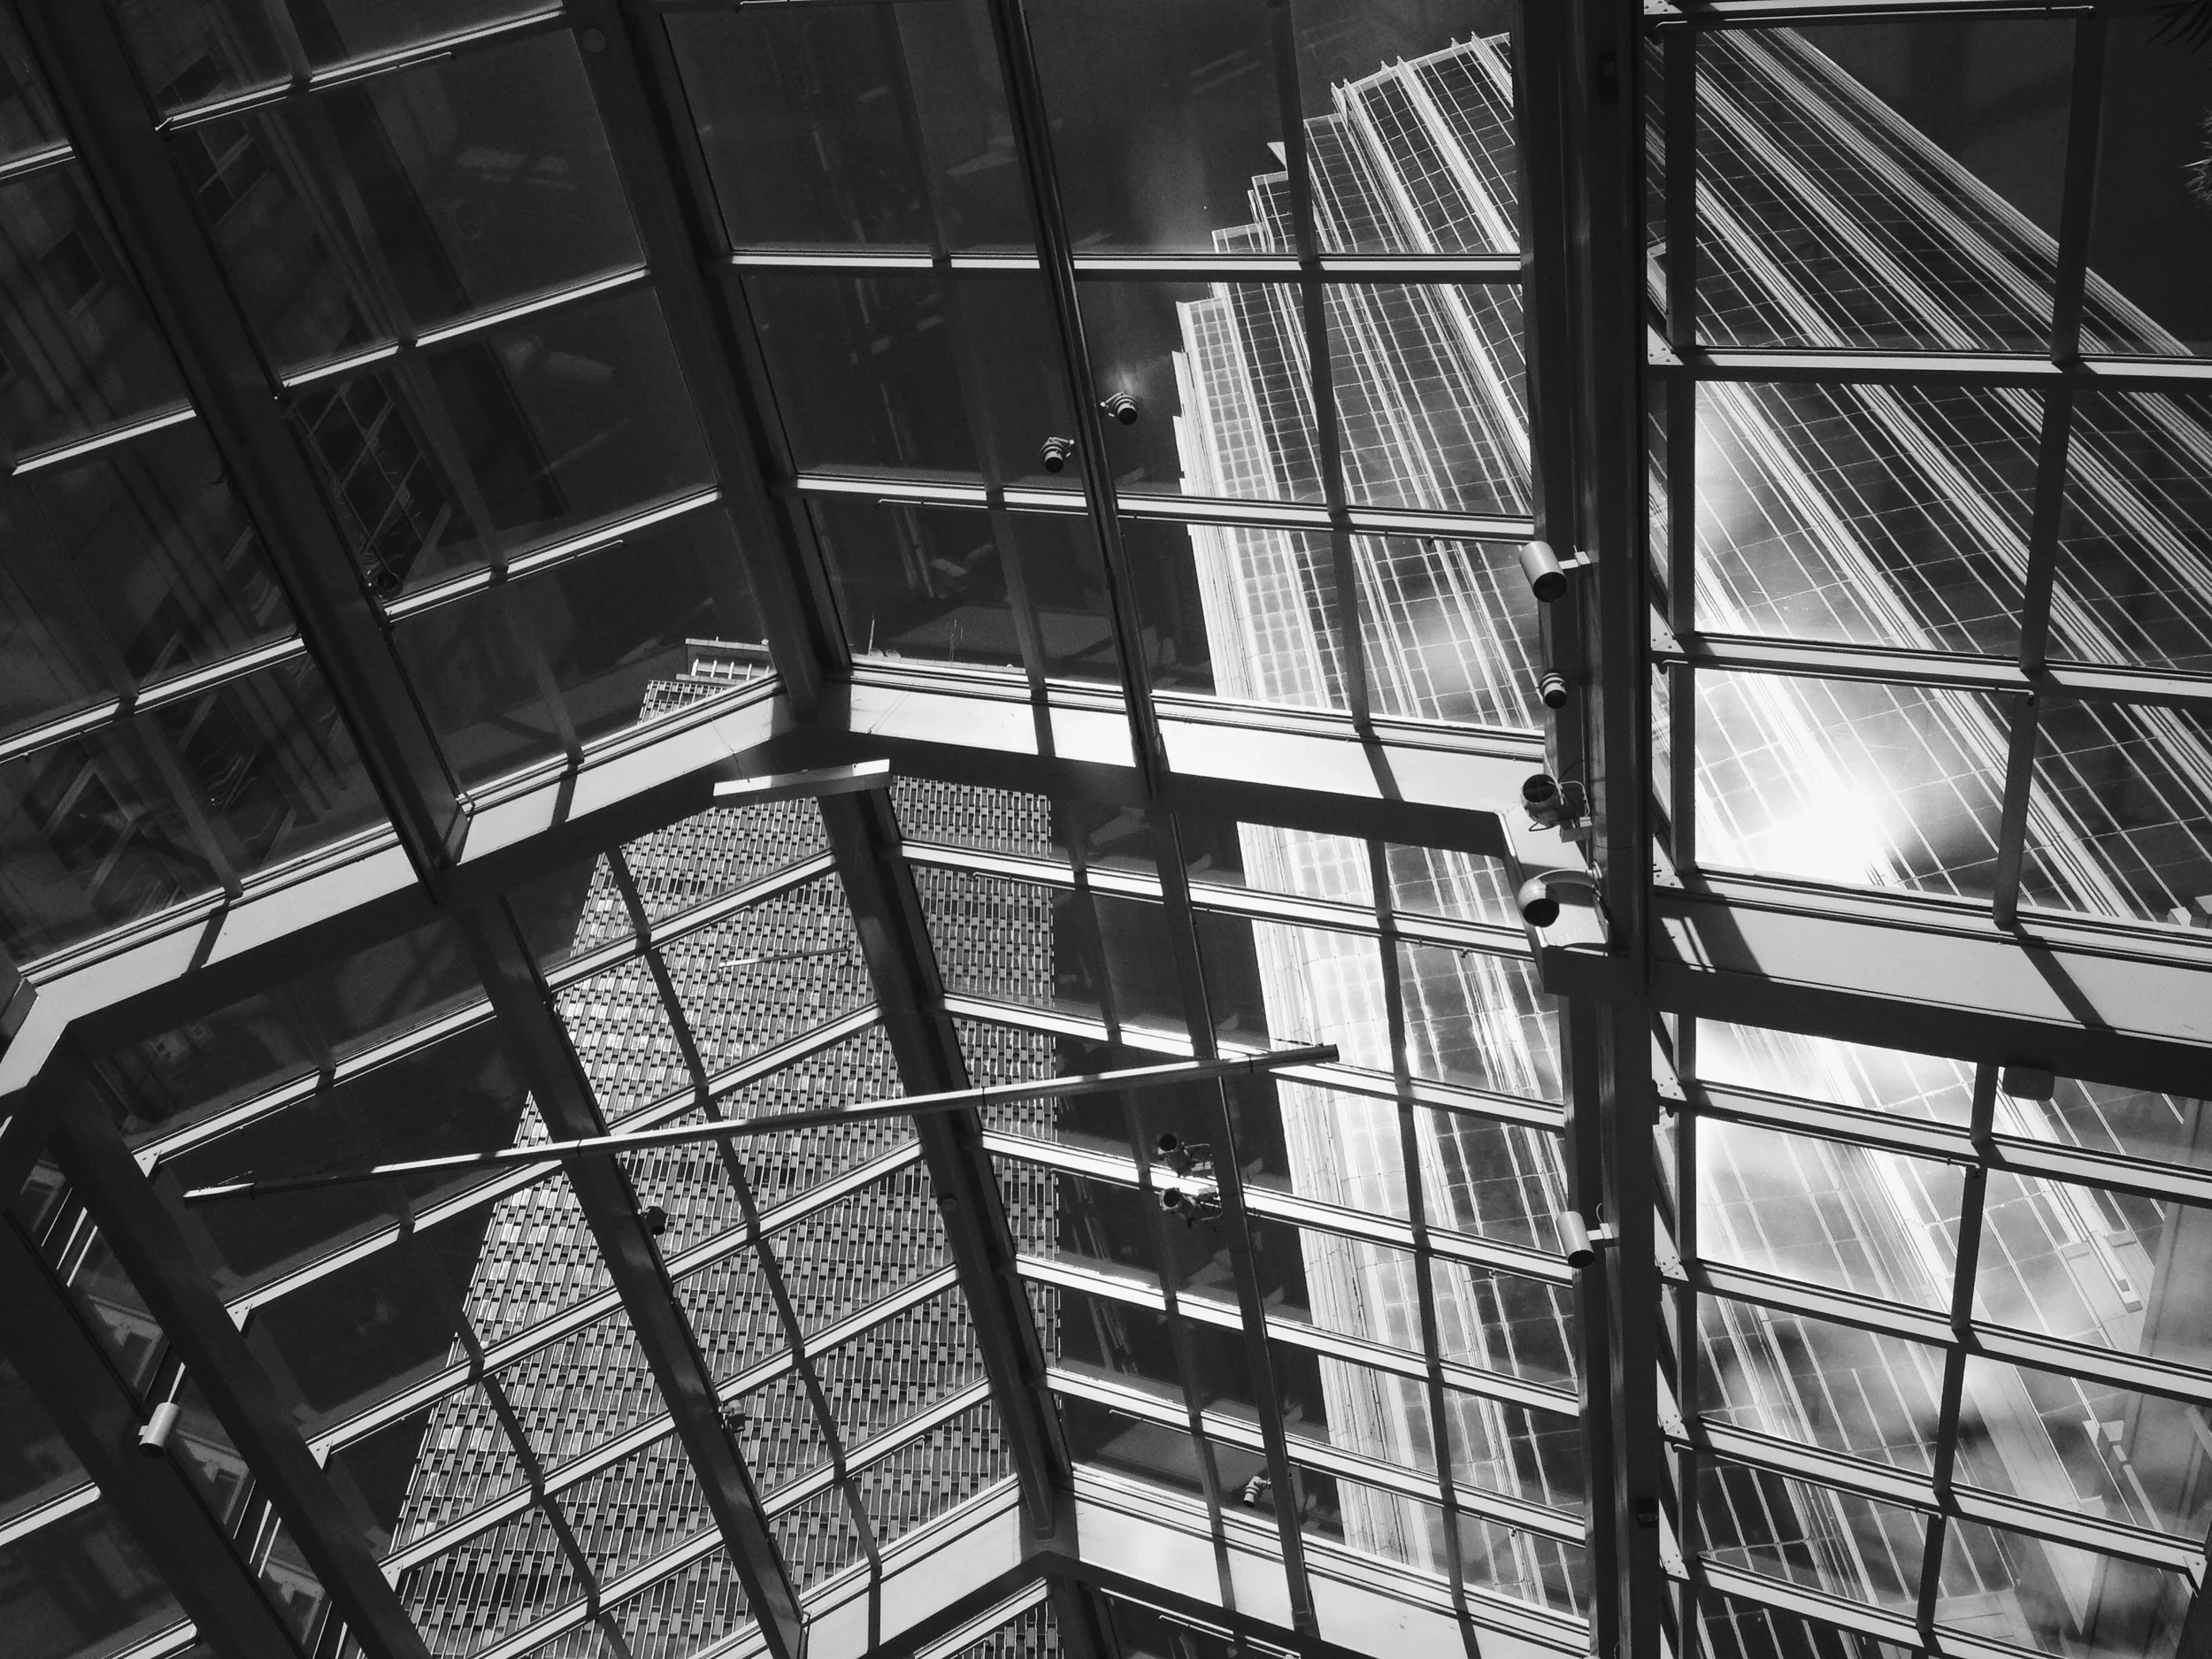
Smart Phone Food Photography Tips by Brian Samuels of A Thought for Food - www.athoughtforfood.net

2. Location

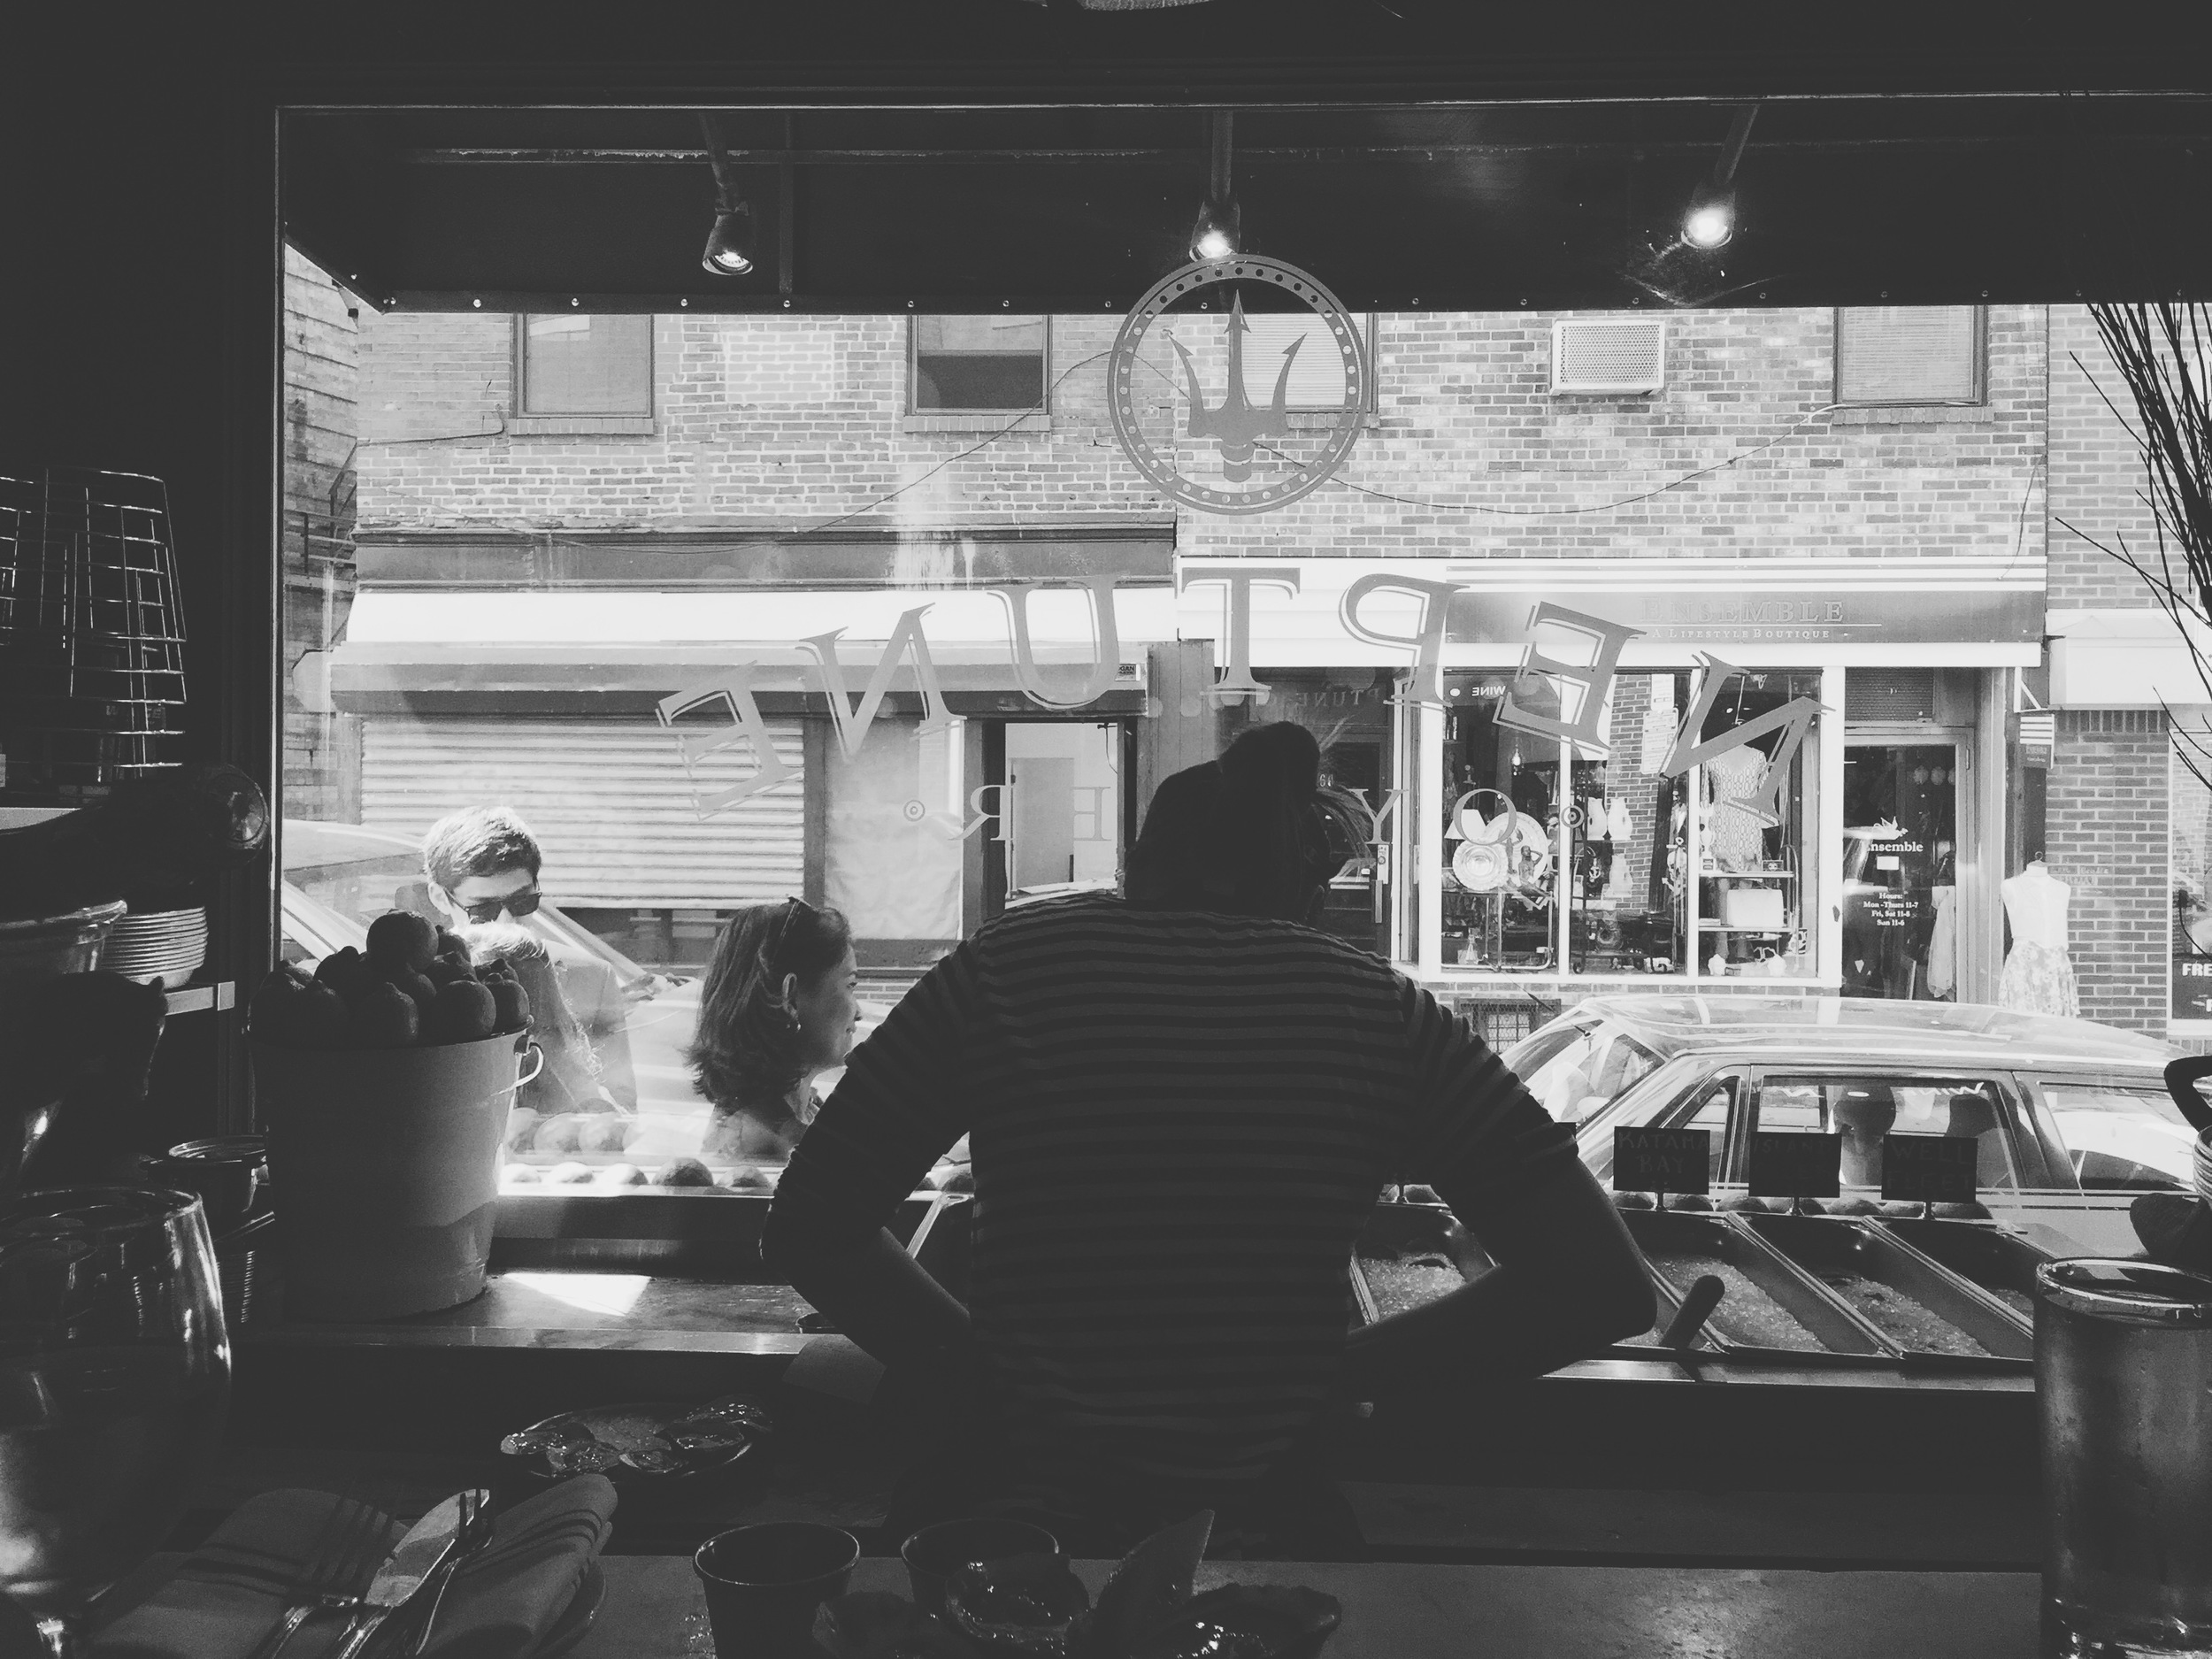
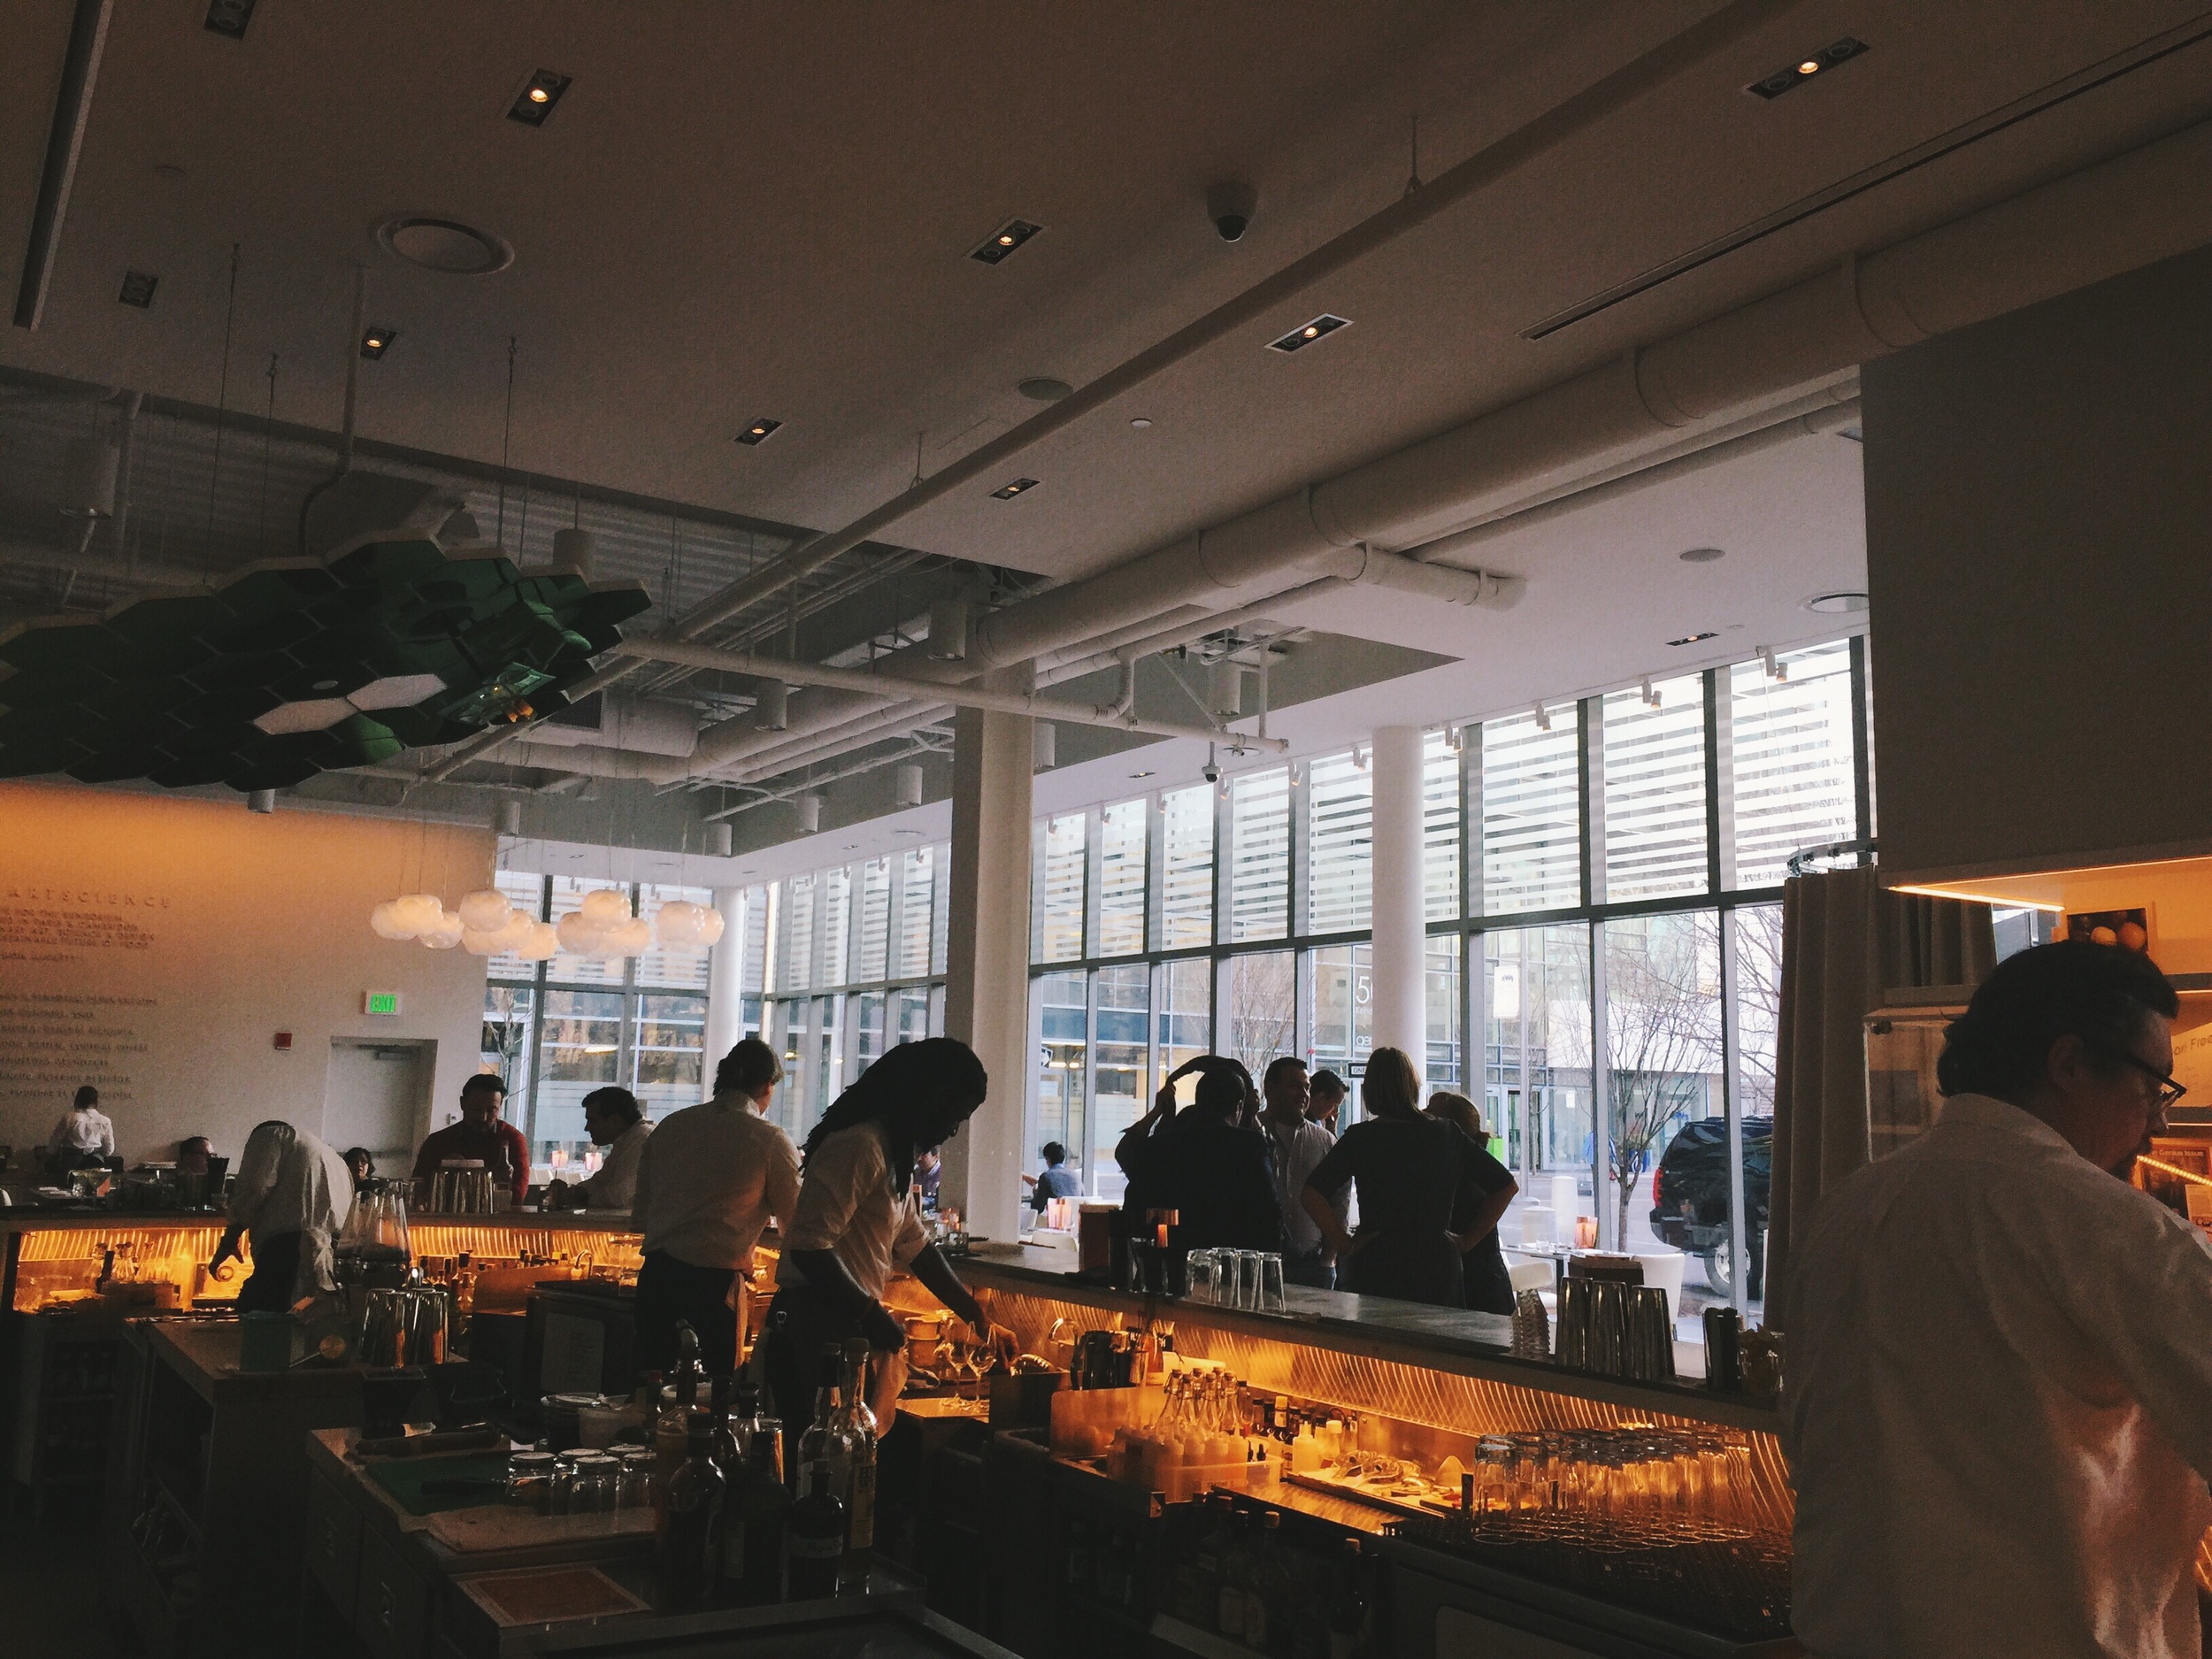
I think showing where you're dining - the vibe of the restaurant, the movement of the dining room, the decor - is just as visually interesting as the food. Look around and you'll find a lot to capture, from the table setting to the excitement of the open kitchen to the sign hanging outside the front door.
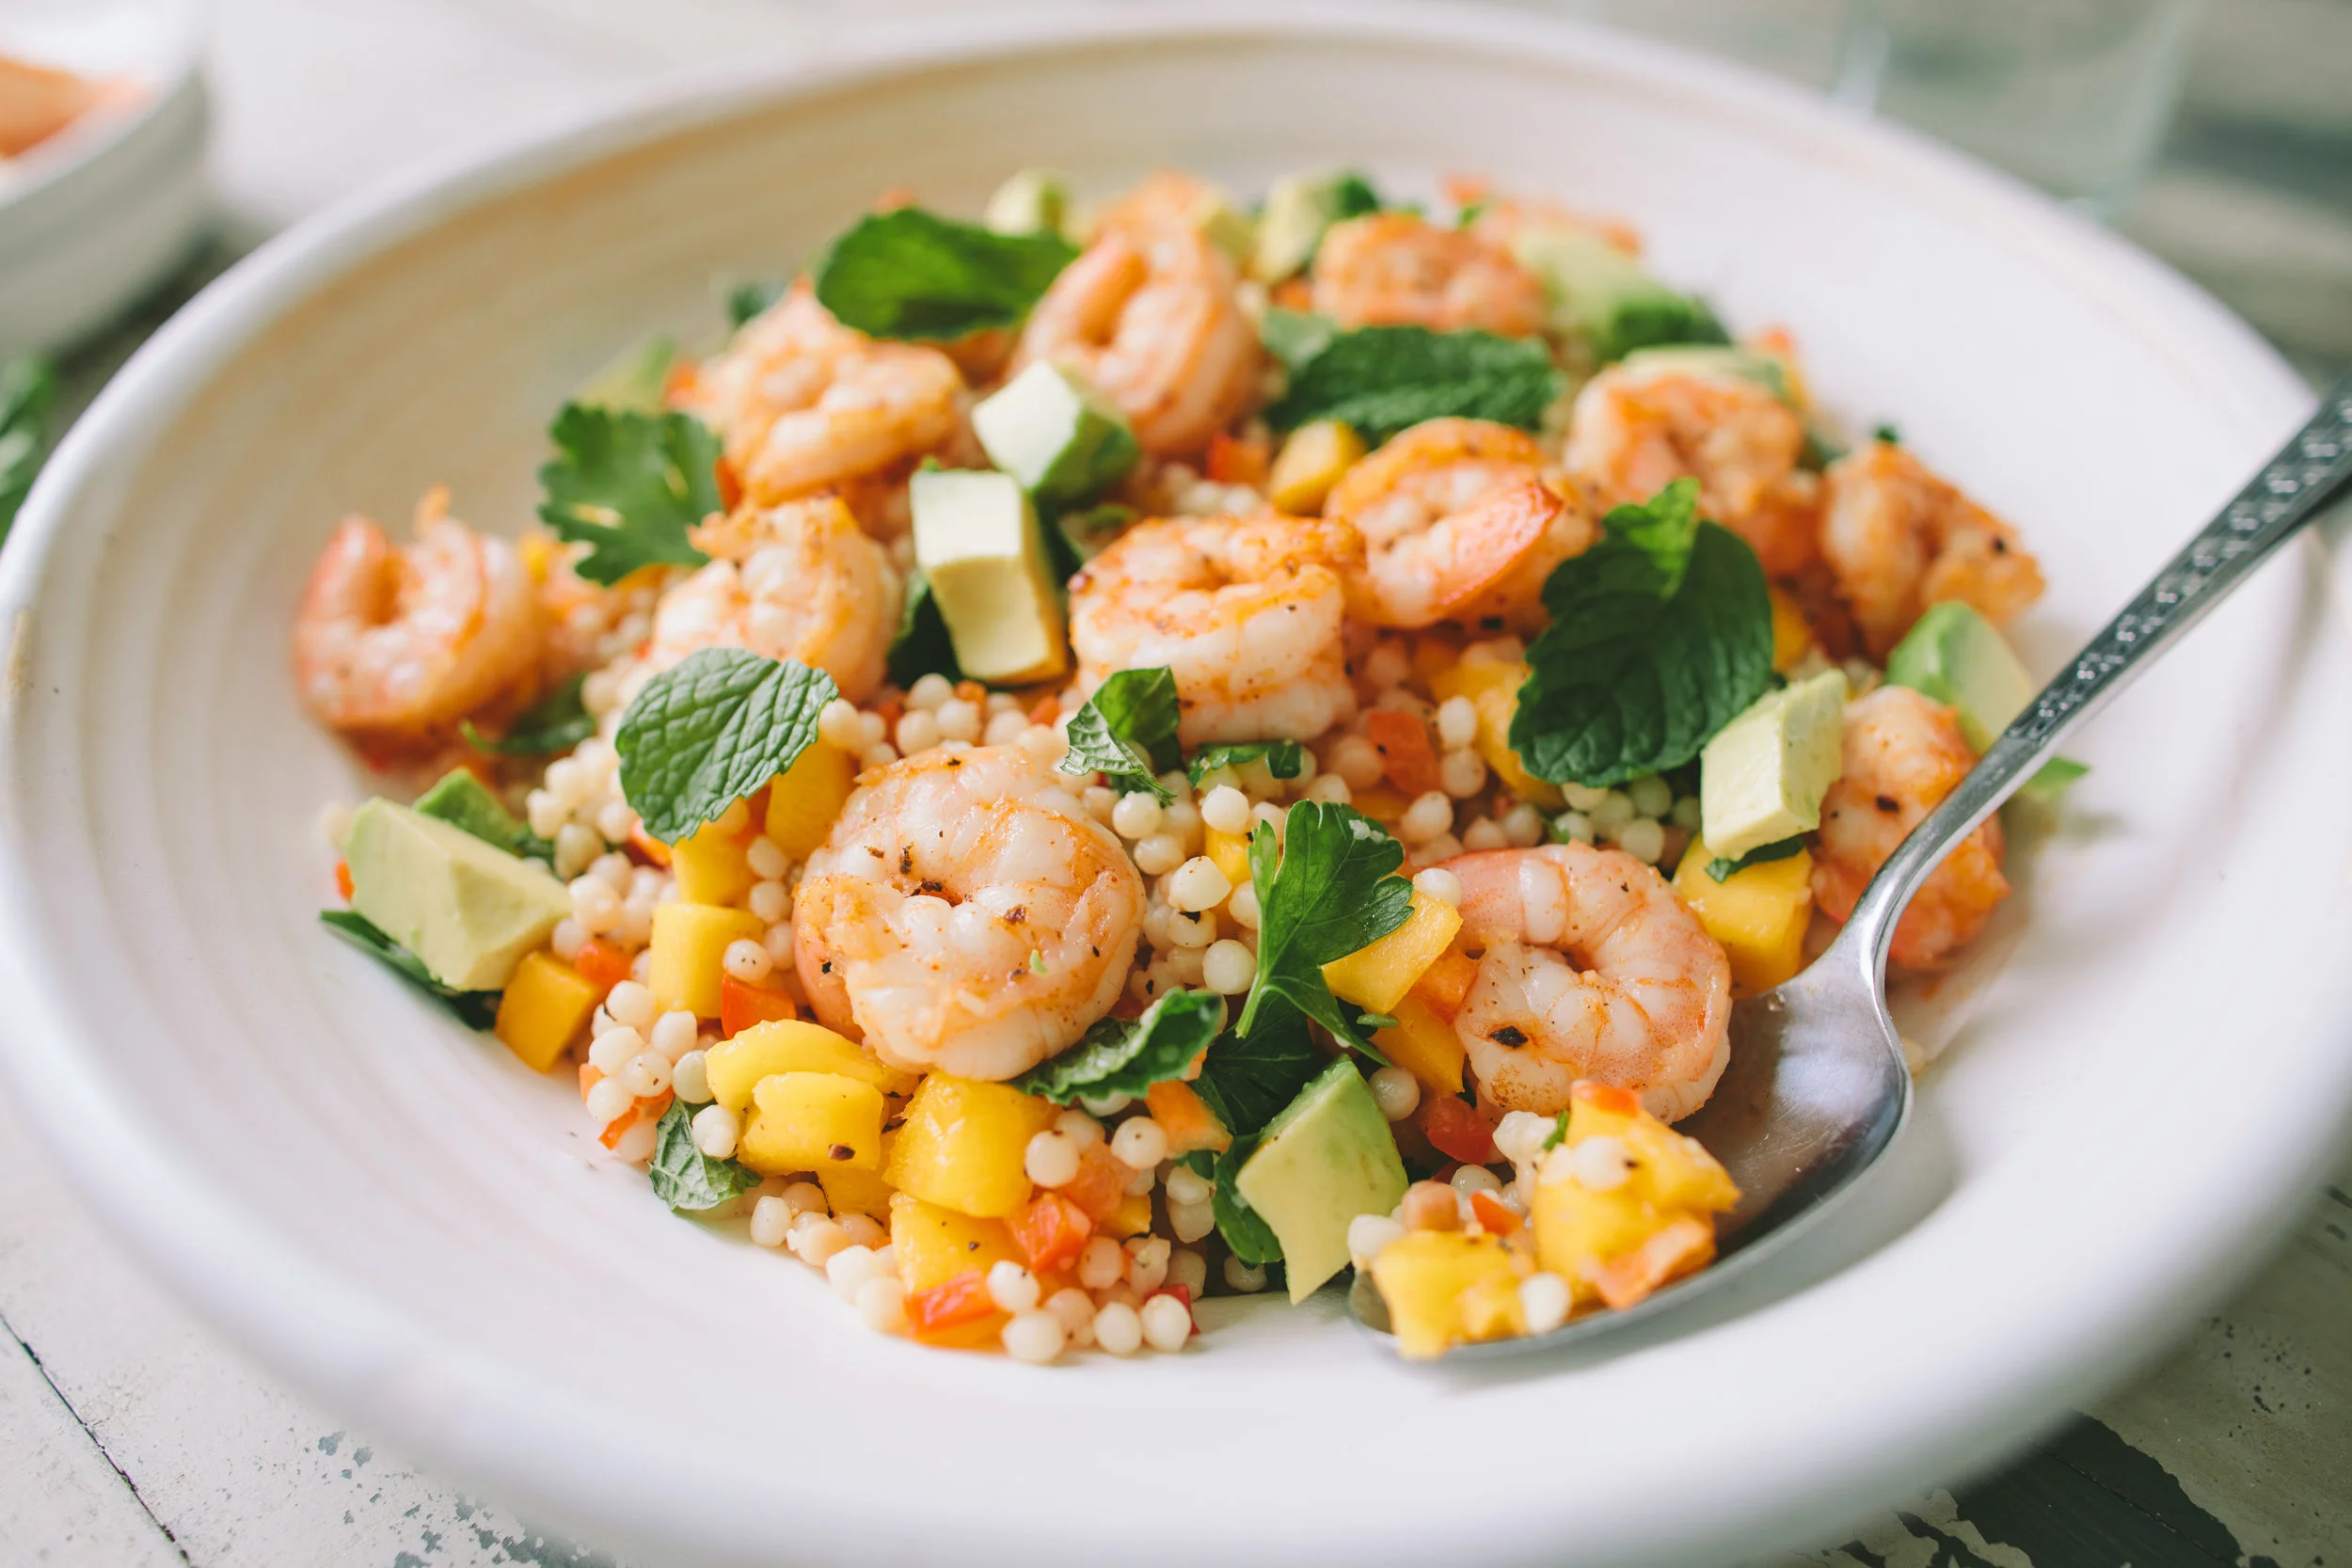
Smart Phone Food Photography Tips by Brian Samuels of A Thought for Food - www.athoughtforfood.net

3. Ingredients

It's not uncommon for me to return from the market, unload the bags, and get to work setting up scenes of chopped up fruit and vegetables, dressed fish, or plates of cheese and sliced bread. Unadulterated (uncooked) ingredients are a joy to play with because there are endless ways to capture them. A container of kumquats pop on a dark, rustic surface, while some bunches of fresh herbs pairs perfectly when placed atop a sheet of parchment. It gets the creative juices flowing when you start with these images that, a way to warm you up before you get to the final dish.

Smart Phone Food Photography Tips by Brian Samuels of A Thought for Food - www.athoughtforfood.net

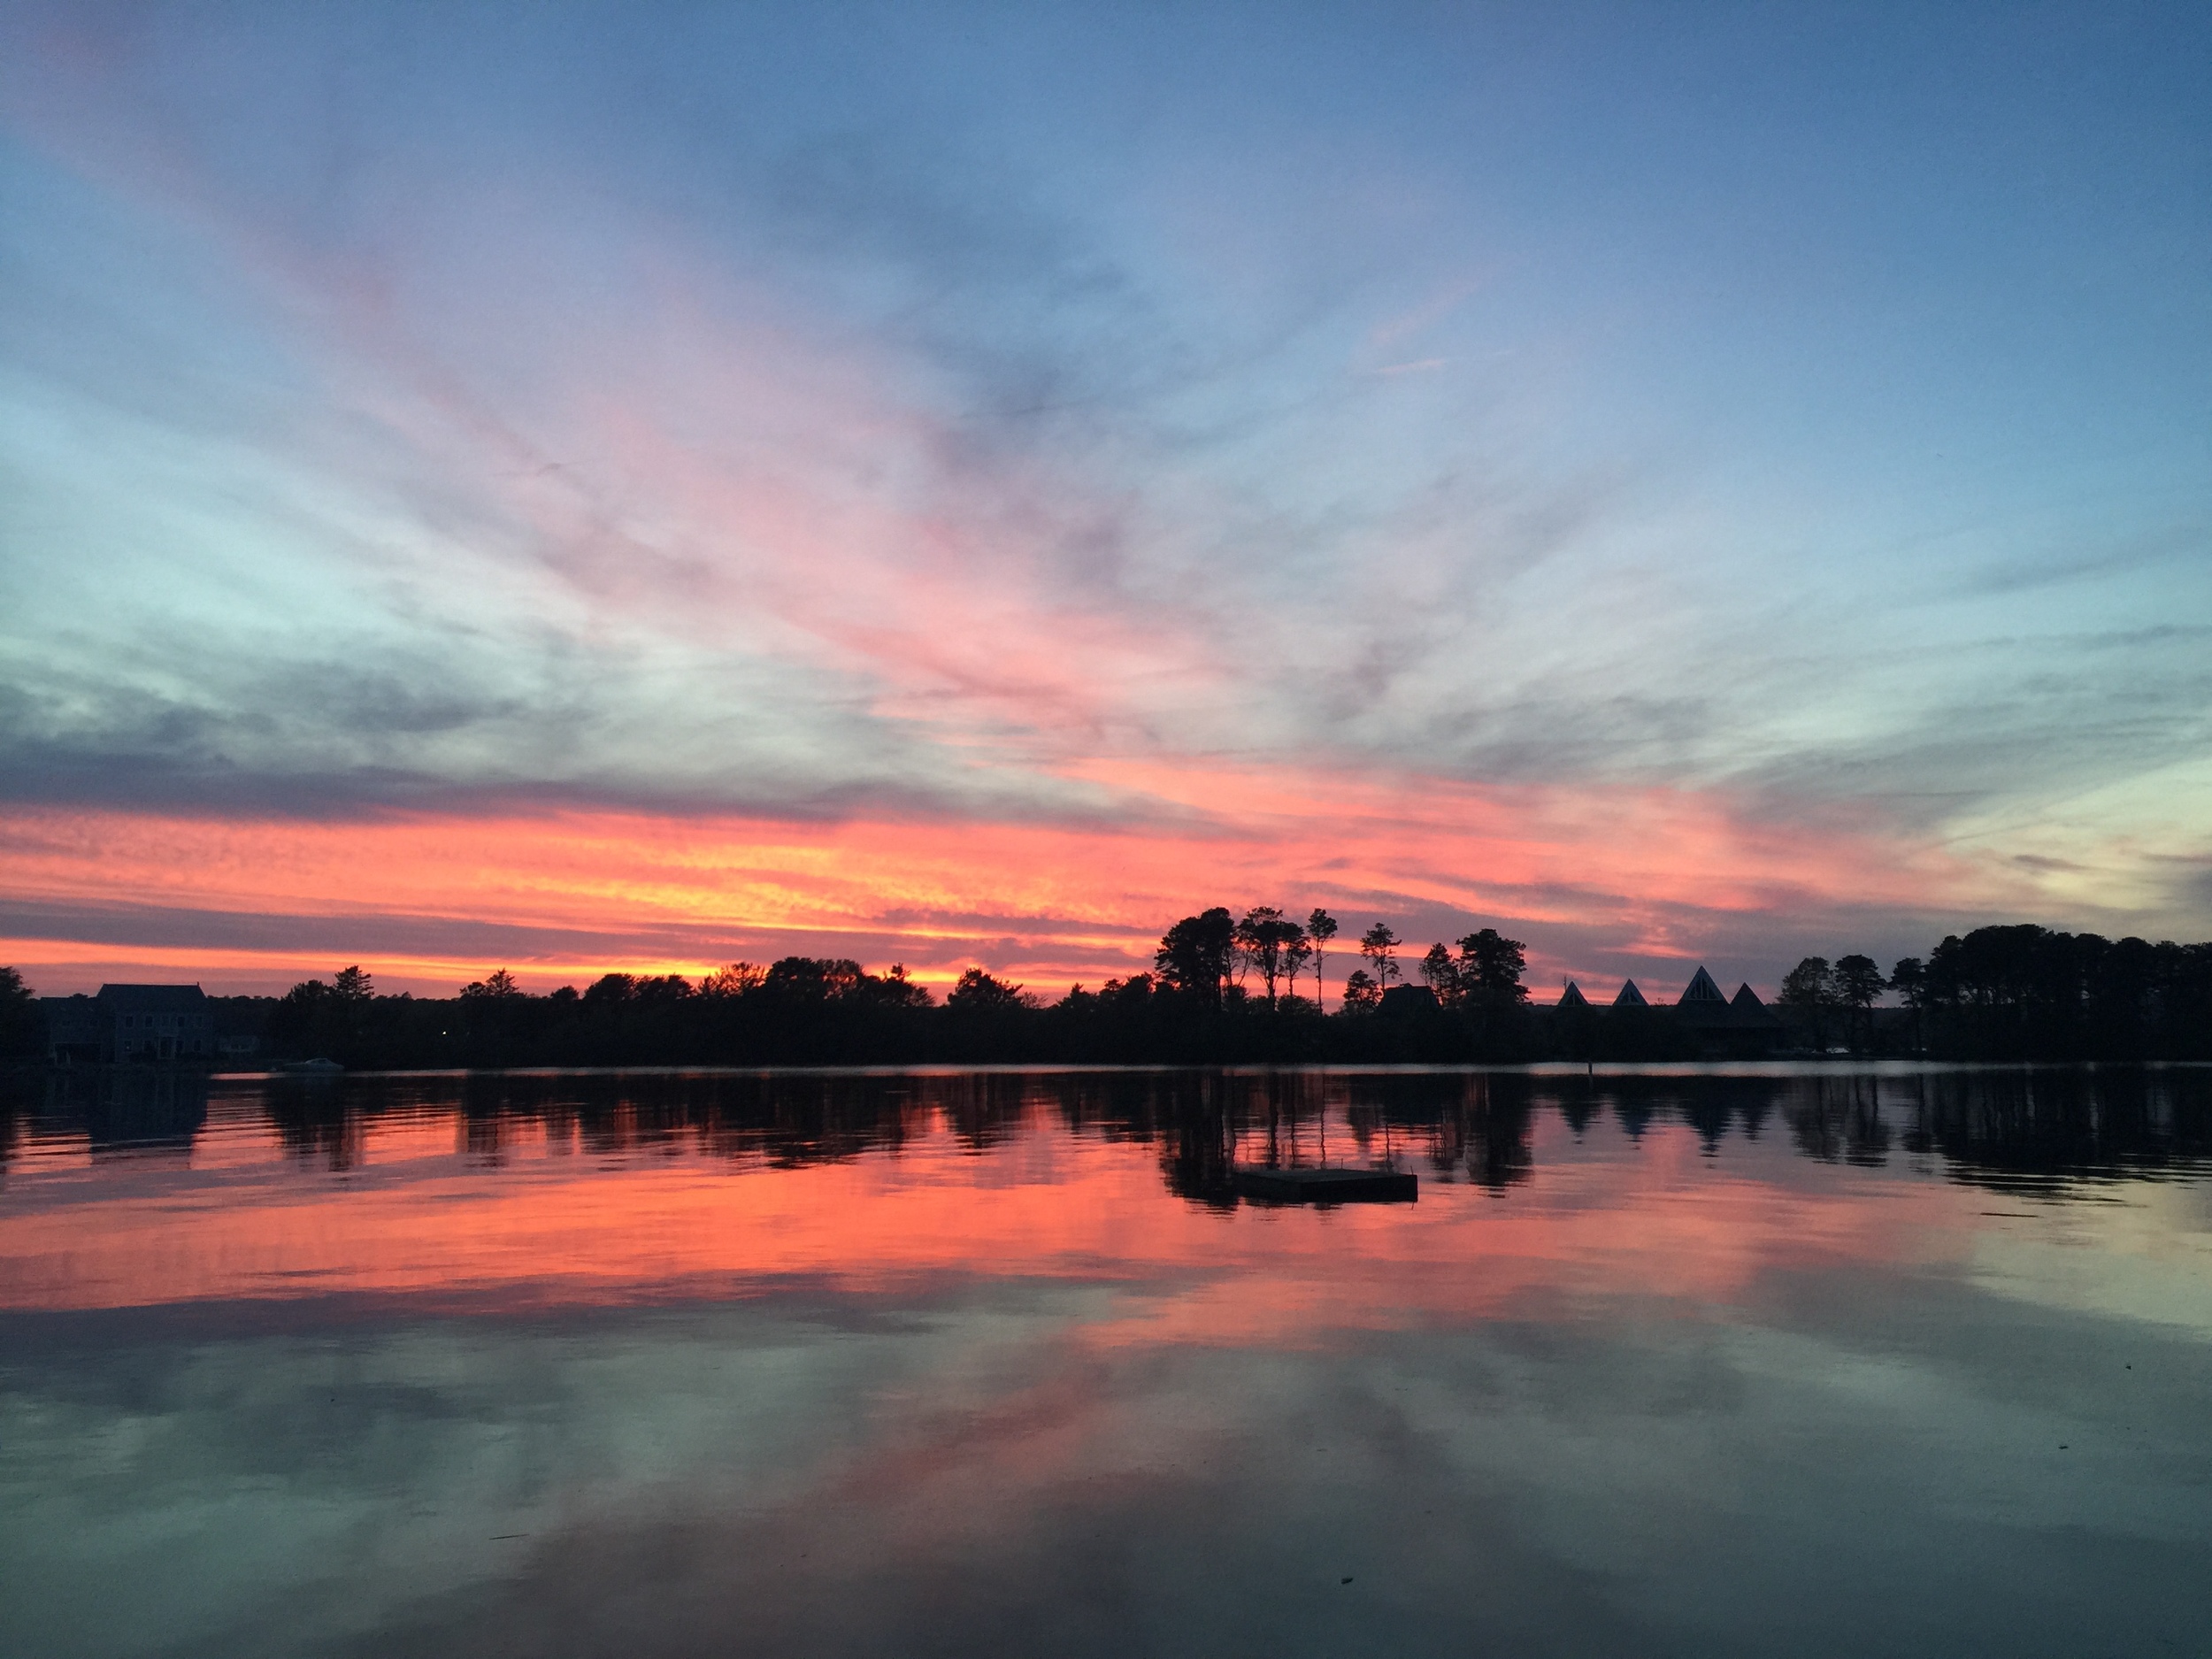
4. Remember, there's a whole world outside of food

I know it's funny to say this, but I think it's important for food photographers/bloggers/Instagrammers, to take pictures of things other than food. It teaches us, as artists, to look at the beauty that surrounds us every day. Spend time walking around the town or city you live in or go into the backyard with your child or dog. Take pictures of friends and family. It's all about capturing moments.

Smart Phone Food Photography Tips by Brian Samuels of A Thought for Food - www.athoughtforfood.net
Smart Phone Photography Tips by Brian Samuels of A Thought for Food - www.athoughtforfood.net

For more tips and tricks on taking pictures with your smart phone, check out my first post. And you can follow along on my food journeys over on Instagram.

Locations featured in this post (in order of appearance): Ostra - Boston, MA Neptune Oyster - Boston, MA Lone Star Taco - Boston, MA Egg - Brooklyn, NY Coppa - Boston, MA Blackbird Doughnuts - Boston, MA Soc's Ice Cream - Saugus, MA Cafe ArtScience - Cambridge, MA Mei Mei//SOWA Open Market - Boston, MA

For more restaurant photography, head on over to my portfolio page.

How I Photograph Food + Restaurants with Canon Lenses

How I Photograph Restaurants with Canon Lenses || via A Thought For Food

How I Photograph Restaurants with Canon Lenses || via A Thought For Food

Some people just grow up with a brand. For me, it was Canon. It's what my parents purchased, thus it's what I learned on. When I bought my first camcorder in film school, it was made by Canon. As Eric and I started taking trips early on in our relationship, it was a Canon PowerShot digital camera that we picked up. So, it made sense that when I started getting more passionate about food photography and blogging that my first DSLR would be from Canon (naturally, a EOS Rebel DSLR).

Over the last five years of taking pictures (thousands and thousands of them), I think I've grown a lot as a photographer. In part, it has to do with the amount of experimentation I've done; working with natural light, some basic styling, and composition to get the right look and feel for each dish. But there's no denying that the equipment I've practiced on has influenced my work.

Initially, I shot everything for A Thought For Food using the lens that came packaged with the camera body (often referred to as a “kit lens”). It was an 18-55mm f/3.5-5.6 and the results were ok... but the images were lacking the depth that I strove for. After researching lenses, I decided to purchase an EF 50mm f/1.8 II lens. Everywhere we traveled, every time we went out for lunch, I took that with me. It was light and compact, making it ideal for getting in some quick shots at a busy restaurant. I began a series of posts called Silent Sundays, where I did my best to capture the essence of these establishments. A few months later, I was asked by one of these restaurants to take professional photos for them. They liked what they saw in the Silent Sunday post and wanted me to come in to photograph their new menu items, as well as action shots of the dining room and in the kitchen.

After more work came in, I knew an upgrade was in order.  The best resource out there are other photographers, so I reached out to the ones I'd become friendly with. Everyone told me the same thing: spend the money on lenses... then upgrade your body when you're ready. Since I'm doing a combination of food/restaurant photography, as well as general lifestyle work, I wanted something that would be versatile, allowing me to not only take pictures of dishes and ingredients, but portraits as well. I borrowed a friend's EF 24-70mm f/2.8L II USM lens and knew that'd be the one to get the job done.

From there, I upgraded my camera body to an EOS 7D. Then I picked up some more lenses: an EF 50mm f/1.2L USM (a worthwhile purchase because of its wide aperture and USM (UltraSonic Motor), which allows the lens to autofocus faster than other models,), an EF 100mm f/2.8L Macro IS USM, and an EF 17-40mm f/4L USM. Last year, I bought the Canon EOS 5D Mark III (which has a full-frame sensor, versus the EOS 7D which is a crop-frame) At $3400 it's a scary purchase, but I'm absolutely in love with it. For those who feel ready to make the investment, you won't regret it.

Now that I've given you a little backstory, let me explain what's going on here. A few months ago, Canon asked me to talk a bit about how I use their lenses to photograph restaurants. To demonstrate this, I went to one of my favorites in the area, West Bridge. The design of the space is some of the best I've seen. There's a balance between rustic and modern that they've nailed and this also comes through in the food created by Matthew Gaudet.

You can view more restaurant images over on my portfolio site.

Interior of West Bridge in Cambridge, MA|| via A Thought For Food

Photographing Restaurants with Canon Lenses

What's in my bag: Canon 5D Mark iii* Canon 6D (backup)Canon 24mm* Canon 50mm* Canon 24-70mm* Canon 100mmSD cards Batteries

West Bridge in Cambridge, MA|| via A Thought For Food

Interior of West Bridge in Cambridge, MA|| via A Thought For Food

Interior of West Bridge in Cambridge, MA|| via A Thought For Food

Interiors + Exteriors

Dining at a restaurant isn't just about eating and drinking, but environment and mood too. Before photographing a dish, I capture other details: table setups, the bar, the kitchen, as well as any signage or outdoor dining area.

The majority of the time, I’m using one of two lenses: the EF 17-40mm f/4L or the EF 50mm f/1.2L.  The EF 17-40mm f/4L is a wide-angle lens, and, therefore, is able to take in a large amount of space in a single shot. The lens also works well in tighter spaces, such as restaurant kitchens. This is what I use almost exclusively for photographing dining rooms. It should be noted that, like all lenses, the results are different if you're using a crop-sensor camera. It's a bit more noticeable, though, when using a wide-angle lens, as you won't capture the same area that you would on a full-frame camera.

When I want to feature a specific section of a dining room or focus on certain details (a row of tables, light fixtures, patrons sitting at the bar, etc) I switch to the EF 50mm f/1.2L.  This lens, with its large aperture (models vary: f/2.5, 1.8, 1.4, or 1.2) allows for a shallow depth of field; a single item can be in focus when everything beyond it is blurry. I'll use this when I want the image to feel like it's from the perspective of the patron: looking across a long line of tables or down at a menu. This is seen in the above vertical images of the dining room and table with a place setting. Since I wanted to keep the majority of those images in focus, I went with a higher f-stop (f/6). Yes, the background is a bit blurry, but the table, plate, glass and chair are all crisp. However, you can see the difference if you look at the below food image (labeled “Quinoa, Char and Kale Salad: Left: Canon EF 50mm f/1.2L USM lens, Right: Canon EF 100mm f/2.8L Macro IS USM”) that I shot at f/2.8. The dish is in focus, but the areas in front and behind are not. For more tips, and information, be sure to check out the Canon Explore Lenses website.

The size of the aperture on the EF 50mm F/1.2L makes it so more light can enter through the lens opening, thus making it ideal for low-light environments. This can be the case with a dining room, which are usually not well lit (especially during dinner service). The wide aperture allows me to shoot at a faster shutter speed (resulting in a crisper image) or a lower ISO setting (resulting in less grain (or “noise”) in the photo).

What's nice about photographing a restaurant using a fixed lens like the EF 50mm f/1.2L is that, as you walk around the restaurant looking for something to take a picture of, you already know the field of view that you're working with. This means that, in your mind, you already have your shot composed, even before you bring the camera up to take the shot. If I were to use a zoom lens, I'd have to look through the viewfinder and then compose my shot. I find this experience far more enjoyable.

Interior of West Bridge in Cambridge, MA|| via A Thought For Food

Quinoa, coconut, radish, pomegranate, and kimchi at West Bridge|| via A Thought For Food

Food

For photographing food, I'm often inclined to go with a fixed lens: the EF 50mm f/1.2L or EF 100mm f/2.8L Macro IS USM. The main reason for this is because the subject I'm shooting is stationary and, therefore, zooming in and out isn't necessary. The EF 50mm f/1.2L is the lens I use most frequently since the EF 100mm Macro would require that I stand in the middle of the dining room to capture a dish. I not only want a crisp, clean shot of the food, but it makes the subject more compelling to get some of the environment around the plate, which the 100mm won't provide.

With that being said, there are some instances when the EF 100mm f/2.8L Macro lens comes in handy. For example, there are times when a portion of a dish is more visually interesting than the whole plate. We'll use the beet and salmon roe toast featured below as an example. While this is a gorgeously composed plate, I find that the textures and colors of the dish are what really make it so striking. Therefore, getting in nice and close to the layers of beet, mustard, and roe, showcase it better than the shots photographed with the EF 50mm f/1.2L or EF 24-70mm f/2.8L .

Speaking of the EF 24-70mm f/2.8L. For a while, this was the lens I used exclusively for photographing food. And it does the trick. While I don't use it as often, I find that it comes in handy when I need to get an overhead shot of a table with multiple plates on it. The EF 50mm f/1.2L, as you can see, isn't wide enough (I'd have to stand on a chair or ladder to make that work). The EF 100mm f/2.8L Macro definitely wouldn't be the right lens. With the EF 24-70mm f/2.8L, I can usually hover above the table and get the shot that way... but I'm also 6'1" tall.

Quinoa, coconut, radish, pomegranate, and kimchi at West Bridge|| via A Thought For Food

Beet and Salmon Roe Toast at West Bridge || via A Thought For Food

West Bridge || via A Thought For Food

Wrapping Up

Yes, this has been an epic post... but a few more notes.

As I mentioned earlier, the lenses are where you should be investing your money. If you're just starting off in the world of food photography, I'd suggest starting off with an EOS Rebel DSLR and an EF50mm.  In fact, I had the pleasure of testing out a newer model of the Rebel, the EOS Rebel T5i, and an EF 50mm f/2.5 Compact Macro lens, which Canon sent along for me to play with. One thing I enjoyed about it, which I wasn't quite expecting, was how light it is. I've been carrying around a hunky camera for the last few years and it gets exhausting after a while (again, it's totally worth it).  The EF 50mm f/2.5 is a great intro into the world of fixed lenses. It's not an expensive investment and you'll see a huge difference from any smart phone pictures.

And before purchasing any very expensive lenses (we're talking $1000+), I'd suggest renting them from a photography store. For under $100, you can make sure that the lens works for your needs.

Photographing Food at West Bridge with Canon Lenses || via A Thought For Food

IMG_3456

DISCLOSURE: This post was sponsored by Canon. As described earlier in this post, I've been a long time fan of their camera equipment. All thoughts and words are my own.

Showin' Some Love: My ONA Camera Bag

Showin' Some Love: My ONA Camera Bag | A Thought For Food |

When I first started off as a photographer, I didn't have much in the way of equipment. I had a camera and a lens. That was it. I'd pack everything up in a messenger bag or backpack and head off to whatever restaurant or engagement photo session I was doing. It didn't take long for me to realize I needed a real camera bag. I did some research and found one that I thought would work for me. It could fit a body, a couple of lenses, and my laptop. Seemed perfect. After a few months, though, the thing started to rip. Now, I'm partially to blame for this. I packed it with more than it could handle. I traveled with it and abused it in ways I shouldn't have. But, for many reasons, that bag just wasn't right for me.  I needed something that was durable, but because I was doing a lot of location shoots, I wanted something that was stylish too.

ONA bags aren't just good looking (which they are... most people have no idea it's for camera equipment), but they comfortably fit everything one needs for a shoot. Over the last couple of months, I've taken the bag with me on countless projects and it has been a wonderful experience. Each compartment wraps snuggly around anything you put in... camera bodies, lenses, flashes. Unlike my other bag, which could only handle a body and a couple of lenses, the ONA Camps Bay camera bag I have handles 2 bodies (a 7D and 5D), 4 lenses (50mm, 17-40mm, 24-70mm, 100mm), a battery charger, a laptop and iPad, as well as all necessary cables. Yes, the bag got a little heavy, but I never felt like it couldn't handle the weight.

I brought the bag with me on a shoot at Coppa. My friend (and local business owner) Abby was nice enough to come out in the cold to help with taking pictures. Without her, I think it would have been a challenge to capture the whole process. Thanks Abby!

Showin' Some Love: My ONA Camera Bag | A Thought For Food |

Showin' Some Love: My ONA Camera Bag | A Thought For Food |

Showin' Some Love: My ONA Camera Bag | A Thought For Food |

Showin' Some Love: My ONA Camera Bag | A Thought For Food |

Showin' Some Love: My ONA Camera Bag | A Thought For Food |

Showin' Some Love: My ONA Camera Bag | A Thought For Food |

Showin' Some Love: My ONA Camera Bag | A Thought For Food |

PHOTO CREDIT: ABIGAIL RUETTGERS AND BRIAN SAMUELS

Disclosure: The folks at ONA were kind enough to send me this bag to try out. I was not monetarily compensated for this post and all opinions are my own.