Dessert

Dairy-Free Chocolate Mousse

It's hard to believe that we're approaching April. I was certain that we were going to be perpetually stuck in February, à la Groundhog Day. To our delight, the majority of the snow around our house has melted. A few lingering patches still decorate the yard, but it's much better than it was just a few weeks ago. Spending time outside isn't as challenging as it had been. I don't need to protect myself with hats and gloves and scarves and bulky boot every time I take the dog for a walk.

This week, Eric and I are heading down to New Jersey for a visit with my family. While we're there to take part in the Seder, we're also going to celebrate a number of milestones. My nieces just had their birthdays and my grandmother's (who is turning 85) and my mom's are coming up.

Of course, Passover can be a tricky time for celebrating birthdays as the traditional cake is not an option. Yes, you can go the flourless route. But not everyone is fond of finishing their meals with such a dense dessert. This smooth and creamy vegan chocolate mousse is perfectly decadent in a "I can't believe it's not..." kind of way. In this case, the ellipses refers to the dairy, which I can guarantee you and your dinner guests won't be missing as you devour the whole bowl.


Dairy-Free Chocolate Mousse

Yields 4-6 servings

Ingredients

3 - 13.5 oz cans full-fat coconut milk
2 1/2 tablespoons agave nectar
1.5 teaspoons vanilla extract
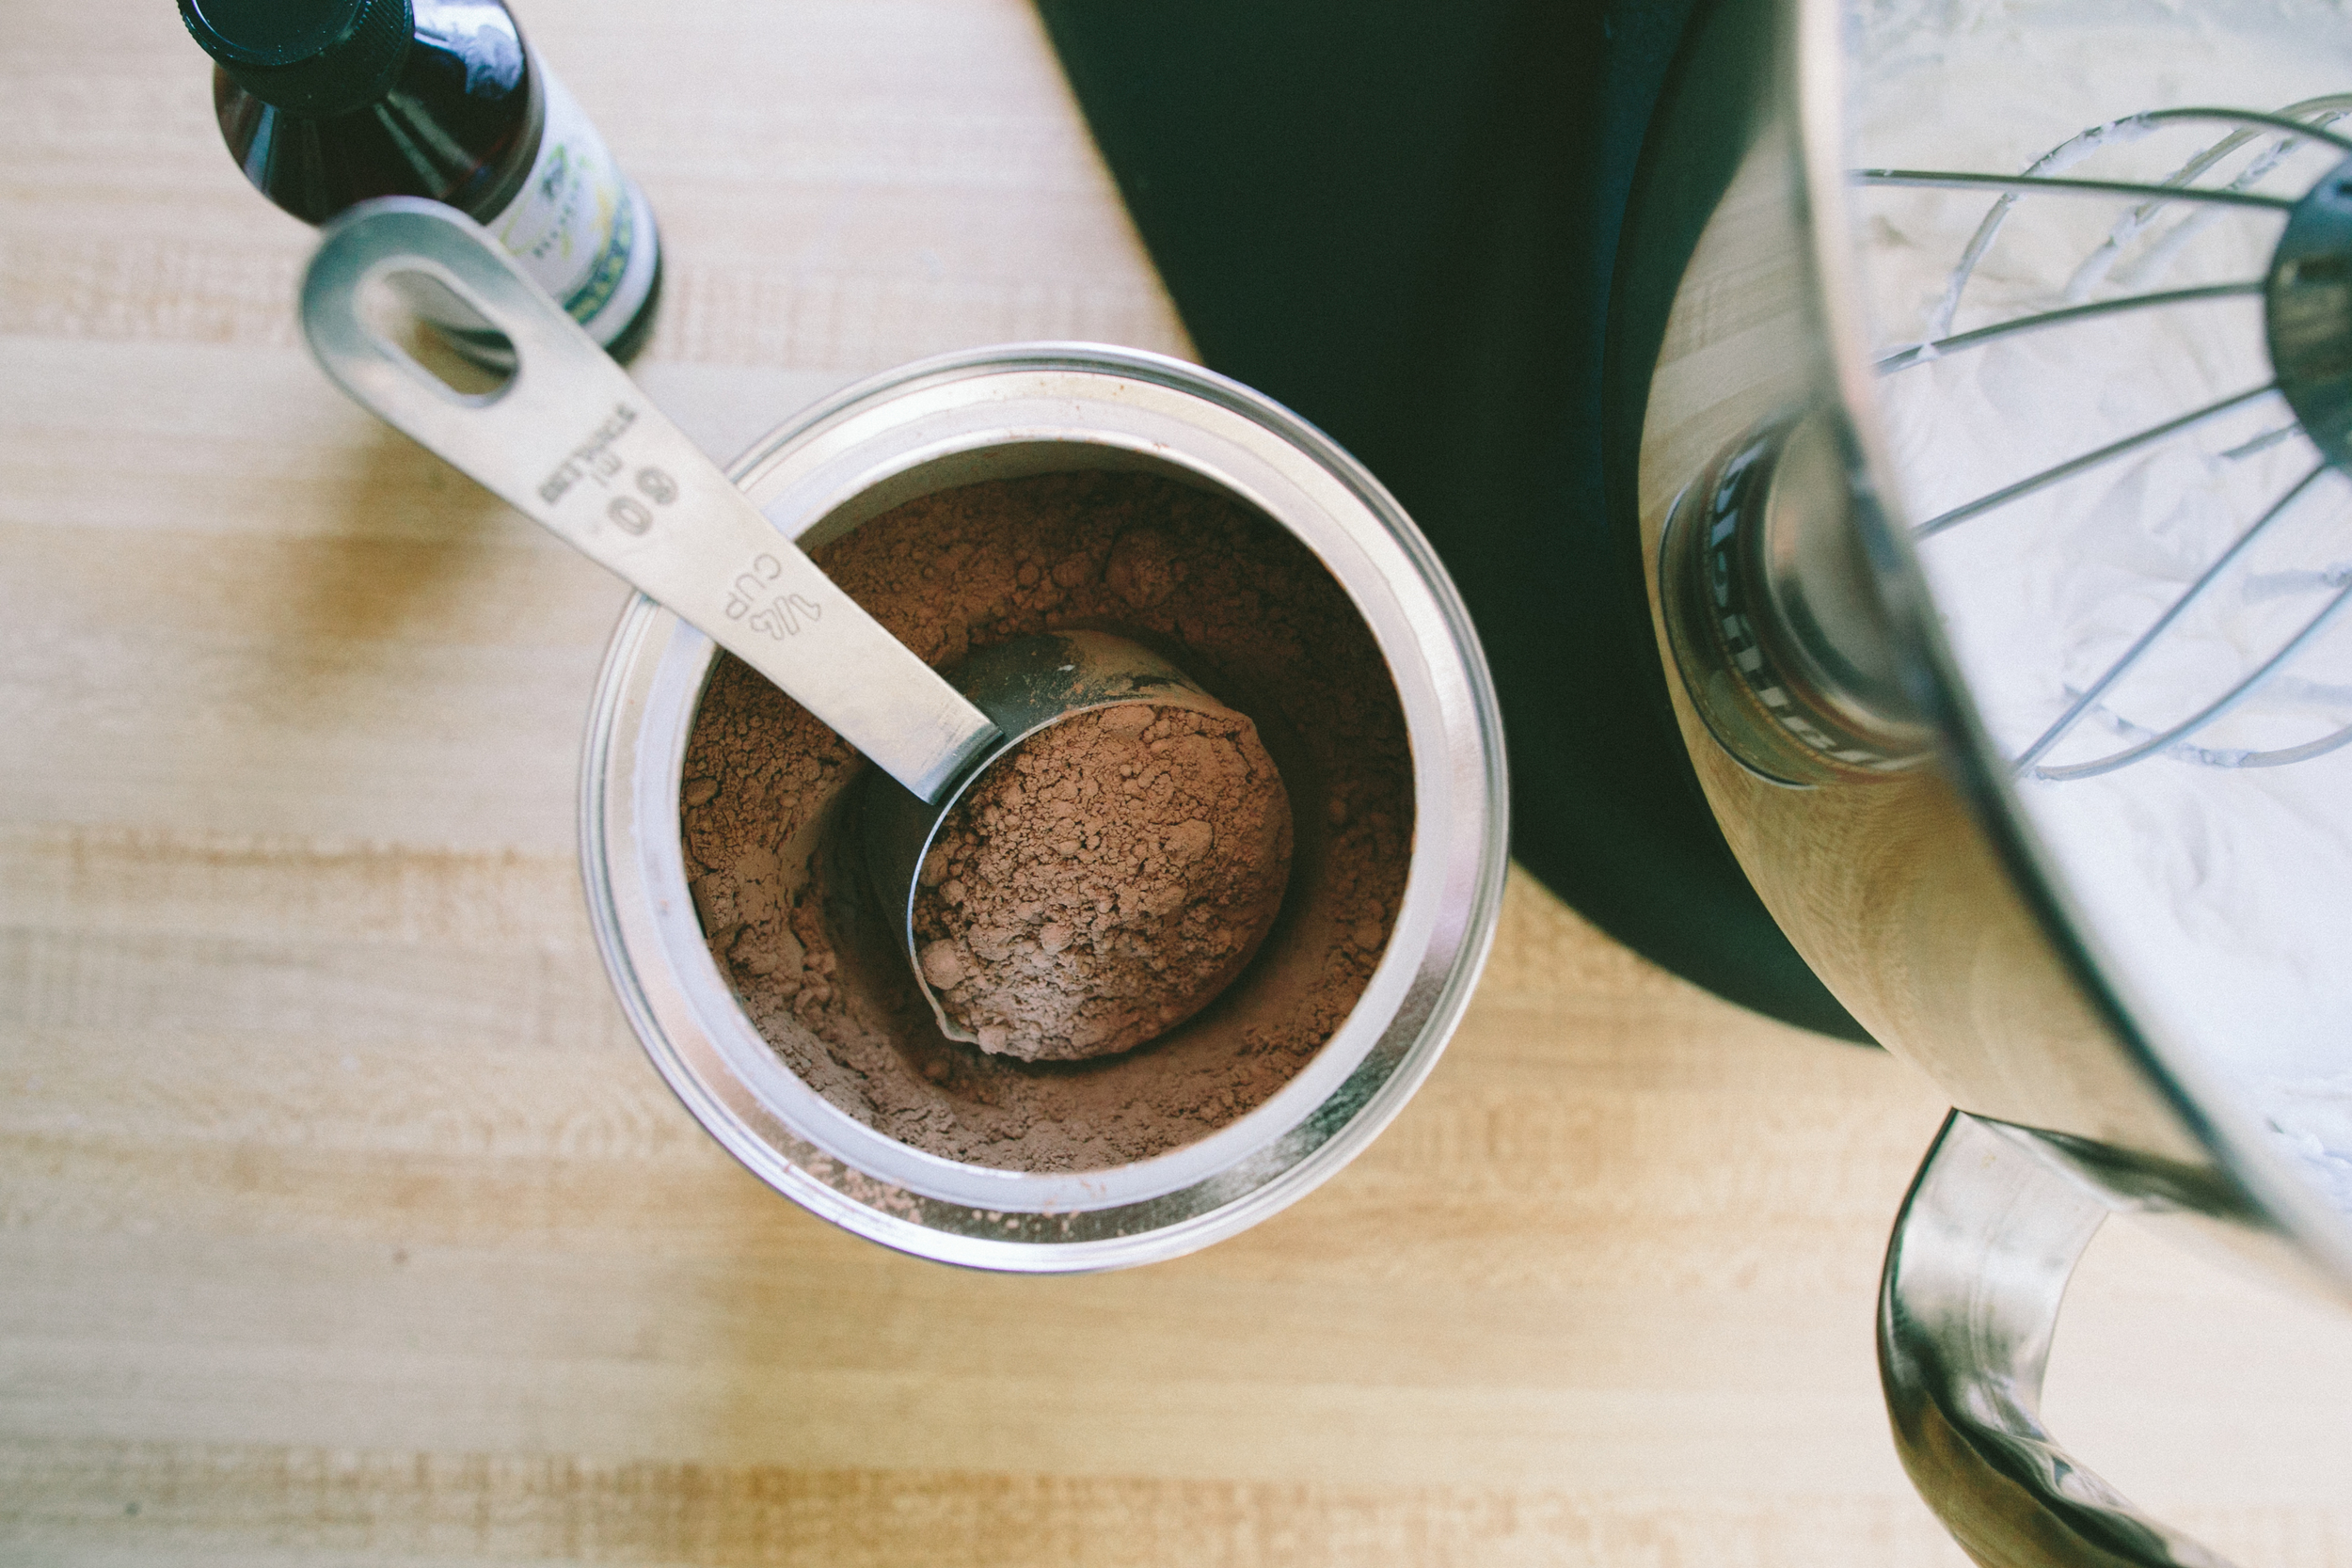
2 tablespoons Dutch-processed cocoa powder, sifted
Fresh berries (blackberries, strawberries, blueberries, raspberries)

Directions

1. Chill the cans of coconut milk in the refrigerator for at least 2 hours to let the cream separate to the top.

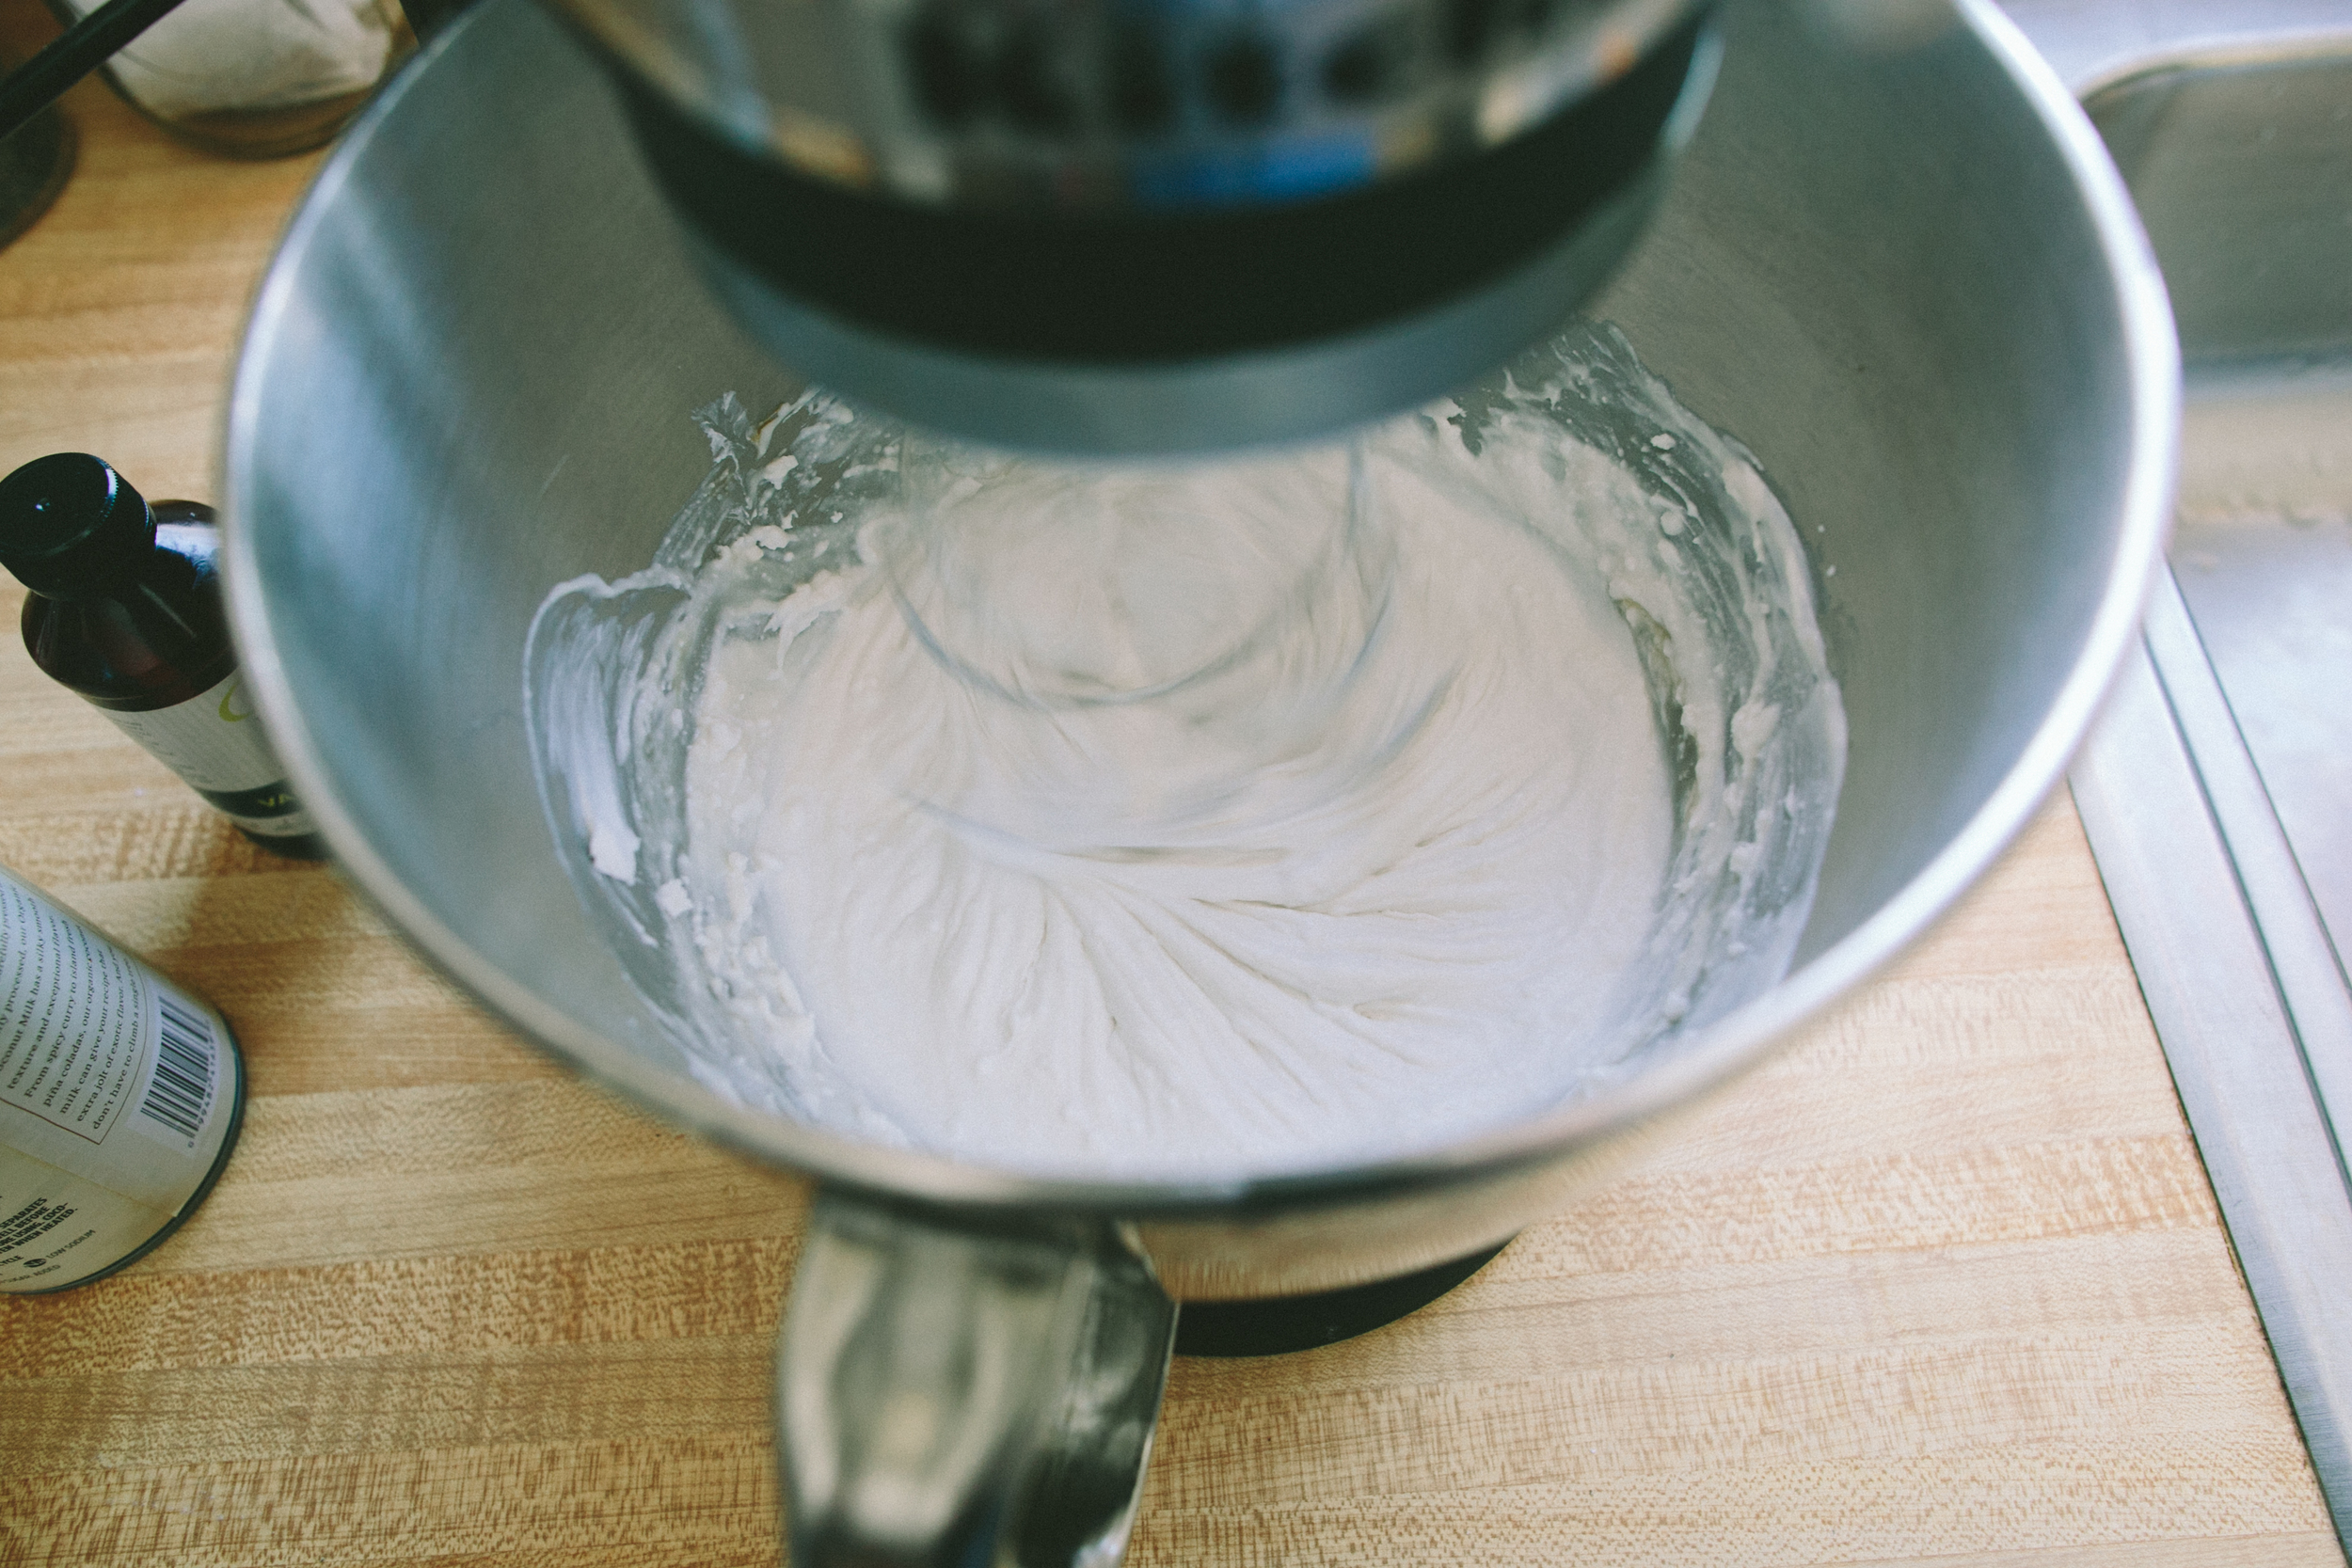
2. Using a stand mixer (or a hand mixer), beat only the cream of the coconut milk at medium speed for 3 minutes, or until smooth. Add agave nectar and vanilla extract and mix to incorporate.

3. Transfer a third of the plain whipped coconut cream to a separate bowl.

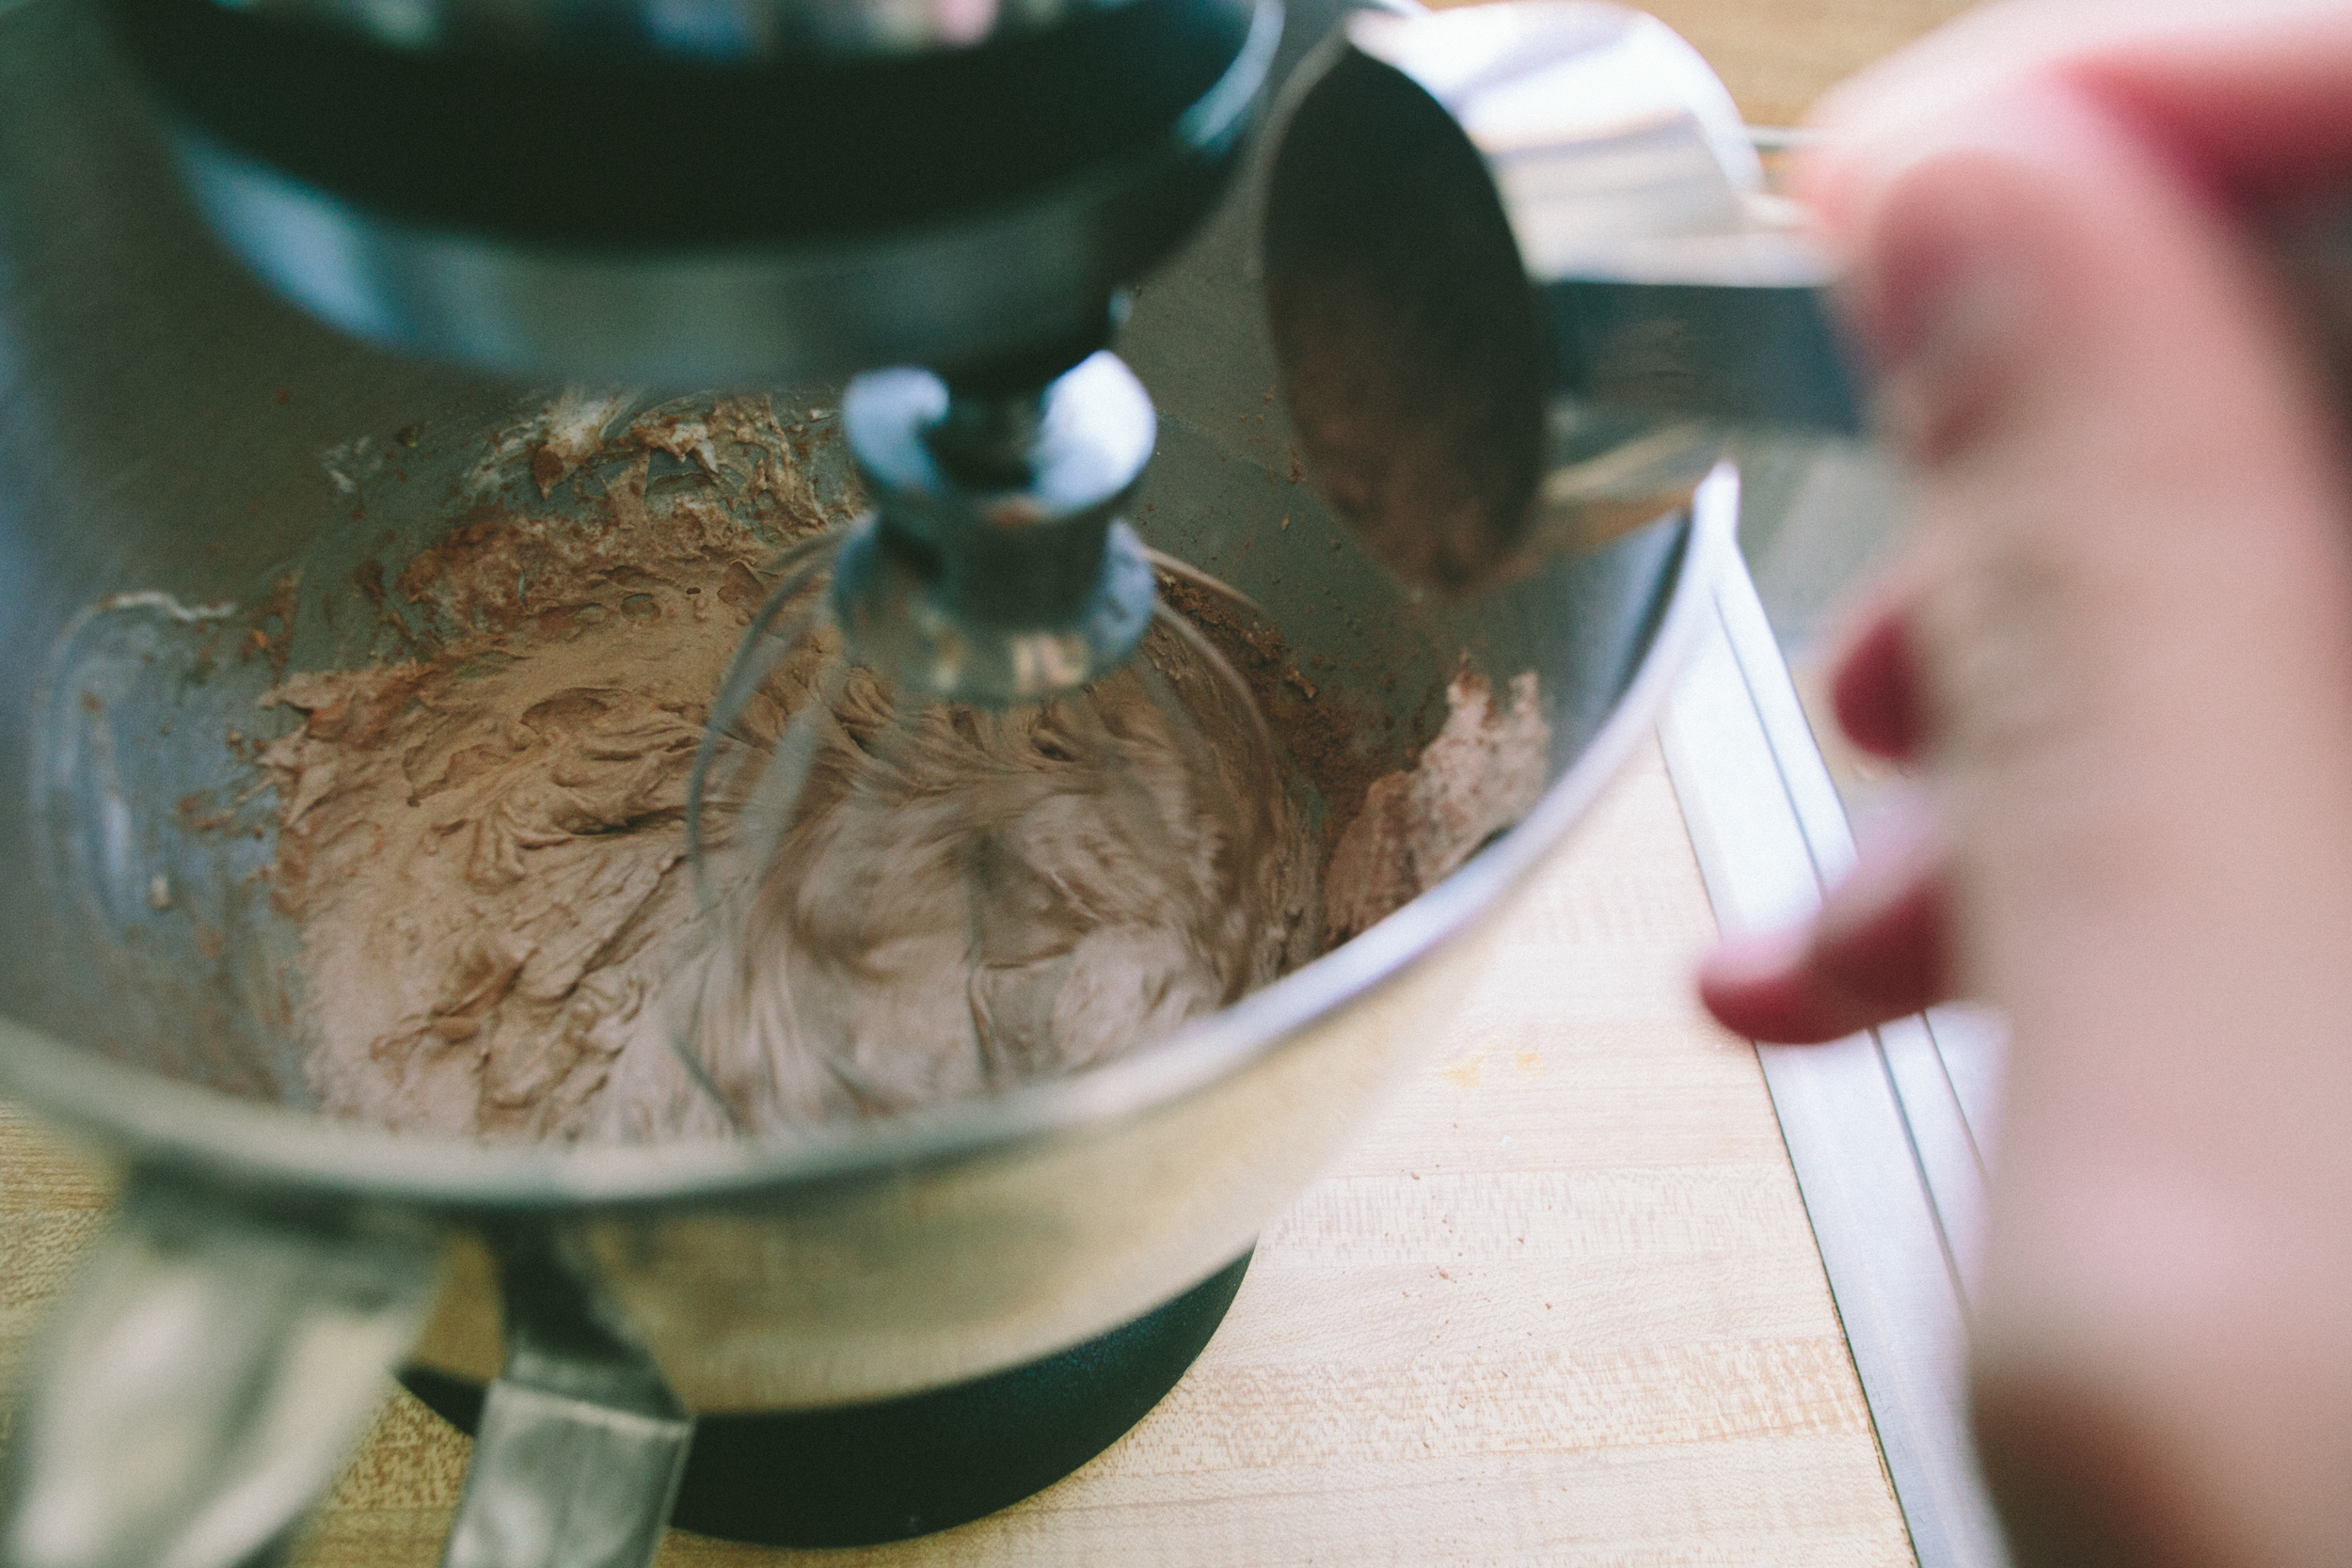
4. With the stand mixer turned on its lowest setting, mix in the cocoa powder with the remaining two-thirds of the whipped coconut cream. Increase the speed of the mixer to medium and whip for another minute or two until the cocoa powder is fully incorporated.

5. Refrigerate chocolate mousse for at least 30 minutes to let it firm up.

6. Distribute the chocolate mousse into serving bowls.  Top with plain whipped coconut cream and fresh berries.


Crispy Ginger Snaps

Our winter routine now consists of a nightly pot of tea. Lemon or lemon-ginger are our go-tos. I often leave mine unadulterated, but sometimes there's a couple teaspoons of honey, an additional squeeze of lemon, and, on the weekends (or after an especially stressful day), a splash of rum or bourbon. We sip this on our couch, curled up under blankets (Maki is usually wrapped up under two or three of these in an attempt to keep her nose warm).  The TV streams episodes one after the next. We're in full hibernation mode.

On a recent trip to the store, Eric mentioned that he's been craving some ginger snaps to go with our tea. We bought a box and, while delicious, I couldn't help but think how nice it'd be if I made my own cookies. Not that it'd be healthier, but, unlike other prepared items we purchase, baking a batch of ginger snaps isn't terribly complicated. Now, I'm usually a fan of chewy cookies. A little crunch on the outside is fine, but I prefer them a little underdone in the middle. However, my goal here was to make crispy ginger snaps. And I wanted them to be little guys. A couple bites each.

This took a bit of work. I first made the dough, which I knew would result in a flavorful cookies, since I'd consumed half the bowl as I transferred it to the baking sheet. The trick was to roll the dough balls so that when they spread in the oven, it would only be a couple inches in diameter. Next, I needed to figure out how long to bake them for. Too long, and they get burnt (which happened a few times) and too short and they don't crisp up. It's a tough job, but I was happy to take on the challenge.

I've found that a number of ginger cookies don't call for crystalized ginger. For me, I love the kick that you get from those little bits, so I've included some in this recipe. There's no doubt that these are ginger cookies. None at all.


Crispy Ginger Snaps

Source:Slightly adapted from the recipe by Nick Malgieri via FoodNetwork.com

Yields: About 60 cookies

Ingredients

2 cups all-purpose flour 2 teaspoons baking soda 1/2 teaspoon salt 1 teaspoon ground cinnamon 2 teaspoons ground ginger 1 teaspoon ground all-spice 12 tablespoons (1 1/2 sticks) unsalted butter 1 cup sugar 1 large egg 1/4 cup molasses 4 ounces crystallized ginger, minced 2 or 3 cookie sheets lined with parchment or foil

1. Set racks in the upper and lower thirds of the oven and preheat to 350 degrees.

2. Combine the flour, baking soda, salt, and spices in a bowl; stir well to mix.

3. In the bowl of a standing electric mixer fitted with the paddle attachment, beat together on medium speed the butter and sugar for about 5 minutes until very light, fluffy and whitened. Add the egg and continue beating until smooth. Lower speed and beat in half the dry ingredients, then the molasses. Stop the mixer and scrape down bowl and beater. Beat in the remaining dry ingredients. Mix in the crystalized ginger. Remove bowl from mixer and use a large rubber spatula to finish mixing the dough.

4. Scoop out the dough using a 1/2 teaspoon measuring spoon. Roll into balls between the palms of your the hands. Yes, they will be small. Place the balls of dough on the prepared pans leaving about 2 inches all around each, to allow for spreading.

5. Bake the cookies for about 8-9 minutes, or until they have spread, are golden brown and are firm to the touch. Using a spatula, transfer the cookies to cooling racks. Store the cooled cookies in a cookie jar or tupperware container with a lid.


Cranberry Sauce Ice Cream

I've been on an ice cream kick recently. And by recently I mean since the beginning of the summer. It was such a harmless idea. My sister-in-law thought it'd be fun to bring an ice cream machine down to the Cape house to show her kids how to make it from scratch. A great rainy day activity. They loved the ice cream, but were less interested in the process of preparing it. The adults, on the other hand, became obsessed. The vanilla ice cream we made using a recipe from Melissa Clark over at the New York Times was wonderful; smooth, creamy, and not overly sweet. At that point, we were hooked. What would should we make next? 

While there have been a few misses, most have been hugely successful. Favorites were coffee, Oreo, and, the biggest hit, blueberry crumble. I took a short break from making ice cream, but, over the last month, have gotten back into it. Pumpkin was delicious, as was this cranberry sauce ice cream that I prepared for Friendsgiving. Served with apple cake, it was the perfect balance of sweet and tart. Having made four batches of it over the course of a week, I think I could do with my eyes closed.

Part of the joy of making ice cream comes from watching your creation churn in the mixer. For a while, I'd been using a machine that was a gift from my mom. It worked well enough, but it was starting to slow down. Time for an upgrade! I'd heard from a number of people, including my mom, who's also fallen hard for homemade ice cream, that the KitchenAid attachment worked well. So, I reached out to my friends over there, who were generous enough to send it over for me to play with. Since receiving the attachment, I've used it a half a dozen times, and it's worked beautifully on each occasion. I find that the bowl freezes quickly, which was not the case with my last machine. The paddle does a great job scraping the sides of the bowl, too. Overall, I've been pretty happy with it.


Cranberry Sauce Ice Cream

Yield: 1 quart Source:  Adapted from Melissa Clark's recipe

Ingredients For the ice cream base 2 cups heavy cream 1 cup whole milk 2/3 cup sugar 1/4 tsp Kosher salt 1 tsp vanilla extract 6 egg yolks

For the cranberry sauce 12 oz cranberries 1/2 cup fresh orange juice 1/2 cup sugar 1 tsp cinnamon

Instructions

1. In a medium saucepan set over low heat, whisk together the heavy cream, whole milk, sugar, Kosher salt and vanilla extract until the sugar has dissolved. Add the egg yolks to a separate bowl and give a quick whisk to break them up.

2. When the cream mixture becomes hot, slowly whisk in a third of the liquid to the egg yolks. Then, whisk the egg-cream mixture back into the pot. Continue to heat it, stirring often. Once the base is thick enough to start to coat the back of a wooden spoon, it's done. Remove from heat and let cool.

3. Strain the base through a fine mesh sieve and, once it reaches room temperature, transfer to a container with a lid. Refrigerate for at least four hours.

4. Put the cranberries, orange juice, cinnamon and sugar in a medium saucepan set over medium heat. Stir and bring to a boil. Once it comes to a boil, reduce heat to a simmer and let cook until the cranberries burst. Stir sauce. Once it thickens a bit, remove from heat and strain through a fine mesh sieve. Let cool to room temperature and then transfer to a container with a lid. Let chill in the refrigerator.

5. Once the ice cream base and cranberry sauce has chilled, churn the base in an ice cream machine according to the manufacturer's instructions. When it's done churning, prepare the ice cream for the freezer. Start by putting a third of the cranberry sauce in the bottom of a container with a lid, then top with ice cream. Repeat with remaining base and sauce. If you like really soft ice cream, enjoy immediately.  However, if you want your ice cream harder (like you get at the store) place the container in the freezer for at least four hours.