
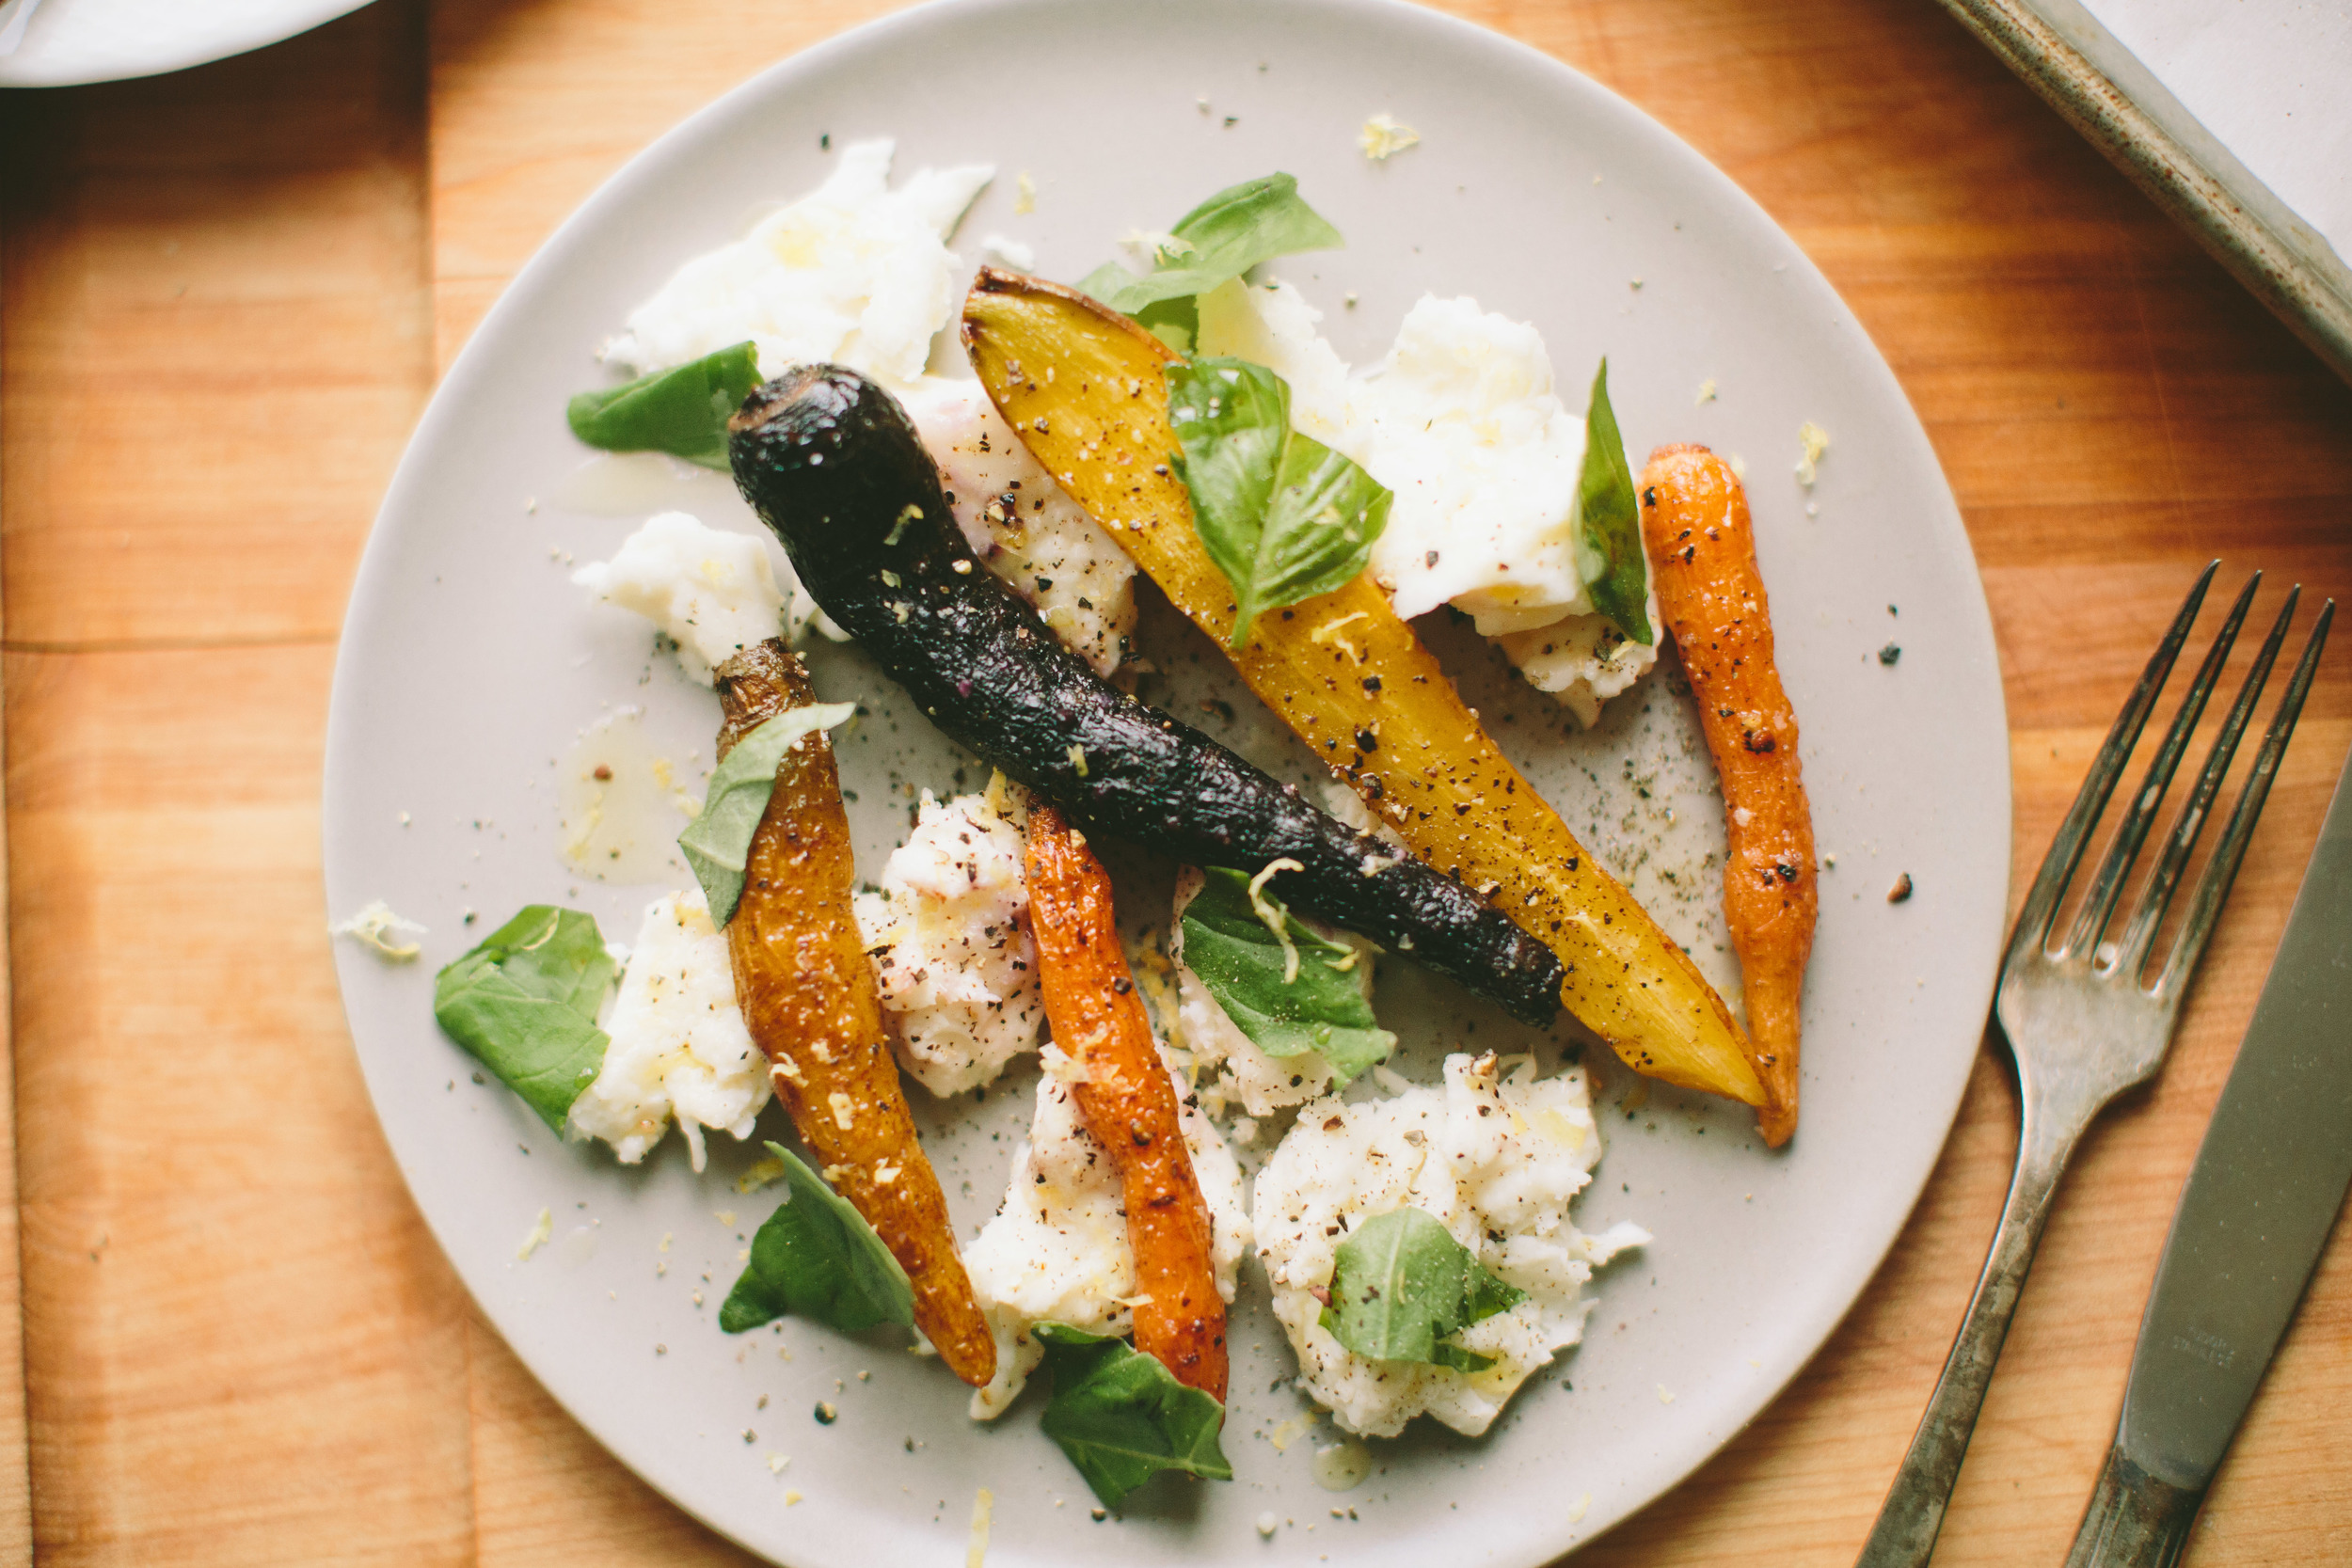
If I had gone to the store before I began cooking, who knows what this dish would've turned into. No doubt I'd complicate things more than I needed to. Sometimes I find it's best to work with fewer ingredients and see what comes about. Carrots with basil and mozzarella? Never would've considered it. But this is what I had in the fridge and, therefore, that's what I was preparing for dinner. The carrots were procured at our local farmer's market just a few days before. I couldn't resist those multihued bundles. They had to be mine. What I love about roasting or grilling carrots unpeeled is that the inside gets tender,while the outside holds on to some texture. I could've put these on anything or just served them as is, but the creamy cheese, fresh herbs and lemon zest give the dish a great summer vibe.

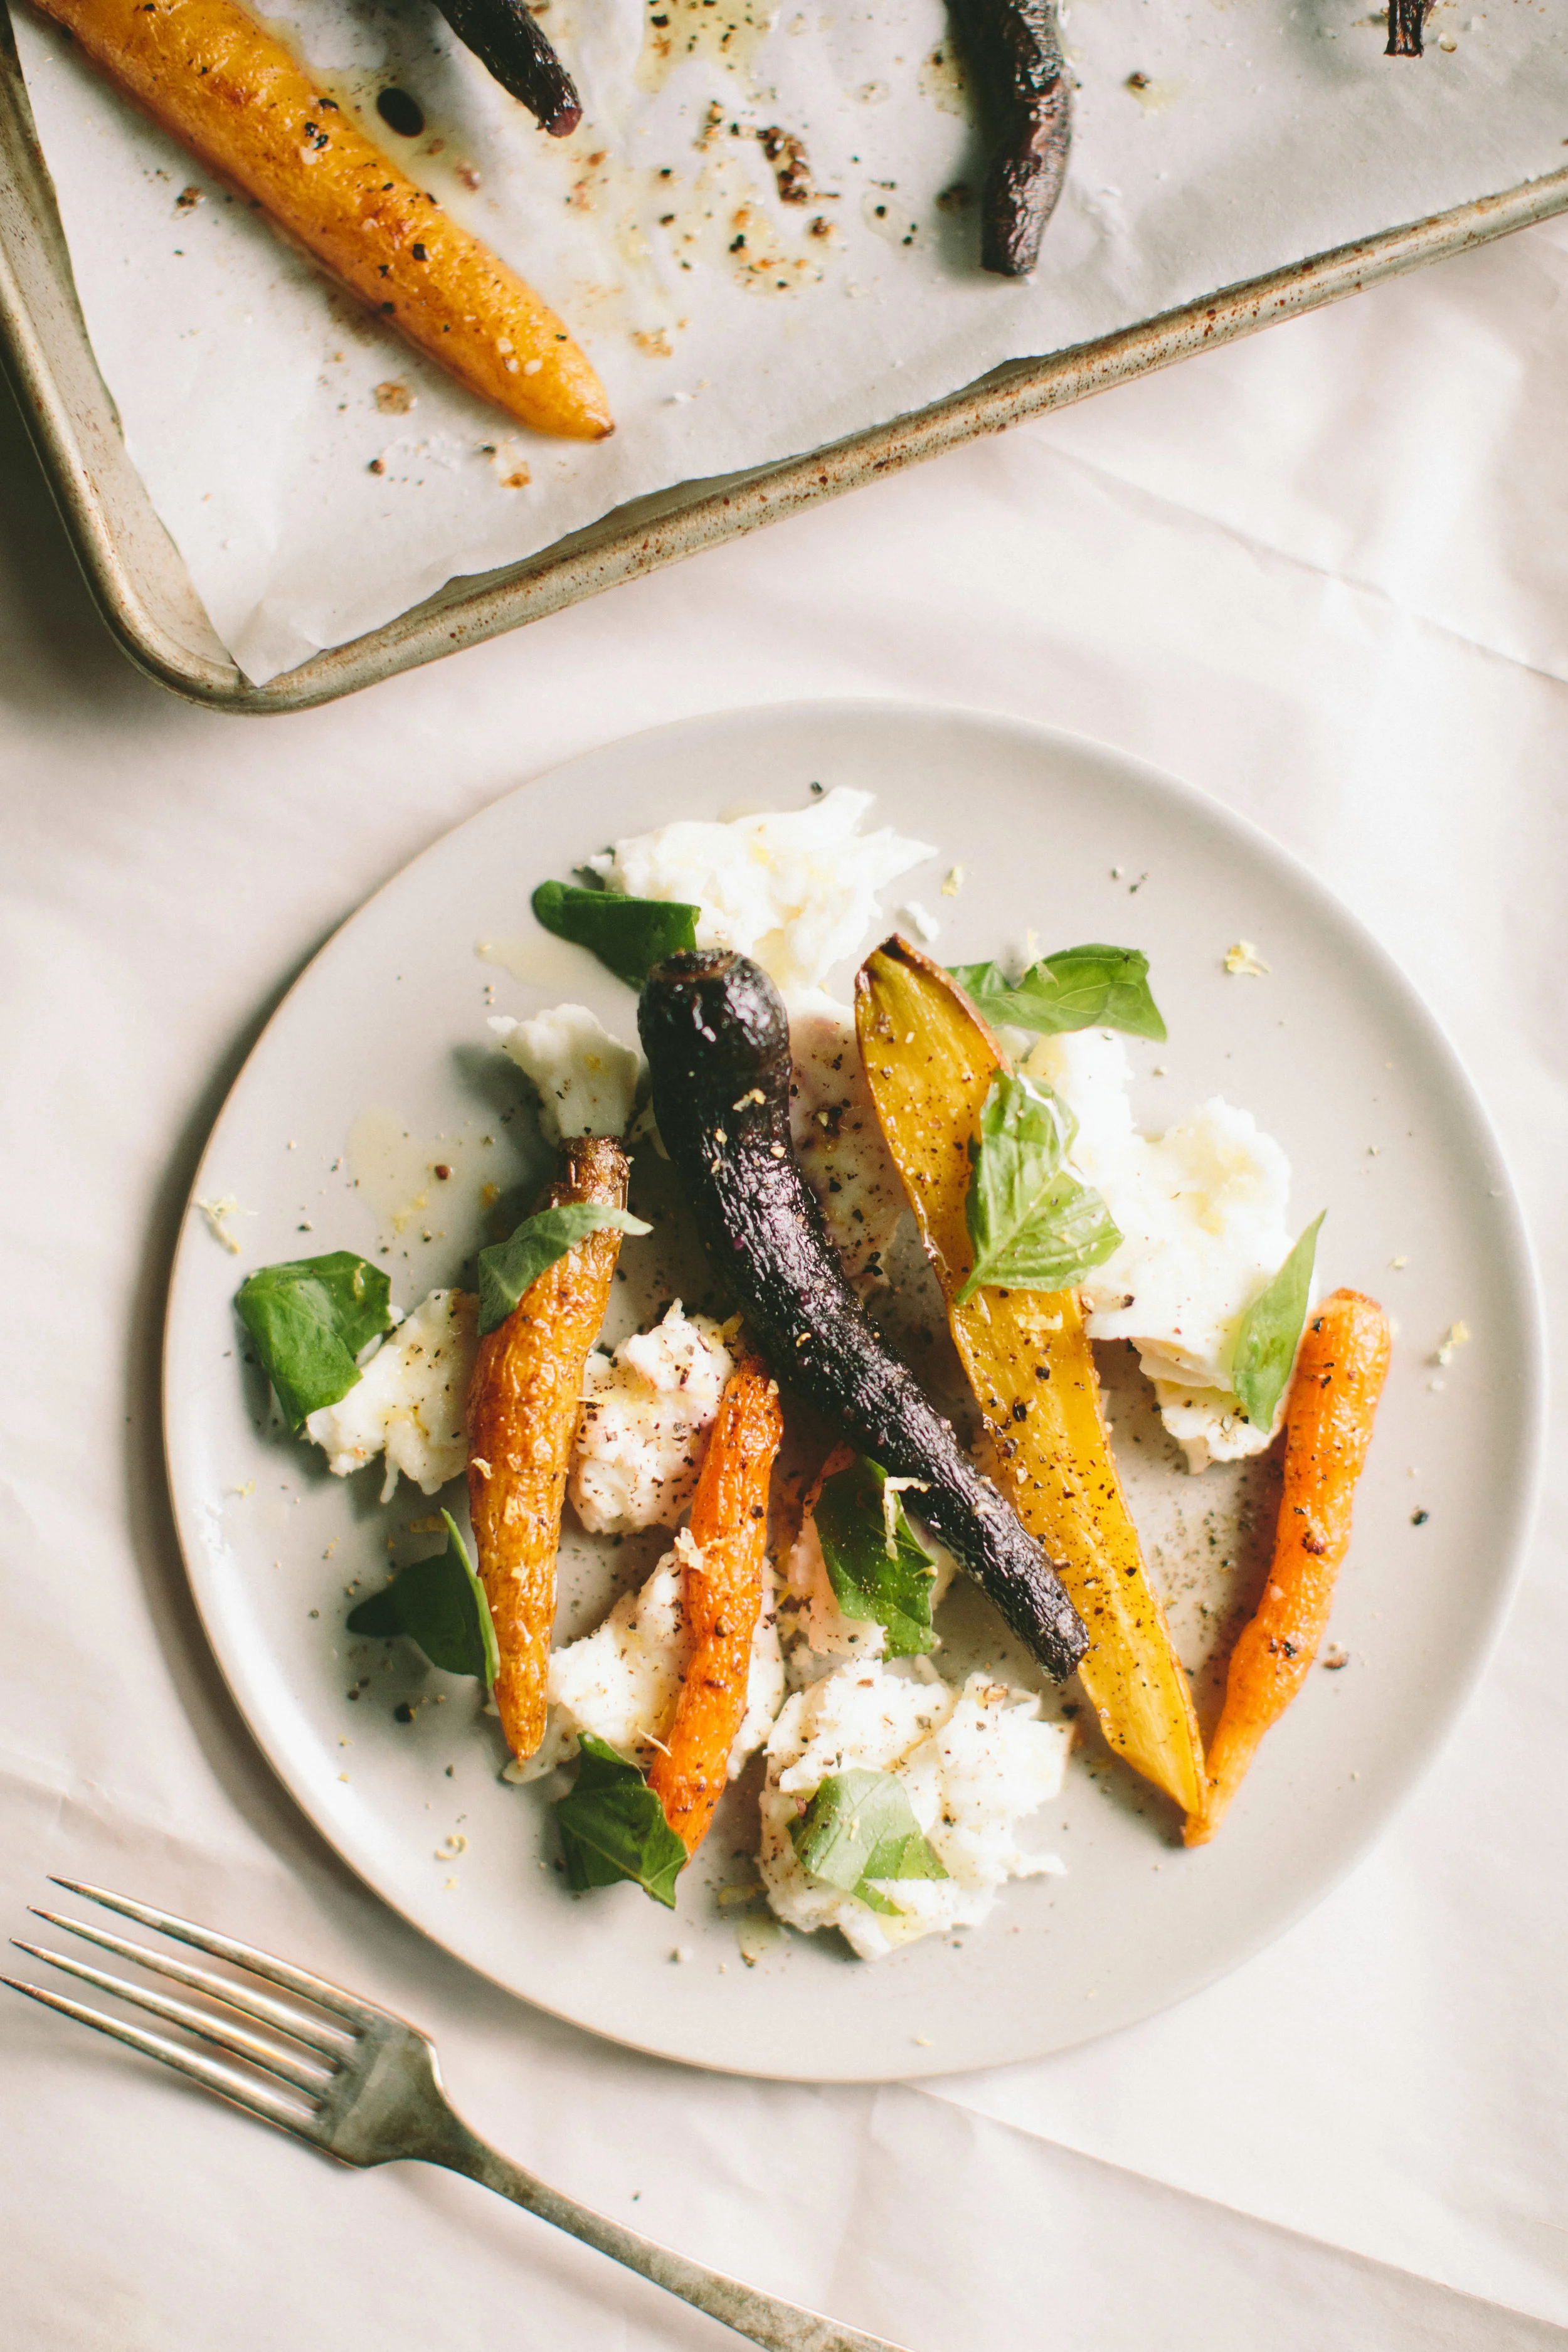
Roasted Rainbow Carrots with Mozzarella
Yield
4 servings
Ingredients
1 pound rainbow carrots (or just orange if you can't find rainbow), rinsed with water and dried
1 teaspoon cumin
1 teaspoon garlic powder
1/2 teaspoon smoked paprika
4 ounces fresh mozzarella
Fresh basil
1 teaspoon lemon zest
Black pepper
Salt
Olive oil
Directions
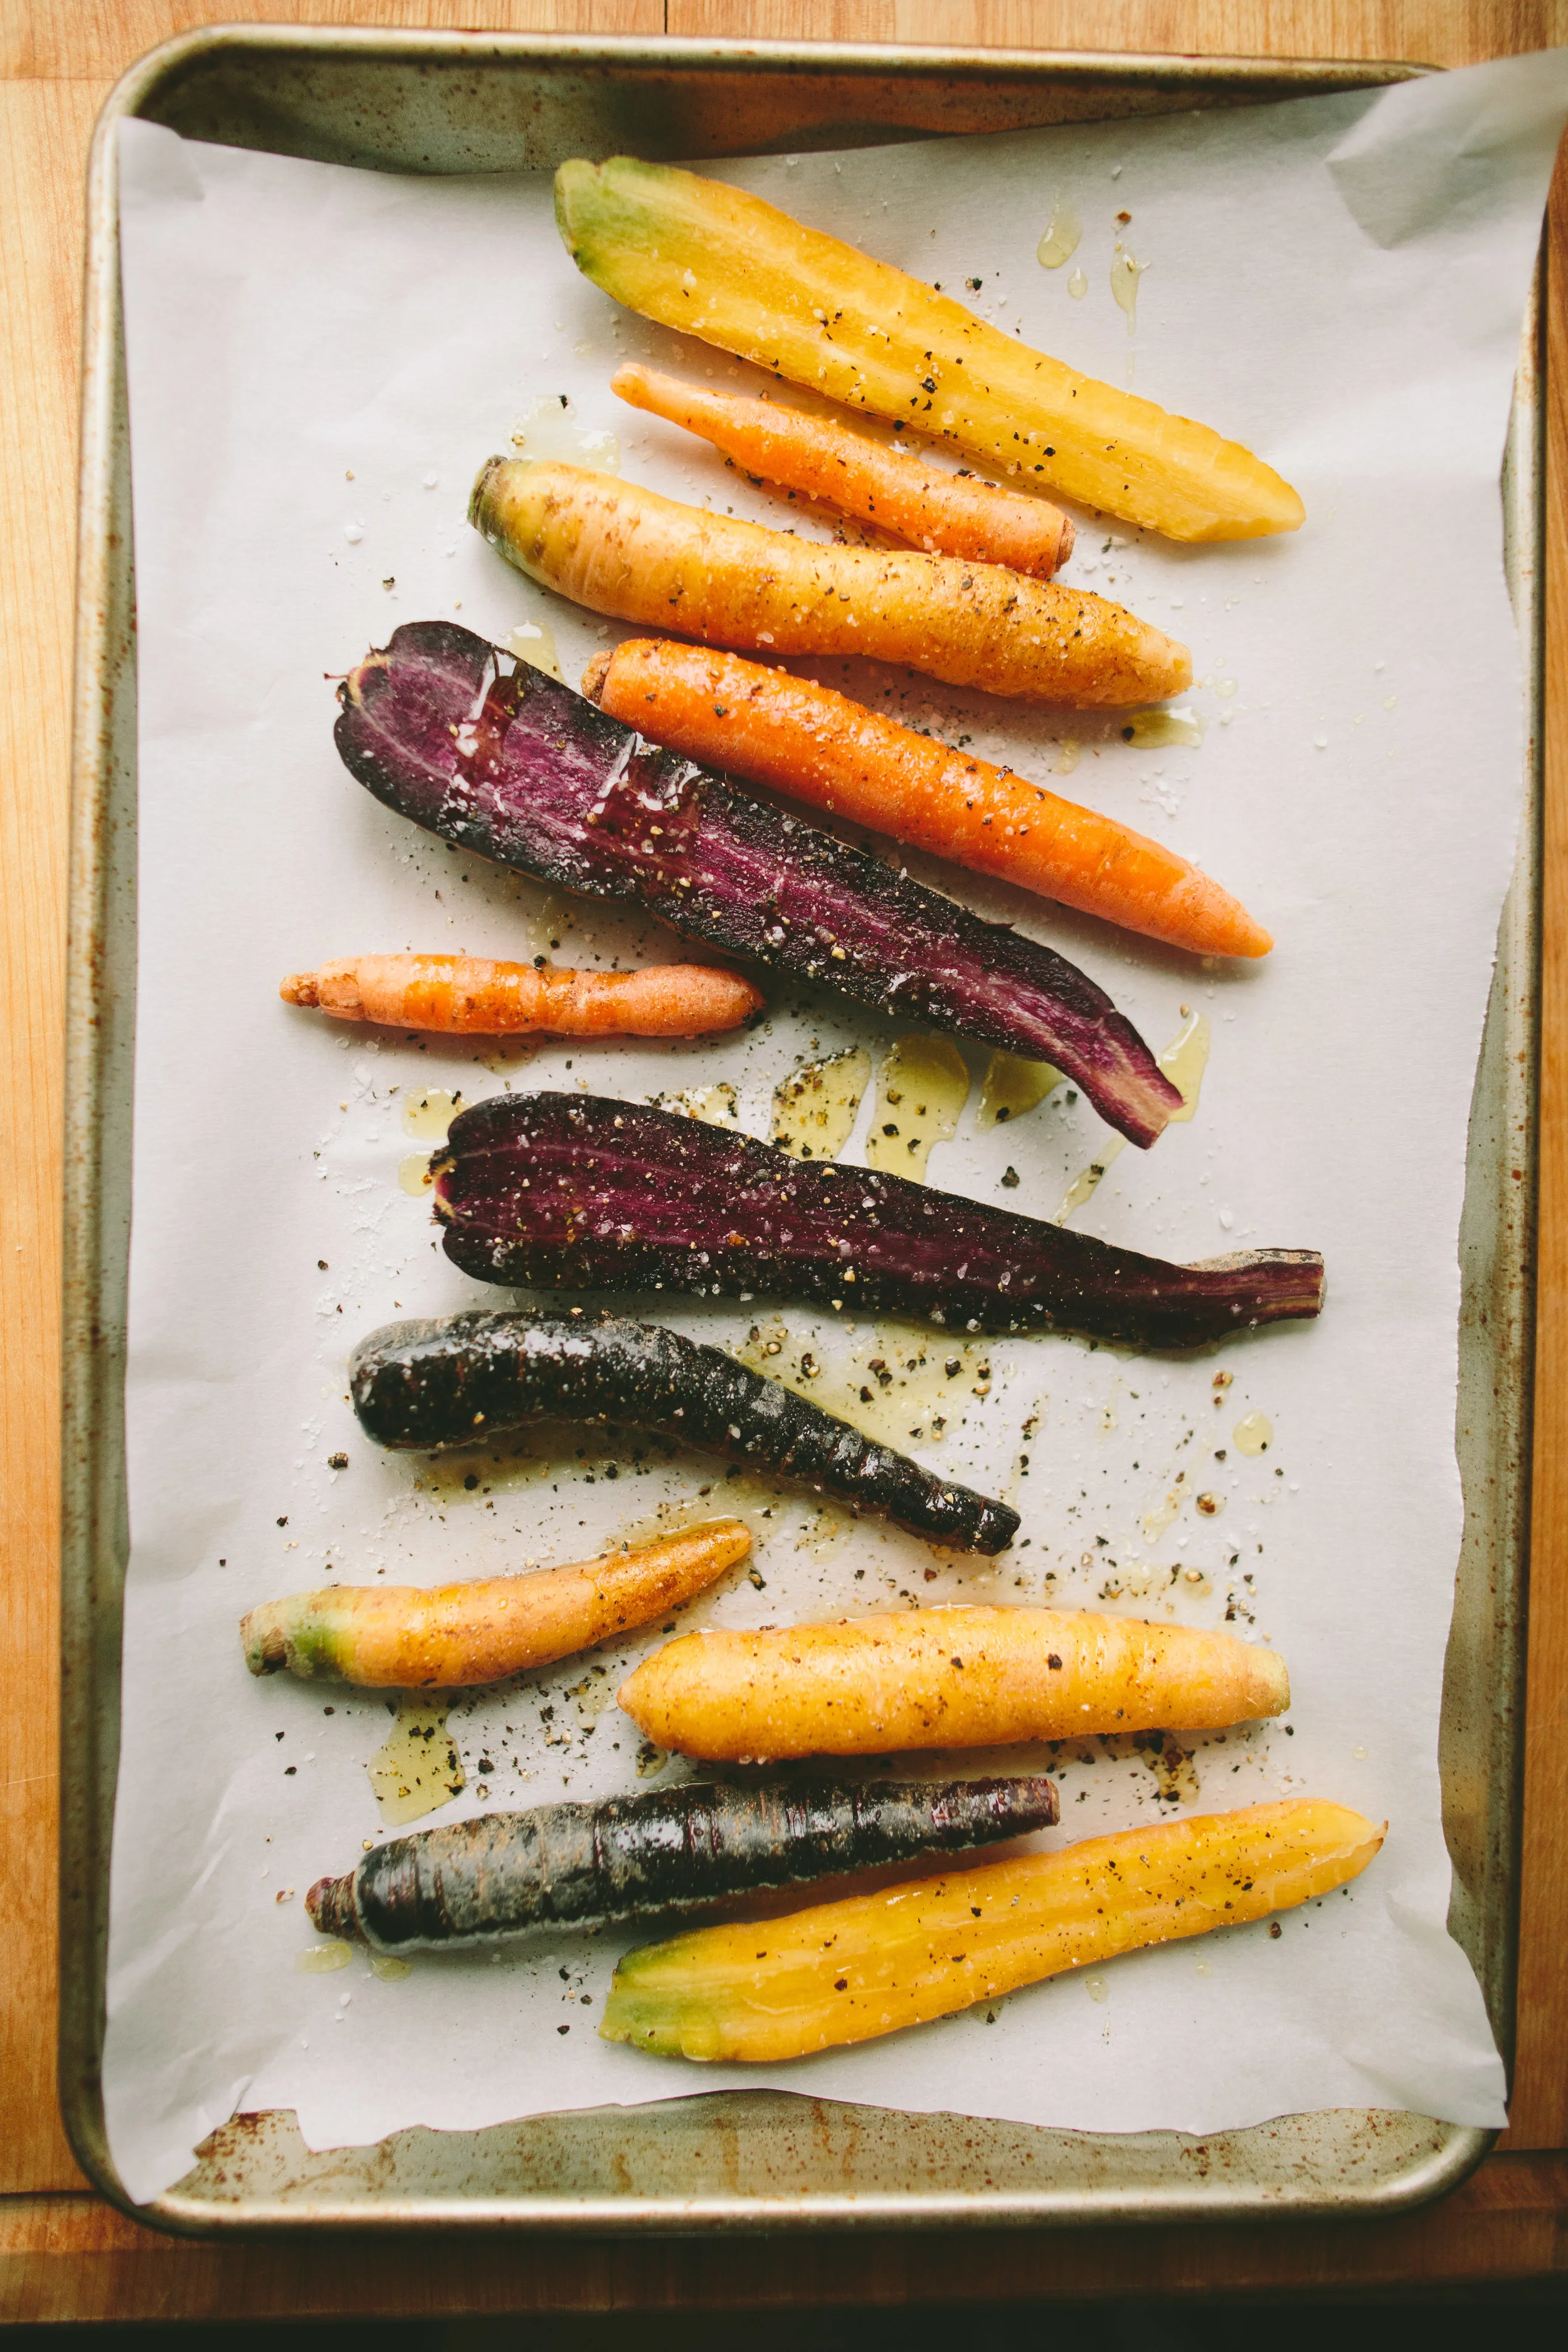
1. Preheat the oven to 375 degrees. Line a baking pan with parchment paper.
2. If some of the carrots are larger, cut them in half. Place the carrots on the prepared baking pan and drizzle some olive oil over them. Turn to coat each carrot. Season with cumin, garlic powder, smoked paprika, salt and pepper.
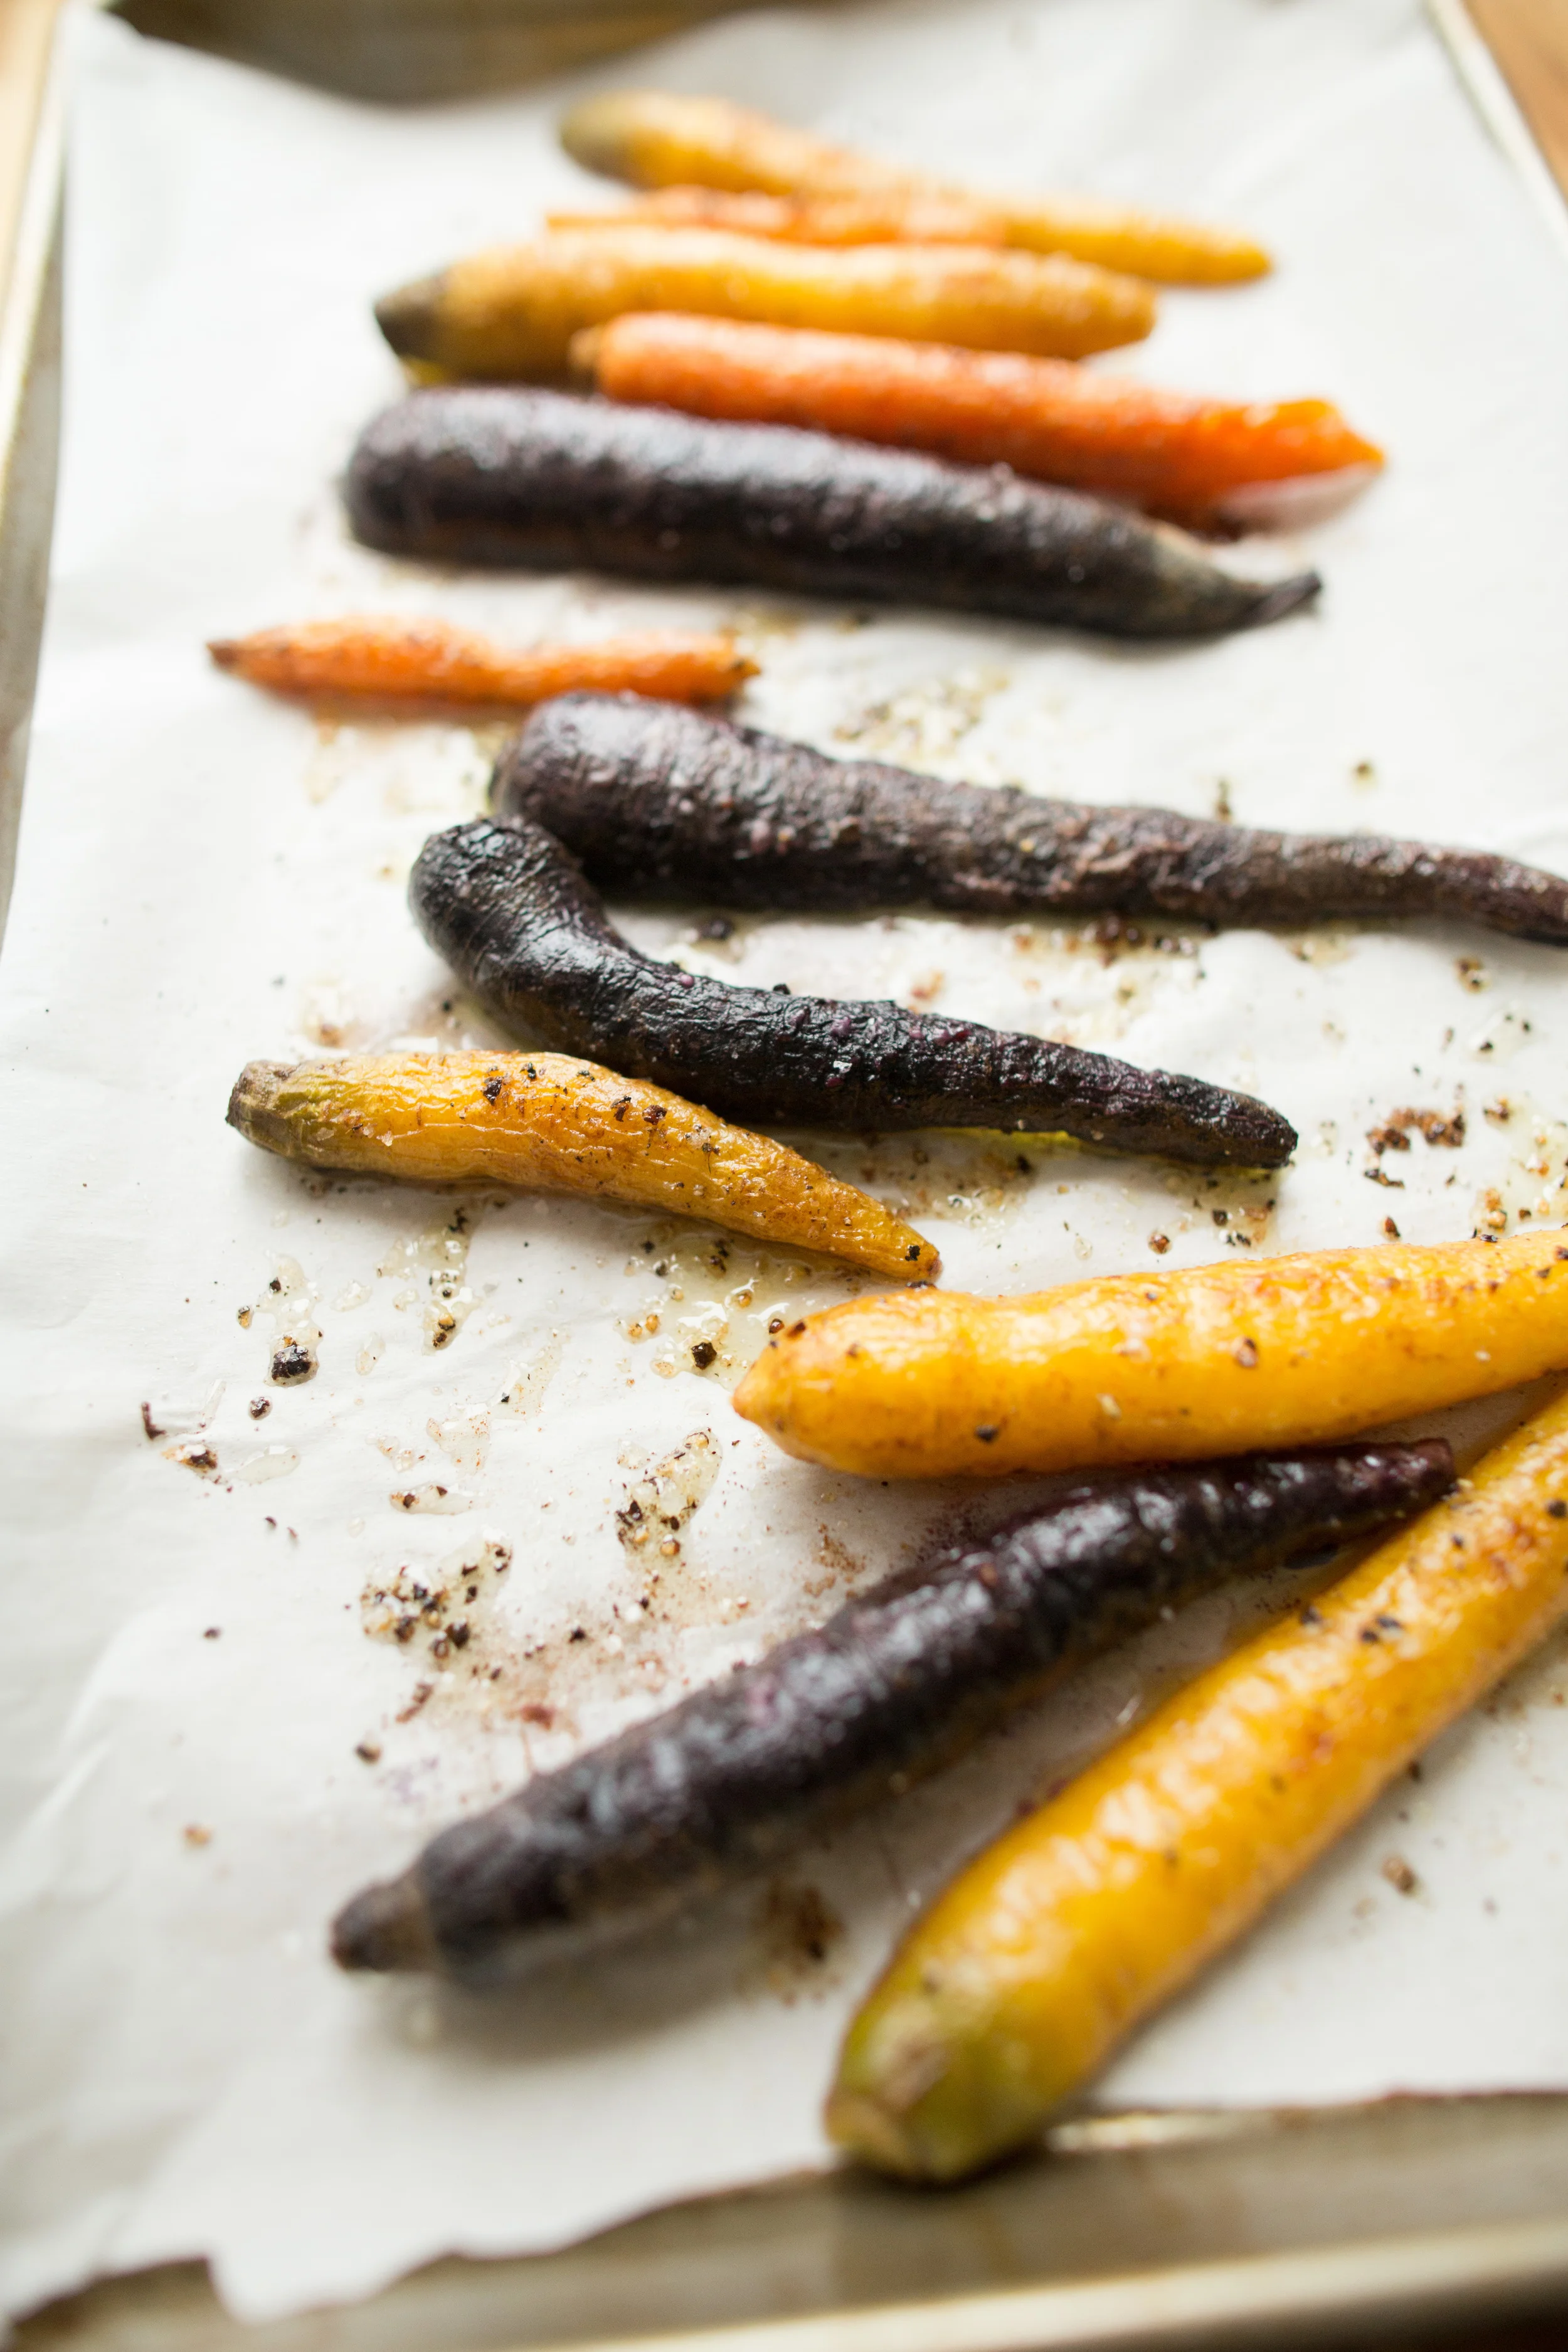
3. Roast in the oven for 15 minutes. Rotate the carrots and return to oven for another 15 minutes, or until they get some color on the outside and are tender.
4. Remove the carrots from the oven. Tear the mozzarella into large chunks and place on a platter. Top with roasted carrots, followed by ripped basil leaves, and lemon zest. Season with salt and black pepper. Finish with a drizzle of olive oil.