Baby Artichoke and Shrimp Risotto

I met Eric when I was 21. It was my last semester of college and he was freelancing, so our schedules were all over the place. Despite the craziness, we always managed to have dinner together. In this new relationship, I relished the opportunity to cook for someone. Prior to this courtship, I prepared food as a single person does. Salads mostly or pasta with tomato sauce, though sometimes I'd make myself a piece of fish. Whatever it was, portions were never more than a serving, maybe two. Cooking for someone, though, allowed me to venture outside my culinary comfort zone. 

Risotto came into the picture very early on in our relationship on a frigid winter night. Windows quickly fogged up from the steam that produced with each ladle of broth that hit the pan. I stirred and stirred, and ladled some more. My first attempt was mostly successful; flavorful, but texturally off (I overcooked the rice). I made it a few more times after that and, with every go at it, got better. 

With that being said, I really can't remember when I last prepared it. It's been years. Which is why I was thrilled when Italian cookware producer, Lagostina, offered to send me a risotto pan to try out. It's beautifully designed with some good heft to it. The pan distributes heat evenly, which meant there weren't areas where the risotto starts to burn (I've had that problem before with other pans). And the lid acts as a trivet, so you can flip it over and place it right on the table!

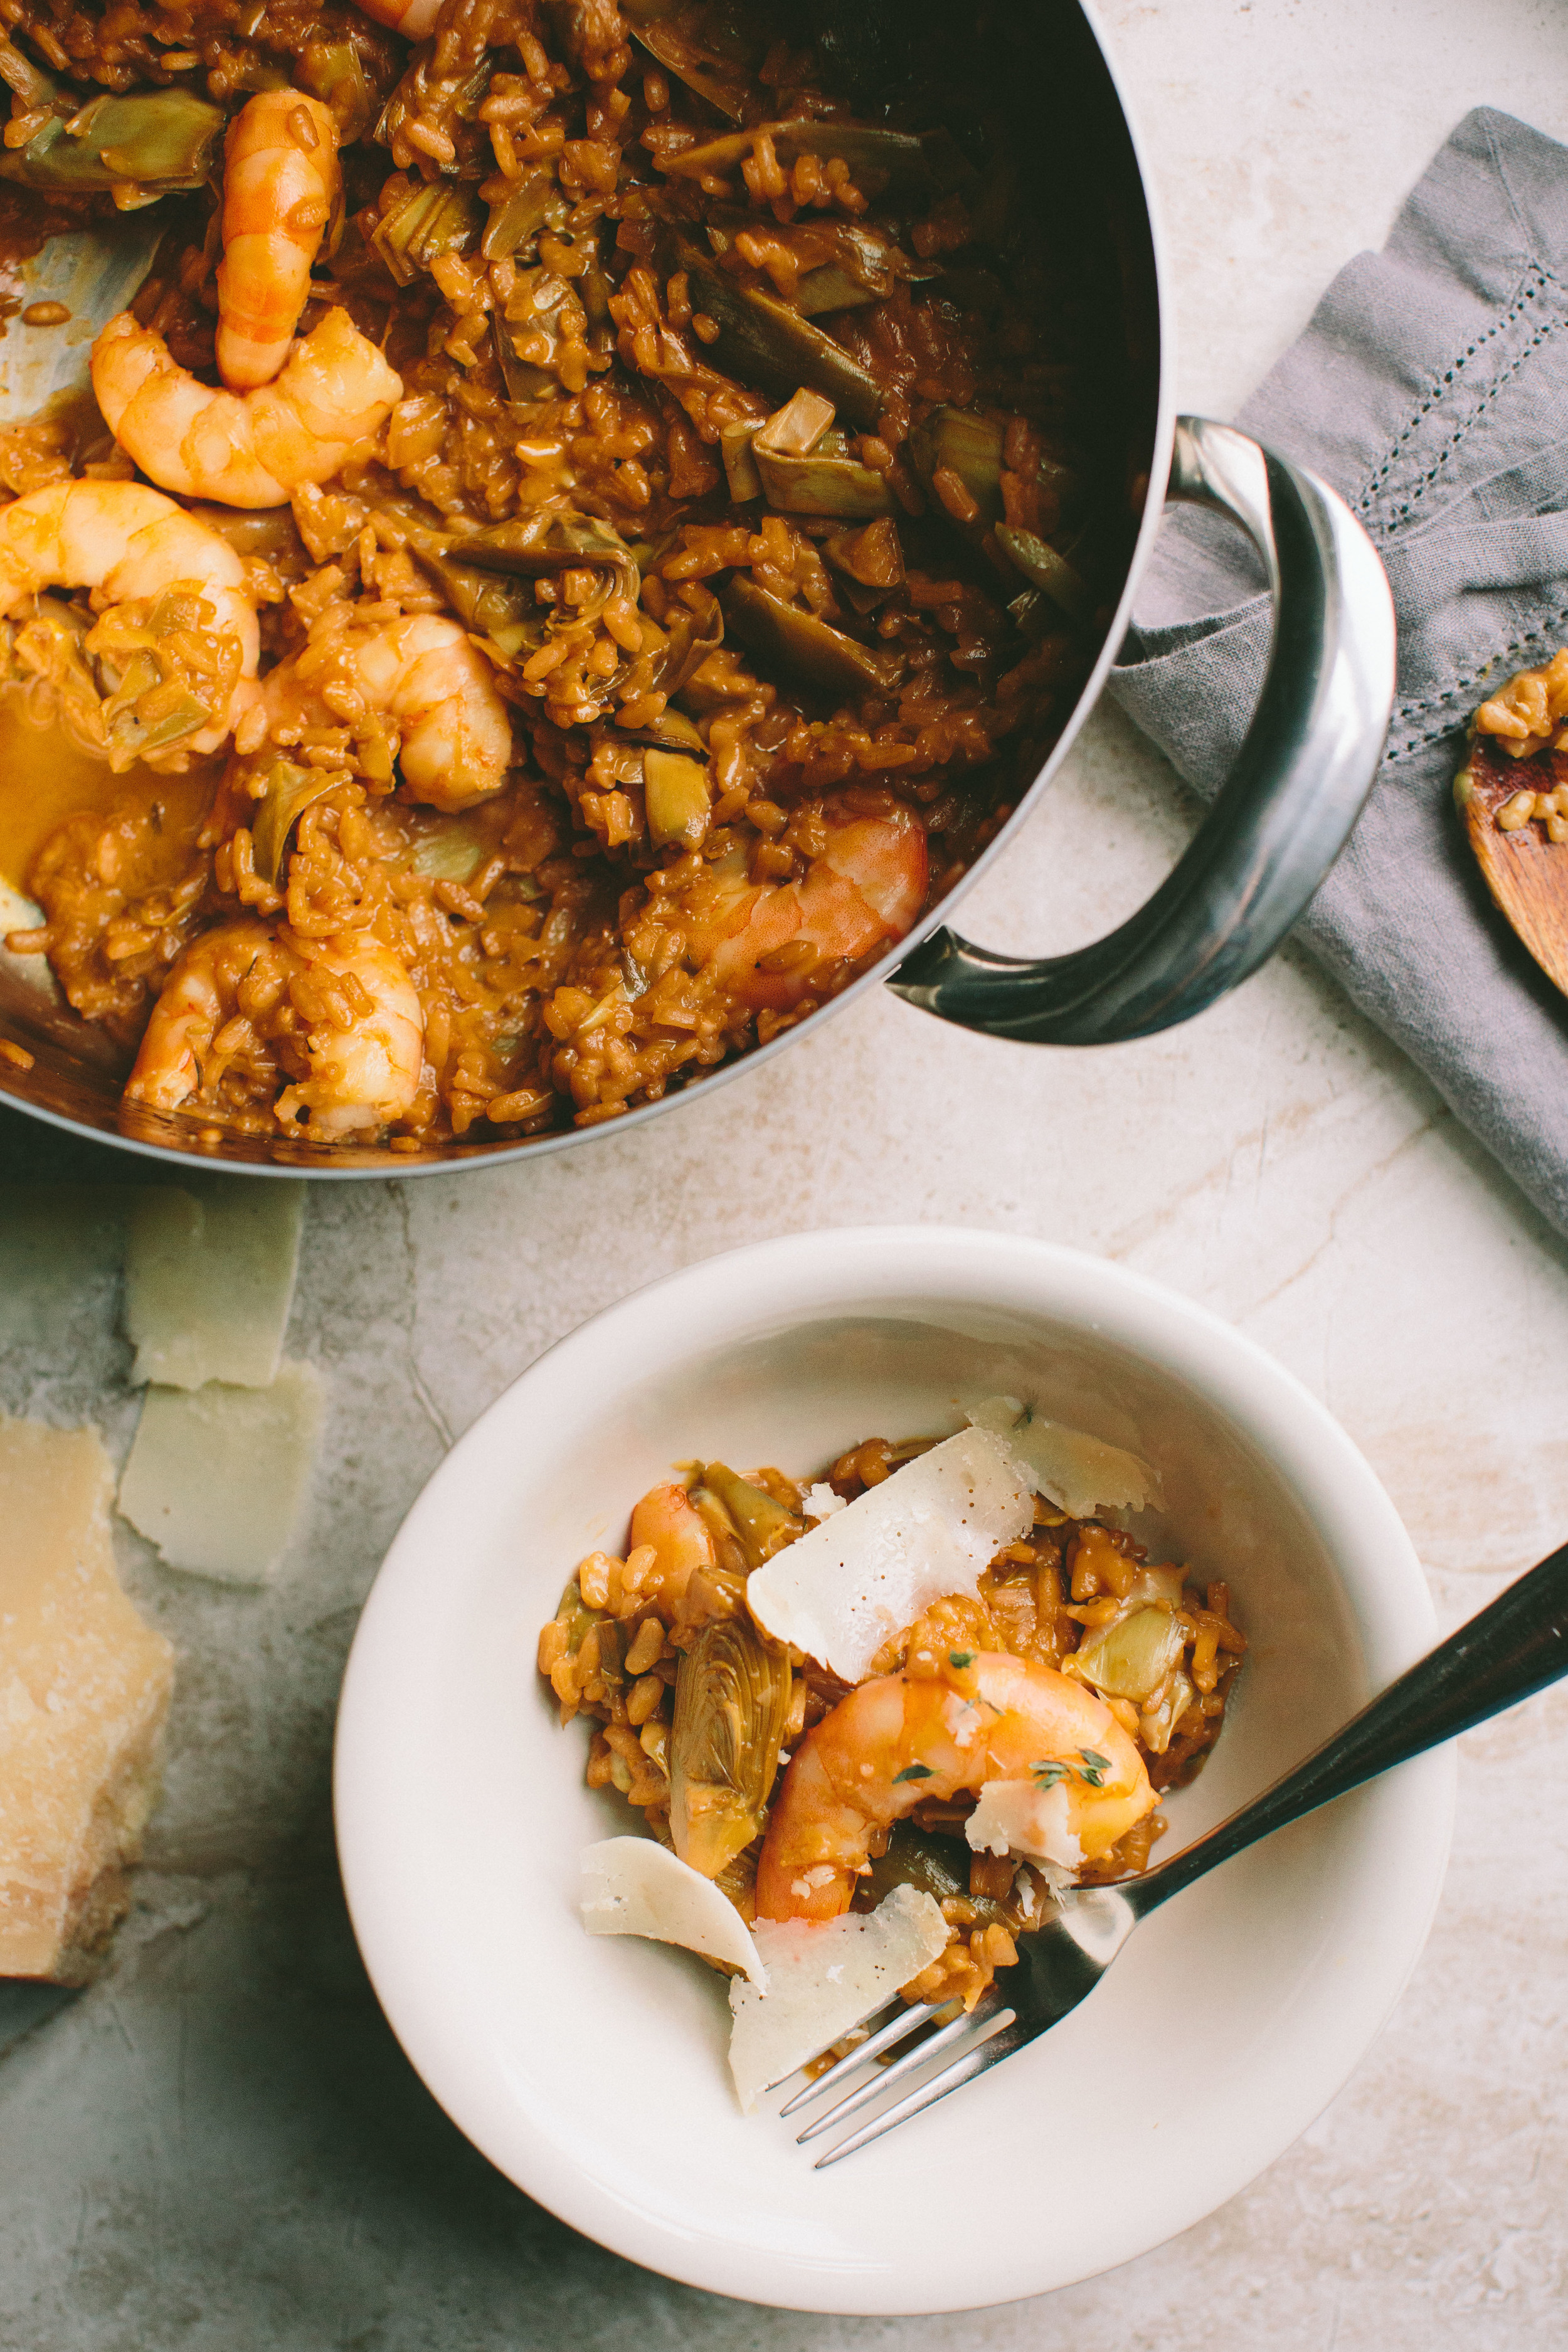
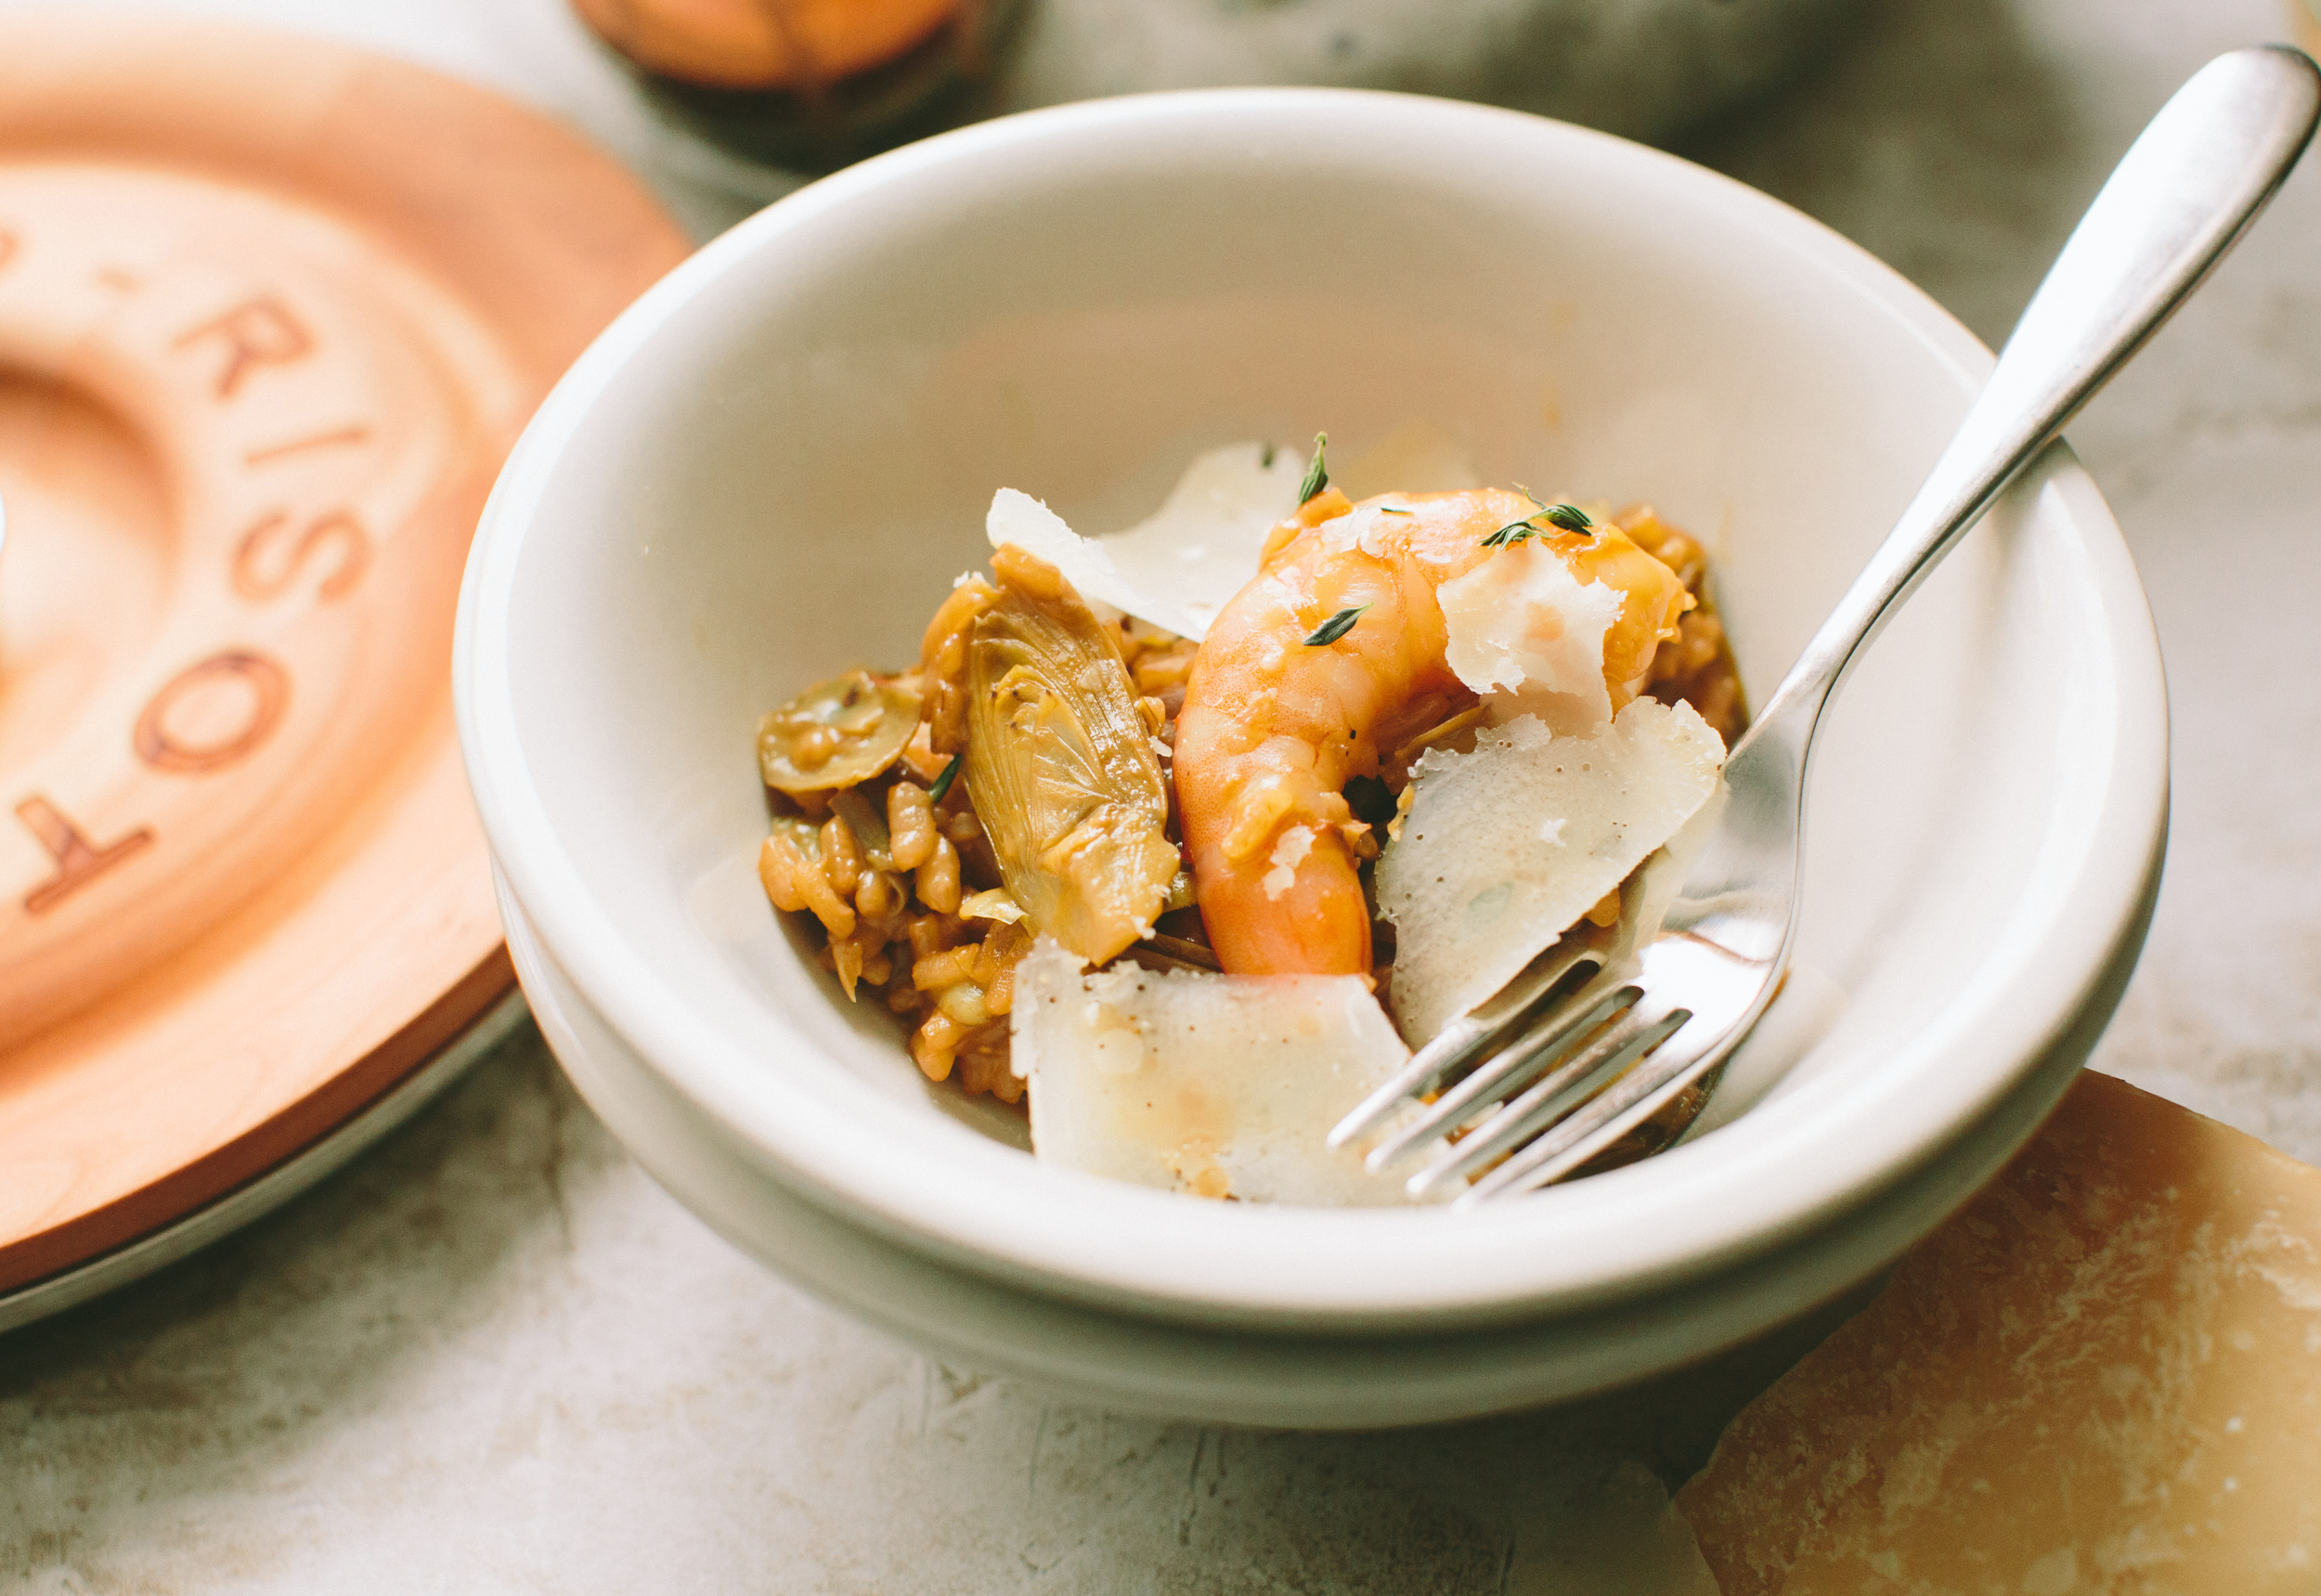
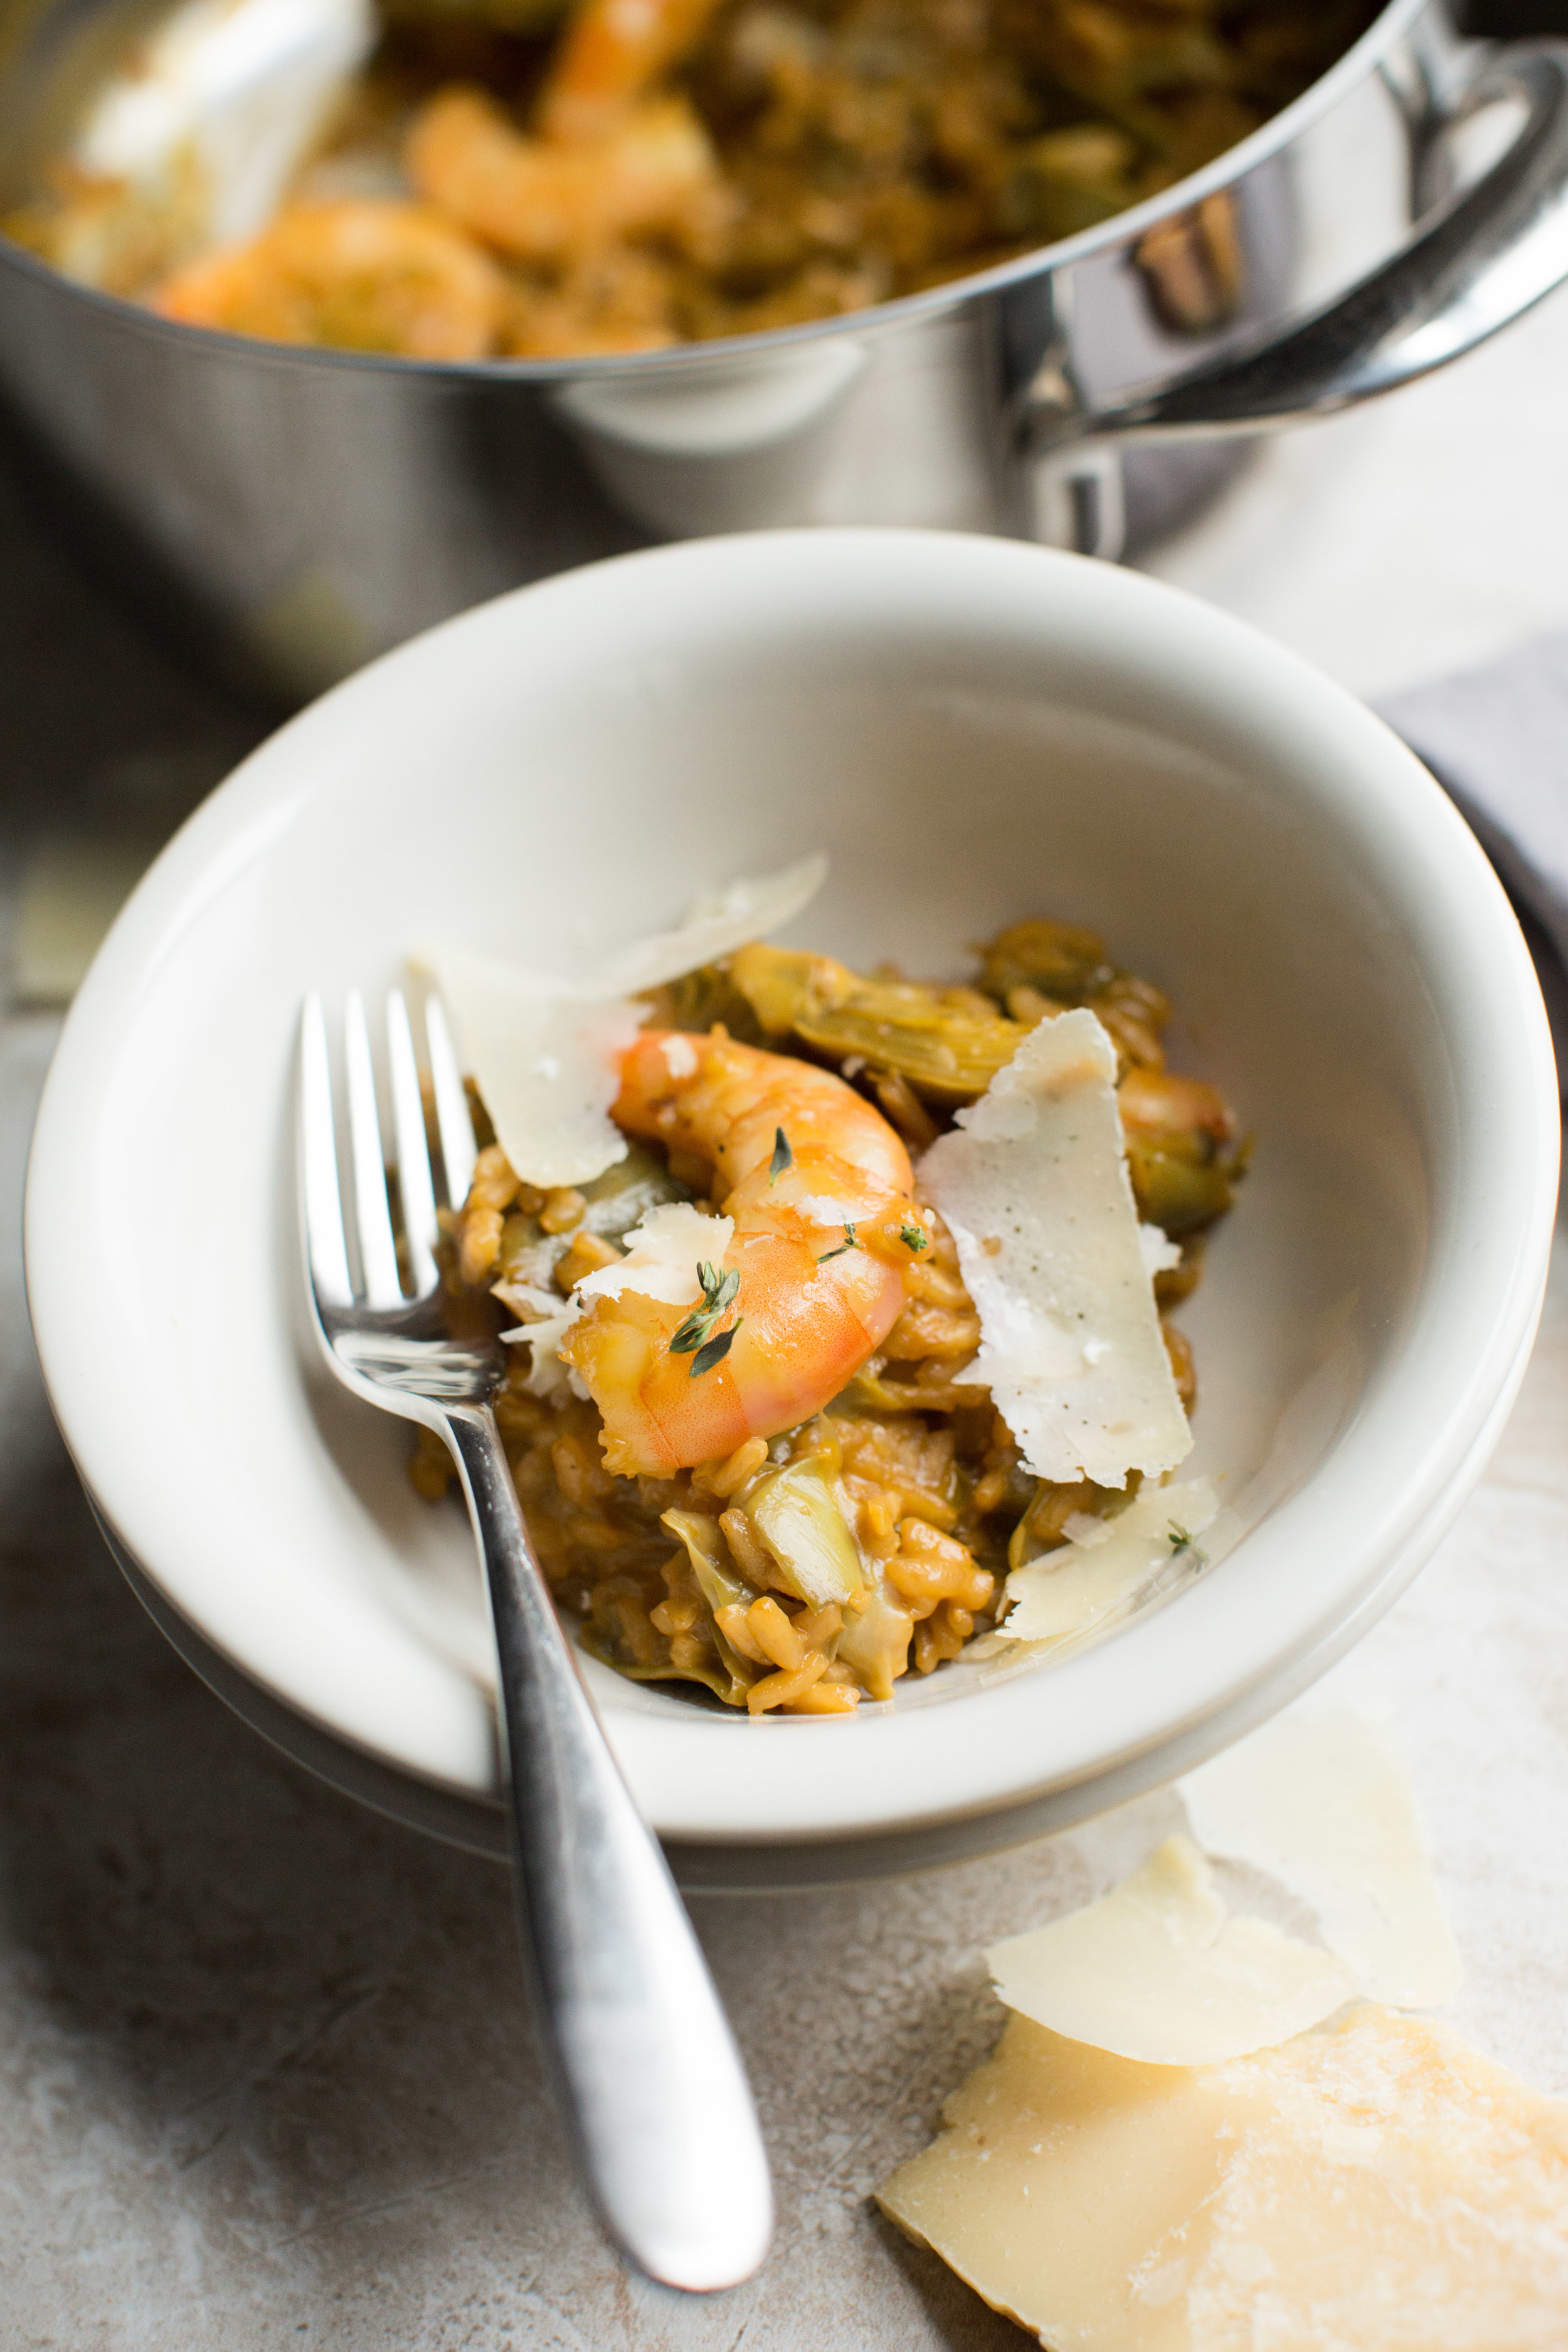
I'm thrilled to have spring produce back in the market. I couldn't resist the opportunity to pick up some artichokes for this dish. That and the thyme and the lemon zest all give this risotto some brightness. Topped with shrimp and you have a wonderful, hearty pescatarian meal. Leave it off, though, and it still holds up. 

Now, for some news! Lagostina has been kind enough to provide a risotto pan for me to giveaway on my Instagram account! It'll be launched later this week, but be sure to follow along so you'll know when it's up!

Disclaimer: While I was provided with product, there was no monetary compensation for this post. All opinions and views are my own.


Baby Artichoke and Shrimp Risotto

Yield
4 servings

Ingredients
10 baby artichokes, trimmed and quartered lengthwise
1 lb shrimp, peeled and deveined
6 cups seafood or vegetable broth
1 shallot, finely chopped
1 garlic clove, minced
3 tablespoons butter
1 1/2 cups Arborio rice
3/4 cup dry white wine
1 tablespoon lemon zest
1 teaspoon fresh thyme leaves, chopped
1/2 cup freshly grated Parmesan cheese
Olive oil
Salt
Black Pepper

Directions

1. Heat the broth in a large pot set over medium-high heat. 

2. Season shrimp with salt and pepper. Heat 2 tablespoons olive oil in a large sauce pan over medium-high heat. Add shrimp and cook for 3 minutes on each side, or until cooked through. Transfer to a plate or bowl. 

3. Melt the butter in the same large sauce pan (or risotto pan) set over medium heat. Add the chopped shallot and cook for 3 minutes, stirring frequently.  Add the artichoke, garlic, and thyme and cook for 2 minutes.  

4. Stir in the Arborio rice and cook for 2 minutes. Add the white wine and give it a stir. Cook until the wine is fully absorbed. 

5. Add the broth to the pan one ladle at a time, making sure to stir the risotto frequently. When the broth has been absorbed, add another. Continue with the remaining broth and cook risotto until it's tender. 

6. Mix the lemon zest and most of the Parmesan and shrimp into the risotto (leaving some cheese and shrimp to put on top).  

7. Garnish with remaining shrimp, cheese, and some additional thyme. 

Coconut Milk White Russians

Eric and I stood at the kitchen counter with Kahlúa® and vodka bottles in front of us. It was time to make our very first White Russians. While I measured out the liquor, he grabbed handfuls of ice from the freezer and threw them into rocks glasses. To provide a unique spin on this classic drink, I switched out the dairy (milk, cream, or half and half) with coconut milk. This makes it vegan (or just accessible to those who may not tolerate dairy very well).  Noticing that the coconut milk had started to separate in the can, we transferred it to a jar and gave it a good shake. When the lid was removed, the liquid looked smooth and creamy and had started to froth. Each glass was topped with a little, a quick "cheers" was said, and, finally, a sip was taken.

I can see why so many people enjoy this classic Kahlúa® drink. It's sweet, though not overly so, with hints of vanilla and caramel... and the coconut milk adds some body to the whole thing, especially as it mixes together with each sip you take. It makes for a wonderful after-dinner beverage.  I’m excited to mix this up for our next dinner guests.

I had a great time playing around with Kahlúa® for the first time and I can't wait to share some more creations in the coming months as I partner with them and Drizly (an online liquor store that delivers right to your door) to present my unique spin on some of their classic drinks! I've already busted out the cocktail shaker to get to work on some concoctions and can assure you they're all quite delicious and different. 

To try your hand at making a White Russian (vegan or not), head over to my recipe page on Drizly to get your cocktail ingredients! (There's a code for free delivery just for you! Just use "KahluaBOS" when you checkout.)

Disclosure: This post was sponsored by Kahlúa®. All opinions expressed here are my own. Also, please drink responsibly.

Coconut Milk White Russian

Yield
1 drink

Ingredients
2 parts vodka
1 part Kahlúa®
1 part full-fat coconut milk

Directions
Place the coconut milk in a jar (or plastic container) with a lid. Give it a good shake for about 10 seconds. 

Fill a rocks glass with ice. Add the vodka, followed by the Kahlúa®. Top with coconut milk. You can give it a stir, or let the alcohol and coconut milk mix together naturally with each sip. 

Source: Adapted from the recipe posted on the Kahlua® website. 


Beverage and prop styling by Catrine Kelty

Bulgur Salad with Marinated Feta

This weather is messing with my mood. Gloomy one day, sunny the next. Even now, it's beautiful out and we're expecting snow. SNOW!!!  What the what?!?!?! I never know how to dress or what I'm going to want to eat. Do I need to put on a sweater and a scarf or is it shorts weather? Should I put up a pot of soup or are we having a light salad for dinner? I just don't know anymore. 

For times like these where I'm not sure what to prepare for dinner, I prefer hearty salads. I made this bulgur salad to serve with some grilled fish (it was one of those nice days when we wanted to fire up the grill). It's topped with feta that's marinated with herbs and lemon zest. Any leftover feta can be added to other salads. It goes nicely with tuna or, if you're like me and prefer savory breakfasts, can be added to a bowl of chopped tomato and cucumber and hard-boiled egg (yup, that's the kind of thing I eat in the morning).  

Bulgur Salad with Marinated Feta

Serves
6-8, as a side

Ingredients
For the marinated feta
1/2 cup feta, cut into 1/2 inch cubes
1 tablespoon lemon zest
1 teaspoon finely chopped fresh oregano leaves
1/2 teaspoon garlic powder
1 teaspoons coarsely ground black pepper
Olive oil

For the bulgur salad
1 cup bulgur wheat
1 1/2 cup boiling water
1/4 cup minced fresh mint leaves
1/4 cup minced fresh parsley
1 cucumber, seeds removed with a spoon, diced
1/2 cup diced tomato
2 tablespoons lemon juice
Salt

Whole mint leaves, to garnish

Directions
For the marinated feta
1. Place the feta in a bowl. Add the lemon zest and oregano. Season with garlic powder and black pepper.
2. Transfer feta mixture to a tupperware or jar with a lid. Cover cheese with olive oil. Cover the container with the lid and refrigerate for at least 12 hours. 

For the bulgur salad
1. Place the bulgur in a bowl and cover with boiling water. Give it a quick stir and let sit at room temperature for 45 minutes, until slightly softened.  

2. Strain the bulgur of any remaining liquid. Mix in the parsley, mint, chopped cucumber, chopped tomato, and lemon juice. Season with salt, to taste. (At this point, you can either serve it or let the bulgur salad sit in the refrigerator for a few hours to let the flavors develop). 

To serve: Transfer bulgur salad to a serving platter or bowl and top with marinated feta.