Whole Wheat Pizza with Beets, Arugula and Pecorino + A "Seriously Delish" Cookbook Giveaway

Whole Wheat Pizza with Beets, Arugula and Pecorino

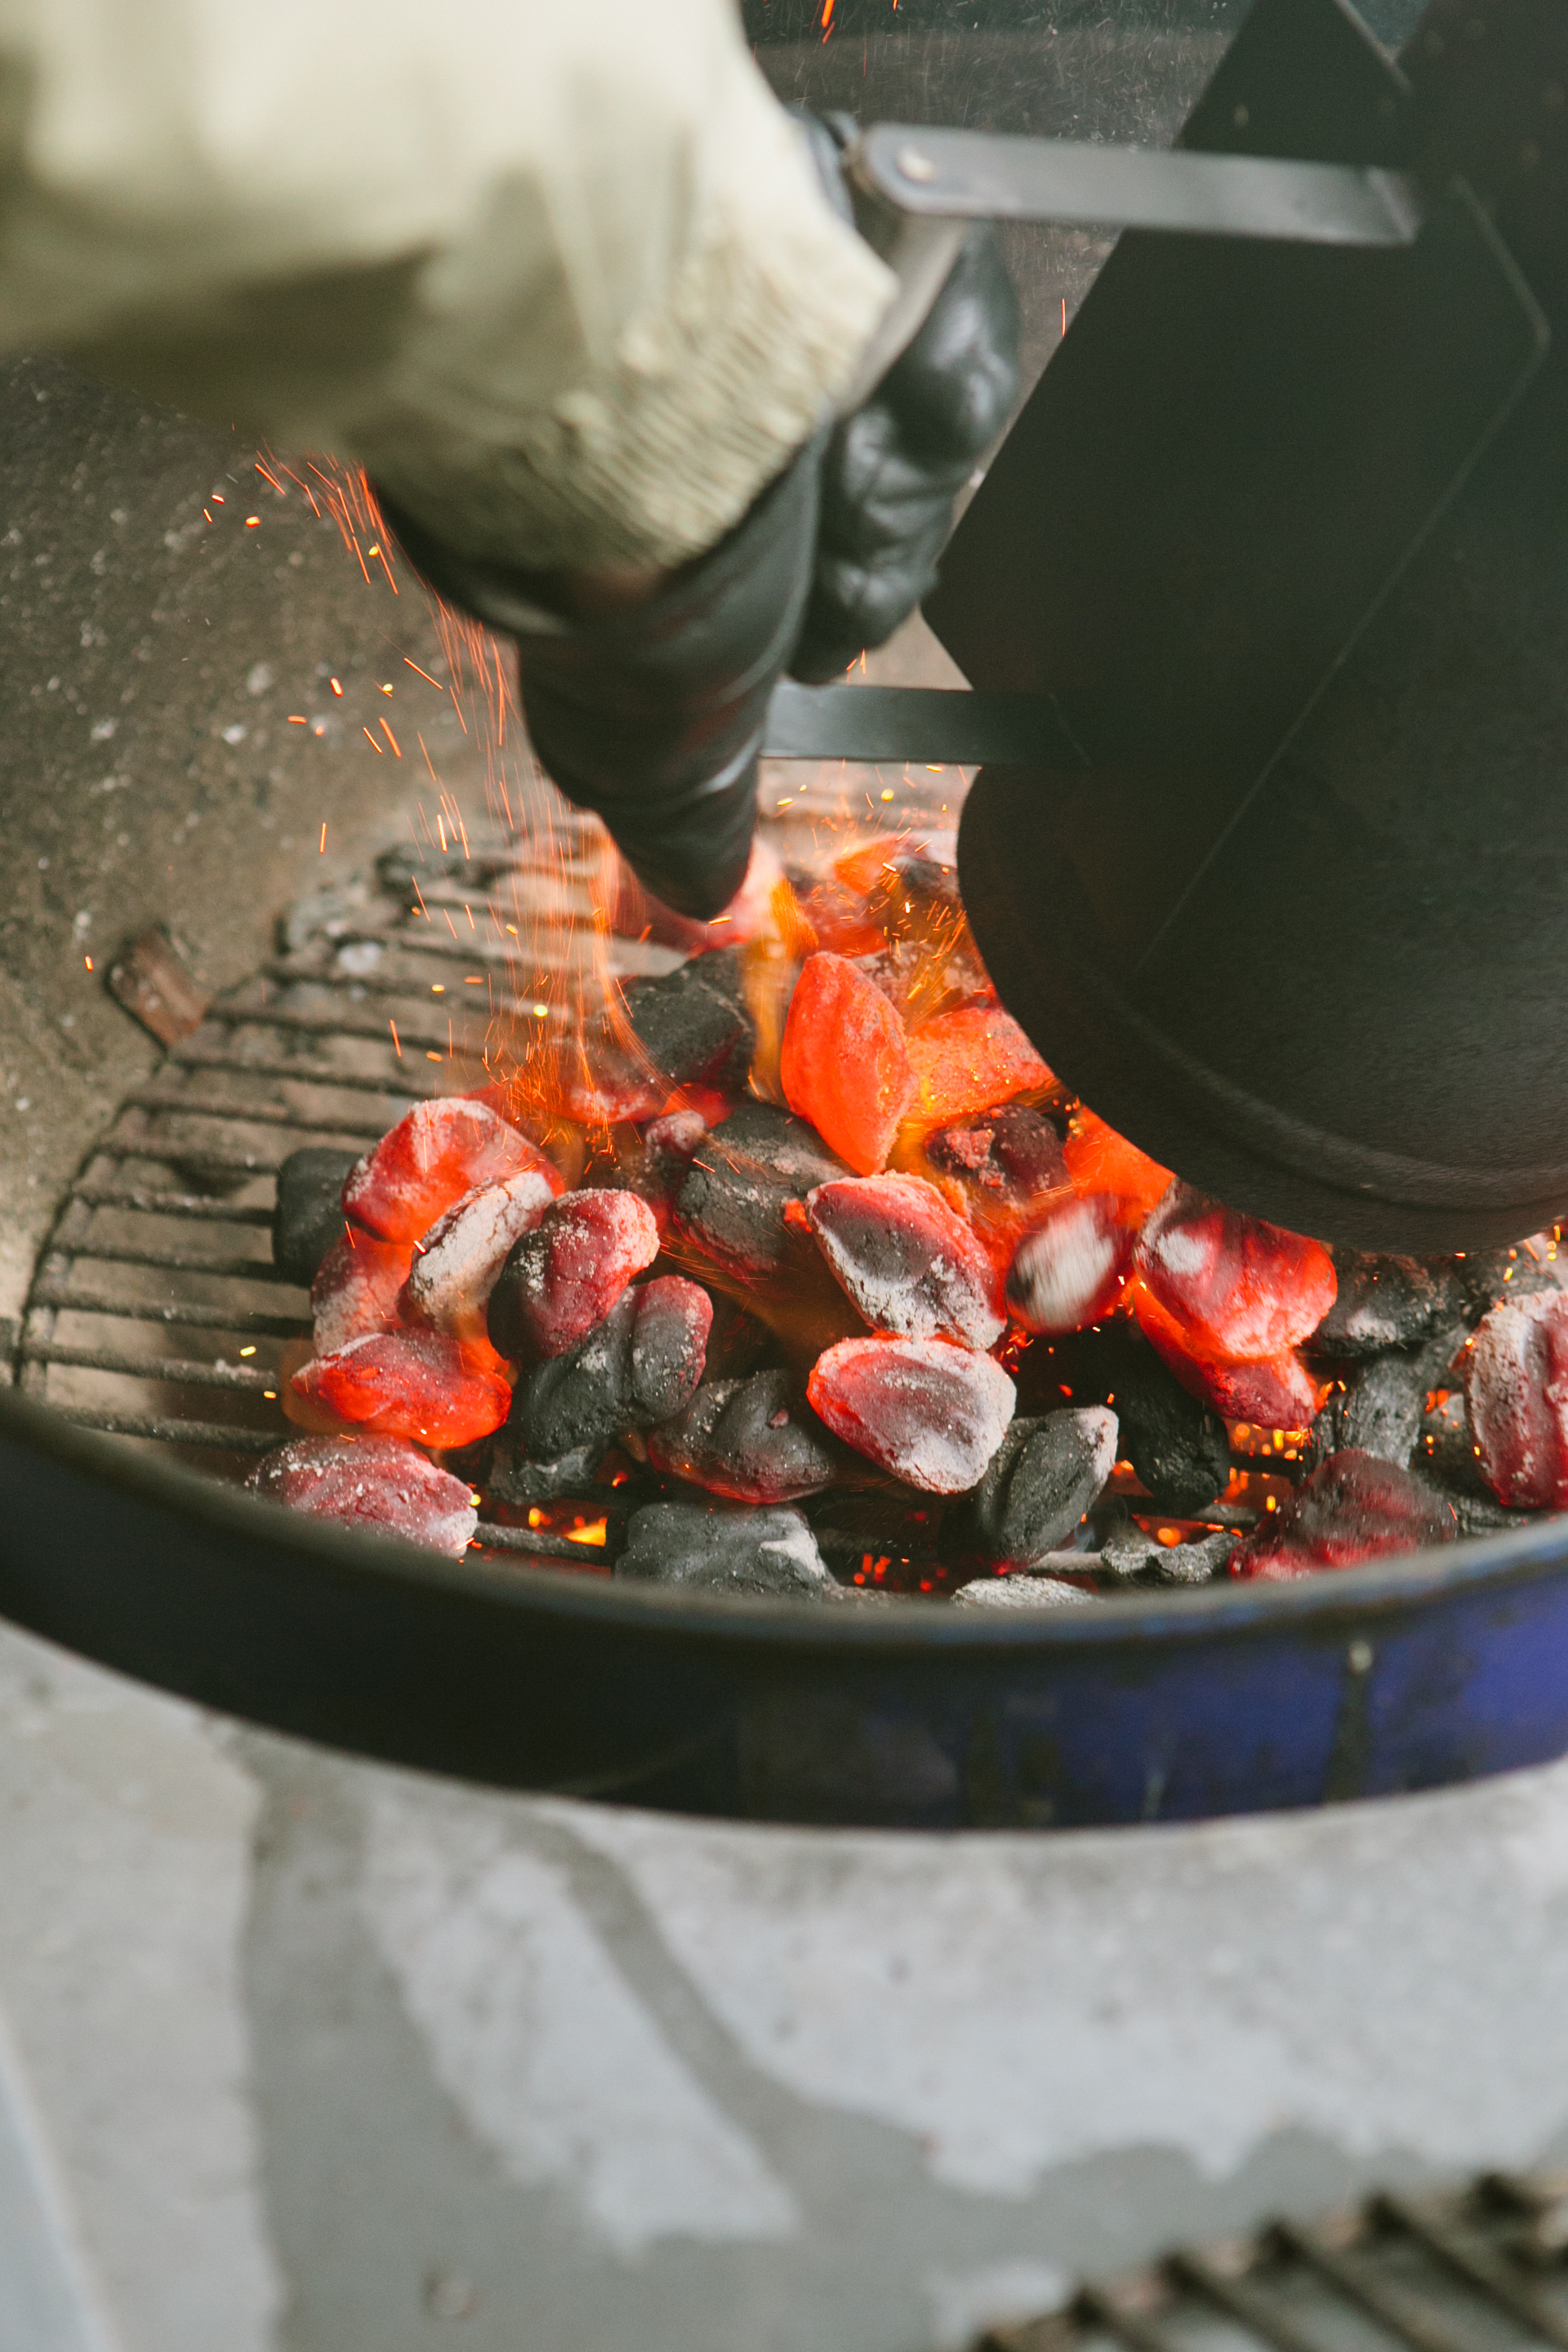
I try to mix things up when it comes to what we eat. If we have fish one night, I'll prepare something vegetarian the next. If one meal is heavy, I'll be sure to create a lighter dish the following evening.  From time to time, I'll throw a pizza into the mix. We don't take in pizza very often because I'm picky when it comes to my slice. I haven't found a pie that compares to what I grew up with in my New Jersey hometown.  The oven or grilled variety has grown on me, though, and that's what I'll usually do if I make it for dinner. We'll roll out some dough and give it whatever spin we're feeling. Clams and pesto or maybe a garlic scape and zucchini pie.  I like to top my pizzas with seasonal ingredients, ideally those that are homegrown or from the co-op we're members of.

The inspiration for this beet pizza came to me as I flipped through the newly released cookbook, Seriously Delish, by blogger Jessica Merchant of How Sweet It Is. I've always admired how Jessica will balance out a decadent recipe (usually it involves a gooey, chocolatey (sometimes boozy) dessert or something bacon-wrapped) with a simple salad. That's how I like to eat. As long as it's using fresh ingredients, I'm on board.

It didn't take long for me to develop this recipe. I came across her beet salad creation and thought, "Hey, that'd make for a great pizza topping! Something unique. Kind of healthy, totally delish."

Whole Wheat Pizza with Beets, Arugula, and Pecorino

The publishers of Seriously Delish have generously offered to giveaway a copy to one lucky A Thought For Food reader. Of course, I suggest ordering a copy anyway (you can always give one to a friend or family member), so be sure to head over to pick up a copy.

Here’s how to enter the giveaway:

Leave a comment on this post… it can be anything, but I’d love to hear what your favorite pizza topping is.

Additional entry: Tweet the following and then come back and leave a comment telling us you’ve done so -

Check out this Beet and Arugula Pizza + a giveaway of Seriously Delish by @howsweetblog over at @myfoodthoughts - http://tinyurl.com/mfrl9cx

Rules: This giveaway will end on Friday, September 12, 2014 at 12:00 PM EST.  I’ll pick 1 winner via random.org and that person will be contacted via e-mail.  Limit to two entries per person (one comment, one tweet) and entrants must have a US mailing address (sorry international friends) and provide a valid email address. Best of luck!

Whole Wheat Pizza with Beets, Arugula and Pecorino

Whole Wheat Pizza with Beets, Arugula and Pecorino

Inspired by Jessica Merchant's Seriously Delicious

Ingredients

For the whole wheat pizza dough 1 packet active dry yeast 1 cups warm water 2 teaspoons honey 1 tablespoon olive oil 1 teaspoon Kosher salt 2 cups whole wheat flour 1.25 cups all-purpose flour

Cornmeal

For the toppings 2 garlic cloves, mashed into a paste 1 tablespoon olive oil 2 medium beets Arugula Pecorino Honey Sea salt and black pepper

Directions

1. In a large mixing bowl, stir together the yeast and the warm water. Stir in the honey and let sit for 10 minutes.

2. Add the olive oil and salt. Then mix in the whole wheat and 3/4 cup of all-purpose flour.

3. Transfer the dough to a floured surface (use the remaining flour) and knead until all the flour has been absorbed.

4. Place the dough in an oiled bowl. Cover the bowl loosely with a towel and let it sit in a warm room for about an hour. At this point the dough should double in size.

5. While the dough is proofing, prepare the beets. Place the unpeeled beets in a pot, cover with water and bring to a boil. Once it reaches a boil, reduce heat to a simmer, cover with a lid, and let cook for 30 minutes, or until a knife can easily be inserted into the beets. Remove from heat and run under cold water. Peel the cooled beets with your hands and slice into 1/2 inch rounds.

6. In a bowl, mix together the garlic paste with the olive oil.

7. Preheat the oven to 450 degrees.

8. Transfer the dough to a floured surface and, using a knife, divide the dough in two. Roll one of them into a ball (save the other ball of dough for future use by wrapping it in plastic wrap and storing it in the refrigerator. This can be stored for up to 3 days).

9. Take the remaining dough and roll it out onto a floured surface.

10. Sprinkle corn meal out onto a baking sheet. Transfer the rolled out pizza dough onto the baking sheet. Spread garlic paste mixture evenly over the pizza, followed by some thin slices of Pecorino. Lay the beets on top and bake in the oven for 15 minutes.

11. Remove the pizza from the oven and top with a heaping handful or two of arugula, some more slices of Pecorino, and a drizzle of honey and olive oil. Season with Kosher salt and freshly ground black pepper.

What I'm Drinking: Blackberry Gin and Tonics

Blackberry Gin and Tonic

It's around 6 o'clock when we begin to get things in order for dinner. As Eric lights the charcoal for the grill, I head into the kitchen to mix drinks. From time to time, we'll pop open a bottle of wine, but more often than not, it's gin and tonics.  I take pride in my g+t-making skills, which were picked up by watching Eric during our first years together. I realized early on in our relationship that if I was going to last in this family, I'd have to learn to prepare one properly.  I grab a lime, cut it in half, squeeze the juice into each glass, making sure to get as much of the pulp in that I can. The used wedges are reserved for the end (Eric likes to eat the rind... it's something I've come to accept).  The next step: add the gin. Sometimes it's measured out in a jigger, but to speed up the process I'll often just eyeball it. A few handfuls of ice cubes and then topped off with tonic and we're good to go!

Earlier this summer, I was chatting with Vijay (of Nosh On It) and Brandon (of Kitchen Konfidence) and we came up with the idea to do a series on our favorite cocktails.  We're calling it "What I Drink," where, from time to time, we'll post our favorite drink recipes. Sometimes these will be classics, but we may also give them a little twist. Be sure to check out Vijay's 1794 and Brandon's Old Fashioned posts.

Seeing that gin and tonics are what we drink during the summer, I immediately knew that's what I'd be making. As I explained above, the recipe for a g+t isn't all that complicated, so I've spruced things up here by making a blackberry shrub that replaces the lime juice in the drink

But before you scroll down for the recipe, here's a little Q+A to give you all a bit more info about why I love gin and tonics and what the heck a shrub is. Hope you enjoy! Cheers.

Blackberry Gin and Tonic

What flavor profile best fits your cocktail? Sweet, fresh, bitter or savory?

What's great about shrubs is that they're a combination of sweet (from the sugar and fruit) and tangy (from the vinegar), making for a balanced cocktail.

Why is this drink your favorite?

Well, the gin and tonic is certainly my favorite summer drink and I pretty much only consume it from June through August. It's a simple drink to prepare and it's very refreshing.

Do you enjoy variations, or do you just stick to the original recipe?

Often I stick to the original recipe (gin, lime juice, tonic), though, in this case, I played around a bit. I've also been known to add a splash of Aperol or bitters to my gin and tonic.

When making cocktails, what's the best advice you've ever received (or read)?

I'm not sure there's one piece of advice that sticks out. It's more like a combination of tips and tricks I've picked up from watching bartenders. I've learned to taste my drink as I add ingredients to see if it needs more sweetness or citrus or something to smooth it out. One bartender told me that you should add the alcohol at the end... or at least the most expensive liquor... because that way if you screw up the drink, you don't lose the pricier ingredient. Sometimes I'll follow that rule, but it doesn't always make sense.

What's the worst alcoholic beverage you've tasted?  Please describe the experience.

When we go out, we tend to hit up places that we know will mix up a well-crafted cocktail. However, there have been a few times when we try out a new place and we're terribly disappointed by the results. I don't expect much from a dive bar, but nicer establishments should be able to produce a balanced drink. There have been a couple of occasions when we're served a drink that's flat for some reason... it's missing some acidity or sweetness or, in the worst of circumstances, any discernible booze.

IMG_2228-2

Blackberry Gin and Tonic

Note: The shrub in this cocktail takes a week to prepare.

Ingredients

For the shrub 1 cup blackberries 1 cup balsamic vinegar 3/4 cup sugar

For the gin and tonic 1.5 oz gin .75 oz blackberry shrub tonic

Blackberries, for garnish

Directions

1. In a bowl, toss blackberries with sugar. Let sit for one hour at room temp.

2. Mash the blackberries with a large spoon. Let sit for another hour.

3. Mash the fruit again and then let sit for 24 hours at room temp.

4. Add the vinegar, stir, and let sit, covered, for at least one week, making sure to give it a good stir every day.

5. After a week, strain the fruit from the mixture and save the liquid in a mason jar (or a large container with a cover).

6. To make the gin and tonic, pour the gin into a glass, followed by the shrub. Add a handful of ice cubes and top with tonic. Garnish with fresh blackberries.

Honey Glazed Grilled Salmon + Carrot Slaw with Miso-Ginger Dressing

Honey Glazed Grilled Salmon and Carrot Slaw with Miso-Ginger Dressing

Growing up, my father, like most dads, was the grill master.  He will still find any excuse to cook outside... nothing will deter him. A little rain? Put on a jacket and get an umbrella! Eric's the same way and has been known to uncover the grill in the middle of winter. I certainly have an appreciation for the art of grilling and realize how exhilarating it is to cook over an open flame. But I let these guys enjoy their moment. They know what they're doing and they seem to take great pride in their talents, so why take that away from them? I'll stand back and let them do their thing.  Of course, my mother and I are the ones who season the food before it hits the grate... but I'll let that little detail slide.

I learned something recently that blew my mind, and yet it makes perfect sense. If one uses a marinade to baste meat or fish, then that liquid must first be cooked before it can be applied. I will often marinate whatever we're cooking, but seeing that I'm rarely in charge of grilling, I didn't pay attention to the process after the fish left the kitchen. It wasn't until I started to develop this recipe that I found out that marinade that's been used on raw fish or meat shouldn't be used to baste the protein, unless it's been heated prior to this point.

Now that we're half way through the work week, I suggest you get your weekend grill plans in order. We'll be using it quite a bit over ourselves, including next week when we spend a little time on the Cape.

Honey Glazed Grilled Salmon + Carrot Slaw with Miso-Ginger Dressing

Servings 8-10 servings as a side

Ingredients

For the salmon

1 ½ lb salmon fillet (skin on)
2 tablespoons honey
2 teaspoons olive oil
2 teaspoons ground ginger
1/3 cup orange juice
1 tablespoon lime juice
2 tablespoons soy sauce

For the carrot slaw
4 cups grated peeled carrots
1 scallion, light and dark green parts only, chopped
¼ cup raisins
¼ cup rice wine vinegar
2 tablespoons minced fresh ginger
1 teaspoon sesame oil
1 tablespoon white miso paste
2 teaspoons honey
½ teaspoons red pepper flakes

Directions

For the carrot slaw

1. Make the dressing for the slaw by whisking together the rice wine vinegar, sesame oil, white miso paste, ginger, honey, and red pepper flakes.

2. Place the grated carrot, scallion and raisins in a serving bowl. Pour dressing on top and mix to combine. Cover and let sit in the fridge for an hour before serving.

For the grilled salmon

1. Prepare the marinade by whisking together the honey, olive oil, ground ginger, orange juice, lime juice and soy sauce in a bowl.

2. Place the salmon fillets in a glass baking dish and pour marinade over the fish. Cover and let sit in the refrigerator for 30 minutes.

3. Lightly oil the grill. Preheat the grill to medium heat.

4. Transfer the salmon to a platter. Reserve the marinade.

5. Place the marinade in a small saucepan and bring to a boil. Once it reaches a boil, cook for one minute. This will kill off any bacteria and make it safe to baste the salmon while it’s cooking.

6. Place the salmon, skin side down, on the grill.

7. Cook for approximately 15-20 minutes, depending on the thickness of the salmon, basting every 5 minutes. The way to tell if it's done is by testing the flesh with a fork. When it's done, it will begin to flake. Additionally, if you cut into the salmon, the meat should be opaque.

8. Transfer the fish to a platter and serve with carrot slaw.