Omelet with Chèvre and Fines Herbs

Omelet with Chèvre and Fines Herbs | A Thought For Food

Omelet with Chèvre and Fines Herbs | A Thought For Food

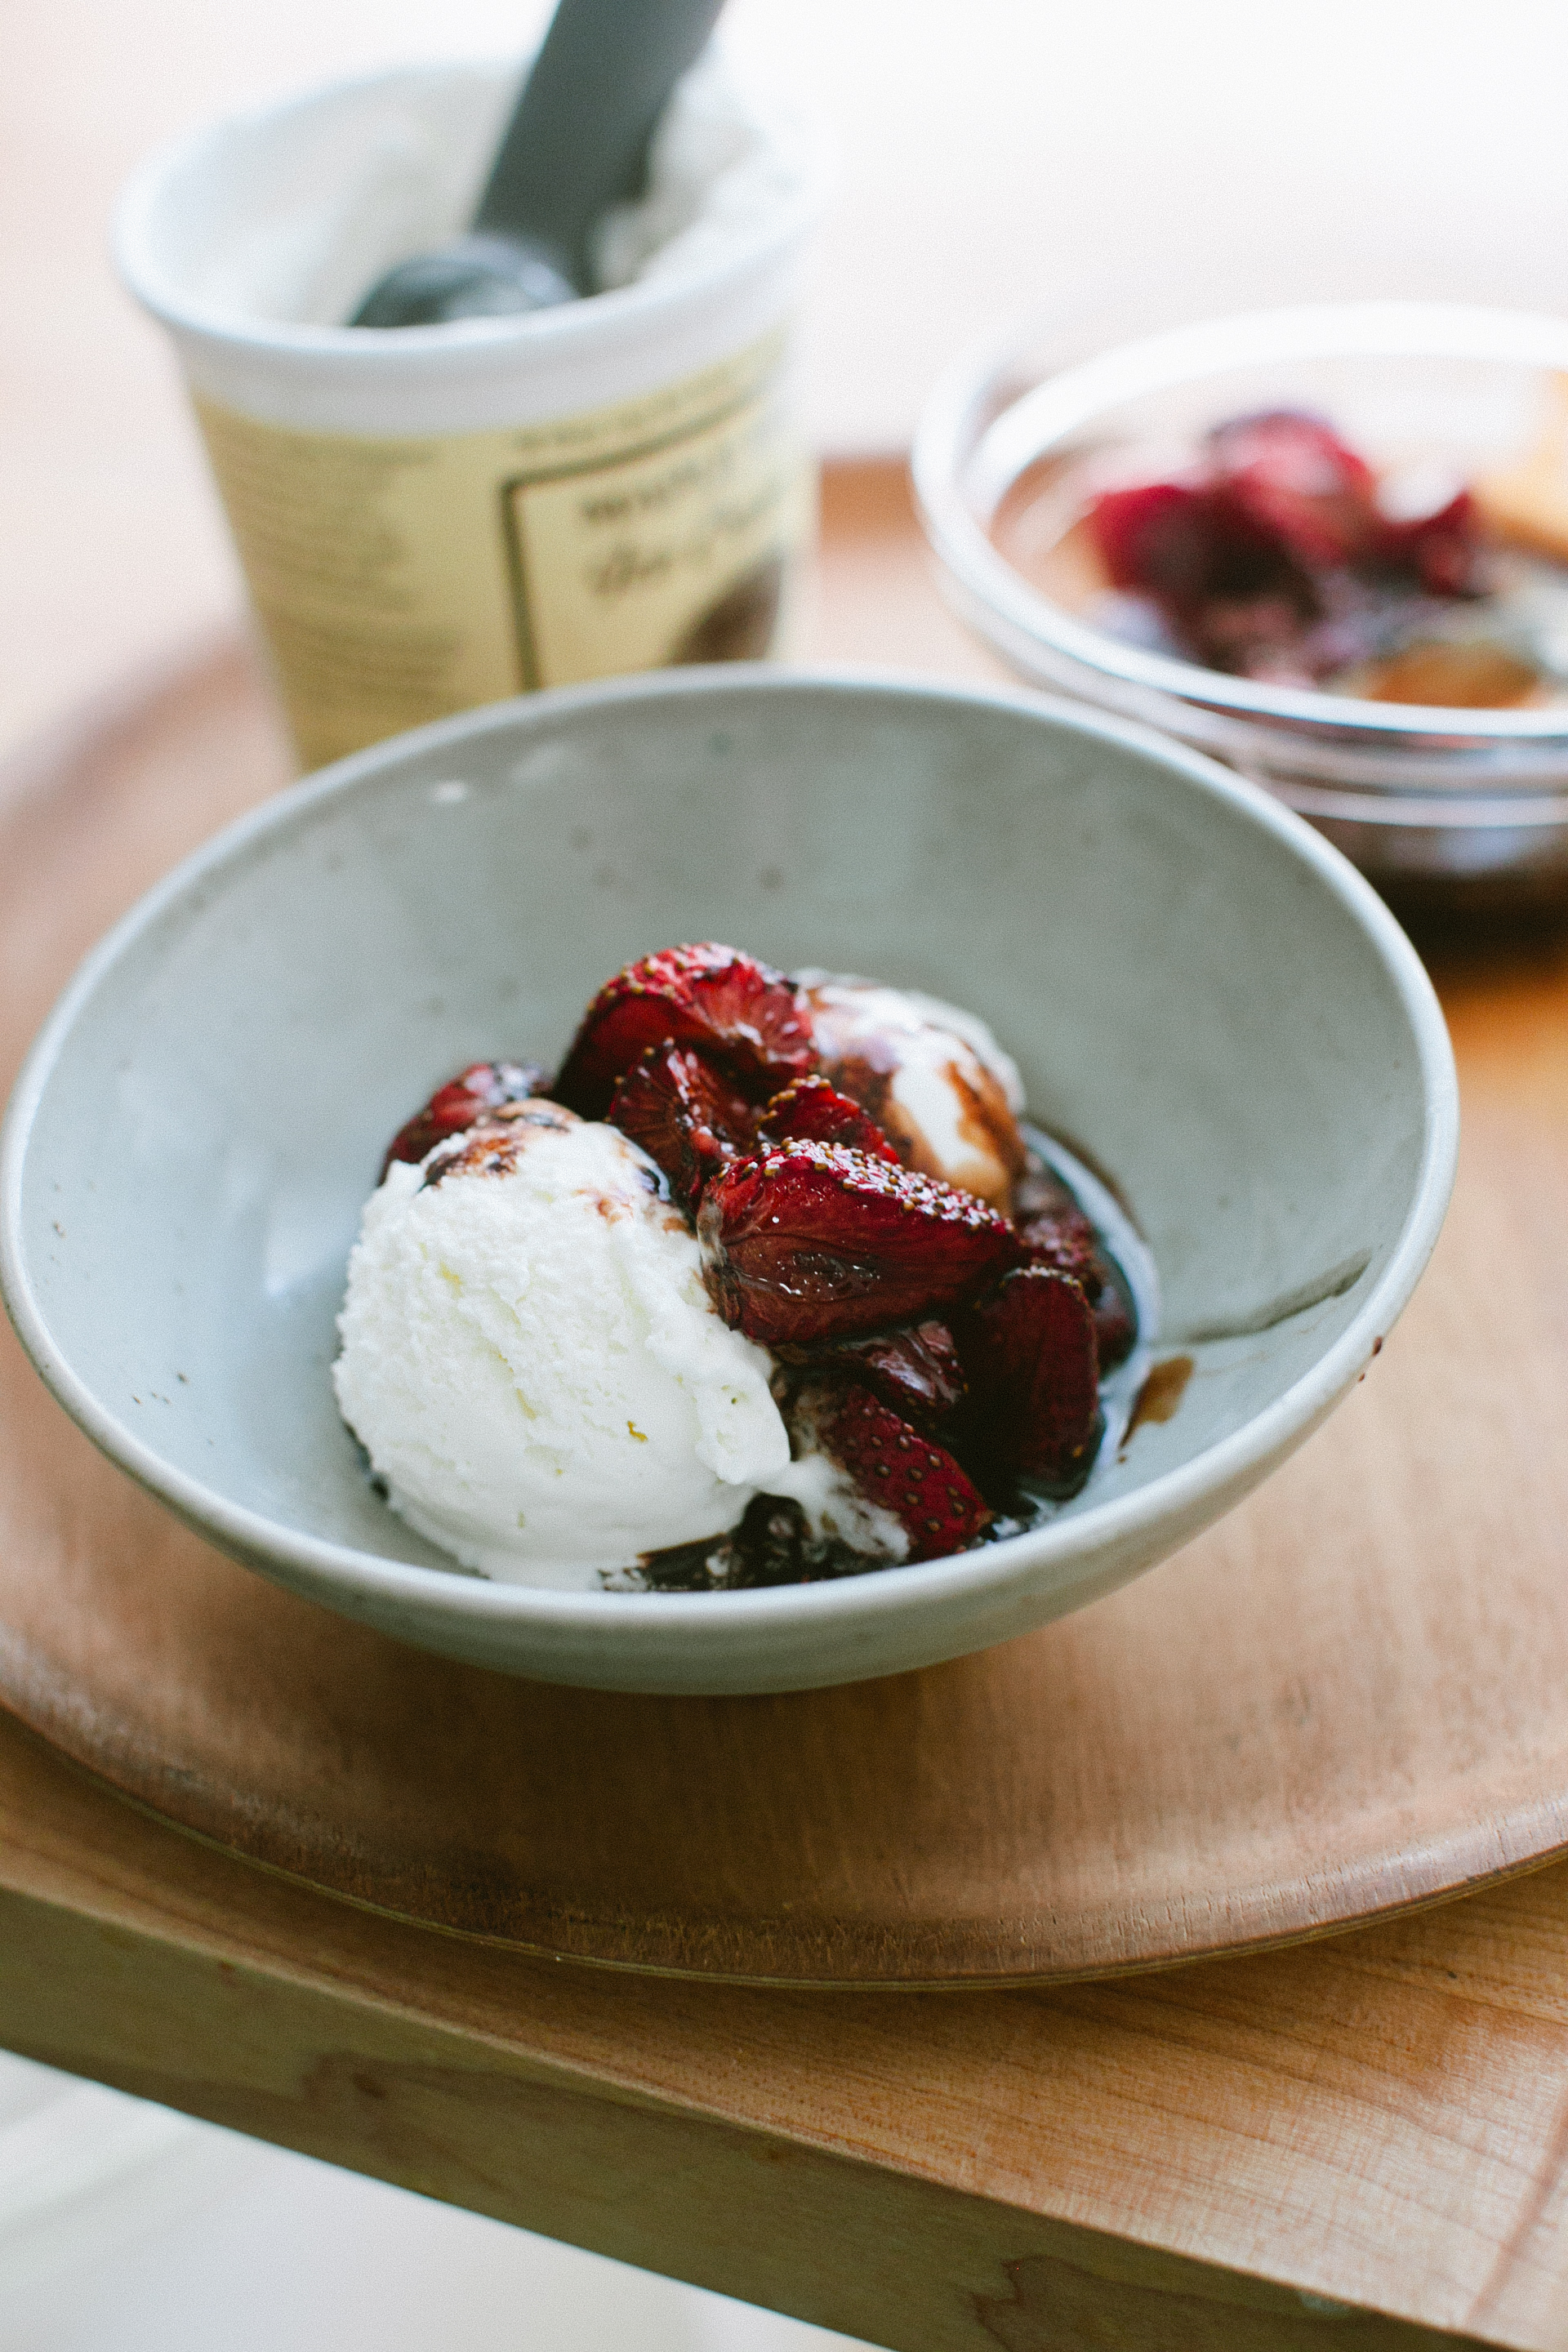
Such a mixture of emotions. Hopeful, but anxious, too. Most of all, I'm thankful.  That I have Eric, who finds little ways to comfort me. His hugs make everything better. Or that kiss when he senses I've had a stressful day. And Maki. Who cuddles with me and gives me licks when I need them the most.  I'm thankful to be surrounded by friends and family that are so caring. It brings me so much joy to watch my nieces and nephew grow into such loving children. There's a lot to be thankful for and it's these times when I'm feeling overwhelmed that I need to remember all the wonderful things in my life.

Omelet3Omelet2Omelet1IMG_5482IMG_5466

Omelet with Chèvre and Fines Herbs

Source Adapted from Canal House

Yield 1 omelet

Ingredients 3 eggs Splash of milk 2 tablespoons butter Chèvre Chopped Fresh Herbs (parsley, tarragon, chives) Salt and pepper

Instructions

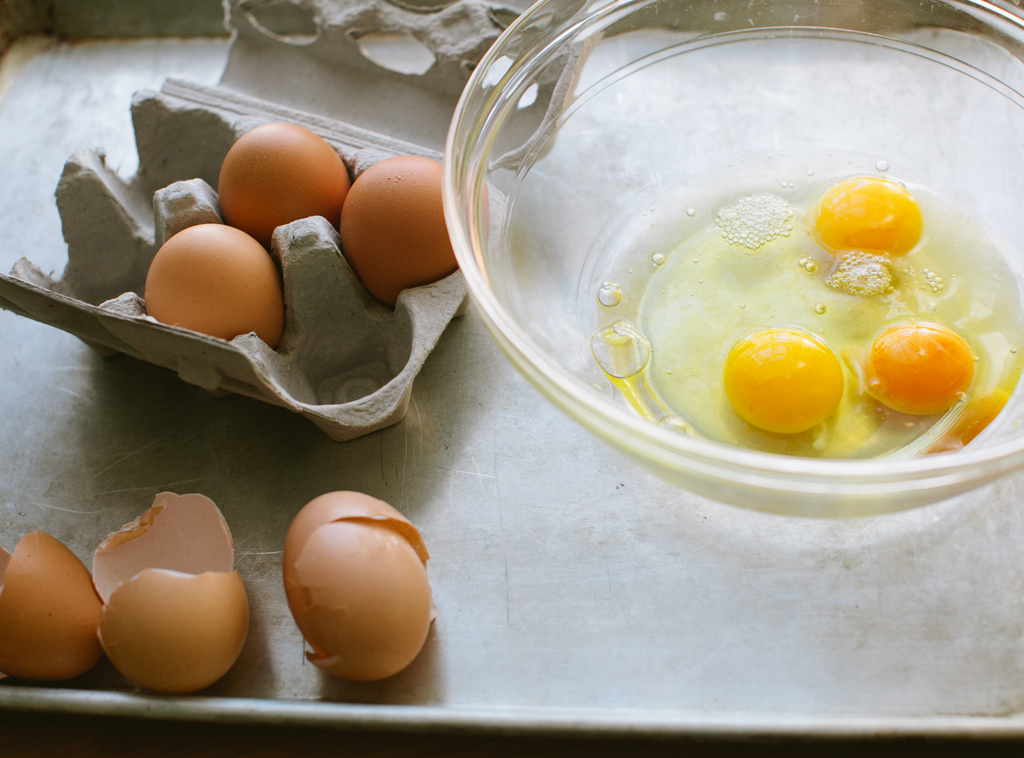
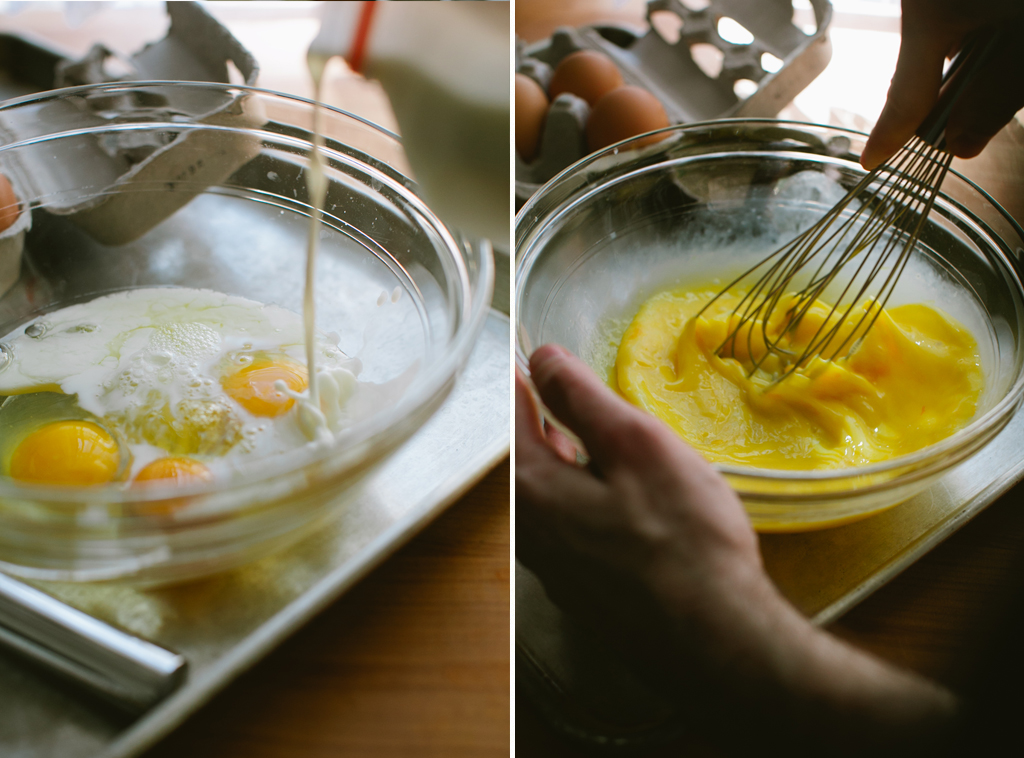
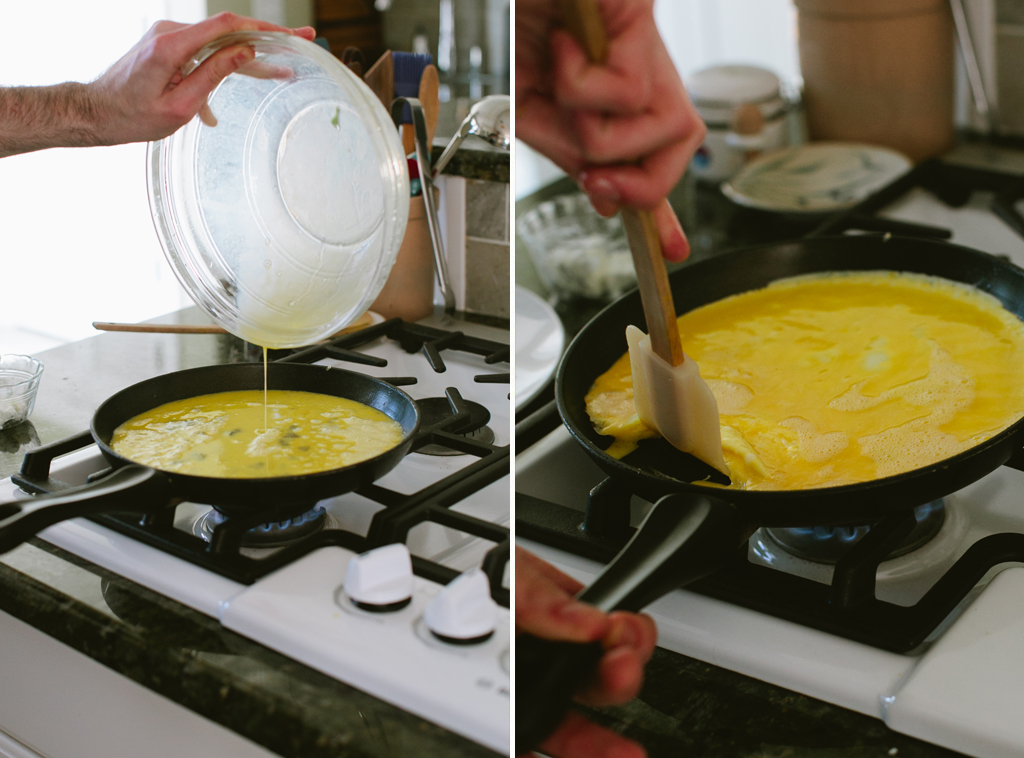
1. Crack the eggs into a bowl and pour in a splash of milk. Whisk for 30 seconds, until frothy.

2. Heat butter in a 10 inch non-stick skillet over medium-high heat. Once the butter has melted and becomes foamy, pour in the egg.   After a minute, lift the edges of the omelet with a rubber spatula and tilt the pan to allow the uncooked egg to run underneath.

3. Once the egg starts to set, but is still loose, sprinkle the chèvre along the center of the omelet.  Using the rubber spatula, fold  Sprinkle in one-third of the filling down the center of the omelet and sprinkle with one-third of the goat cheese. Using a rubber spatula, fold the omelet towards the center over the filling.

4. Transfer the omelet to a plate and sprinkle chopped herbs on top. Season with salt and pepper. Serve with toast or a salad or sliced fruit.

Showin' Some Love: My ONA Camera Bag

Showin' Some Love: My ONA Camera Bag | A Thought For Food |

When I first started off as a photographer, I didn't have much in the way of equipment. I had a camera and a lens. That was it. I'd pack everything up in a messenger bag or backpack and head off to whatever restaurant or engagement photo session I was doing. It didn't take long for me to realize I needed a real camera bag. I did some research and found one that I thought would work for me. It could fit a body, a couple of lenses, and my laptop. Seemed perfect. After a few months, though, the thing started to rip. Now, I'm partially to blame for this. I packed it with more than it could handle. I traveled with it and abused it in ways I shouldn't have. But, for many reasons, that bag just wasn't right for me.  I needed something that was durable, but because I was doing a lot of location shoots, I wanted something that was stylish too.

ONA bags aren't just good looking (which they are... most people have no idea it's for camera equipment), but they comfortably fit everything one needs for a shoot. Over the last couple of months, I've taken the bag with me on countless projects and it has been a wonderful experience. Each compartment wraps snuggly around anything you put in... camera bodies, lenses, flashes. Unlike my other bag, which could only handle a body and a couple of lenses, the ONA Camps Bay camera bag I have handles 2 bodies (a 7D and 5D), 4 lenses (50mm, 17-40mm, 24-70mm, 100mm), a battery charger, a laptop and iPad, as well as all necessary cables. Yes, the bag got a little heavy, but I never felt like it couldn't handle the weight.

I brought the bag with me on a shoot at Coppa. My friend (and local business owner) Abby was nice enough to come out in the cold to help with taking pictures. Without her, I think it would have been a challenge to capture the whole process. Thanks Abby!

Showin' Some Love: My ONA Camera Bag | A Thought For Food |

Showin' Some Love: My ONA Camera Bag | A Thought For Food |

Showin' Some Love: My ONA Camera Bag | A Thought For Food |

Showin' Some Love: My ONA Camera Bag | A Thought For Food |

Showin' Some Love: My ONA Camera Bag | A Thought For Food |

Showin' Some Love: My ONA Camera Bag | A Thought For Food |

Showin' Some Love: My ONA Camera Bag | A Thought For Food |

PHOTO CREDIT: ABIGAIL RUETTGERS AND BRIAN SAMUELS

Disclosure: The folks at ONA were kind enough to send me this bag to try out. I was not monetarily compensated for this post and all opinions are my own.

Balsamic Roasted Strawberry Sauce

Balsamic Roasted Strawberry Sauce
BalsamicStrawberriesTrio2

Until now, it hadn't quite hit me that Eric and I had bought a house.  There were a lot of questions that we'd been waiting answers on... like when exactly we'd be closing. Which then left a lot of other things open. Would we be able to refinish the floors before we moved in?  Would we be able to paint rooms? And when the heck would we even be moving? But now a lot of these questions have been answered and we can officially get excited about the move.  Currently, I'm not that stressed about the process. Yes, I know there's a lot of work to be done. But we're in a good place with packing and, for now, we're basking in the joy of knowing that in just a little over a month, we will be home.

It's hard to express how important this move is for us. We've been wanting to purchase a place for a long time. But, more importantly, we've wanted to live in a place where we felt comfortable. Living in South Boston has a lot of benefits, but it never felt like a place where Eric and I could be ourselves. We're looking forward to becoming a part of our new town's community; to embrace all it has to offer. And I think we both agree we'll be welcome with open, loving arms.

Last week, we got our first container of Florida-grown strawberries in our farm share box and while maybe I should have just let them be, I was too excited. Roasting the berries doesn't take a way from their flavor, but, instead, deepens it. Their tartness shines through the balsamic reduction. Including ice cream just brings the dessert together. And who ever passes up on a chance to eat ice cream?  Not this guy.

Balsamic Roasted Strawberry Sauce

Balsamic Roasted Strawberry Sauce

Yield 4 servings

Ingredients

2 pints of strawberries, hulled and cut in half
1/4 cup brown sugar
1/2 teaspoon vanilla extract
1 cup balsamic vinegar

Ice cream (or, if having for breakfast, plain yogurt)

Instructions

1. Preheat the oven to 400 degrees. Line a baking sheet with parchment paper.

2. Whisk together the balsamic vinegar, brown sugar and vanilla. In a bowl, pour 1/4 of the liquid of the strawberries and toss to coat. Spread onto the baking sheet in an even layer and roast for 12 minutes.

3. Meanwhile, transfer remaining liquid into a small saucepan and set over high heat. Once it reaches a boil, cook until liquid has reduced in half and is a syrupy consistency.

4. Remove strawberries from the oven and transfer to a bowl. Pour balsamic reduction over strawberries and toss to coat.

5. Scoop ice cream into bowls and top with sauce.