Spiced Double Chocolate Cookies

Spiced Double Chocolate Cookies

I woke up Saturday morning with Eric sleeping soundly next to me and Maki curled up at the end of the bed.  It took me a moment to realize what was so strange about this: it had been 2 months since I'd been home on a weekend.  Maybe all that travel is why this summer has flown by.  I took this as an opportunity to relax a bit, which meant baking cookies, followed by a day of eating and drinking and time spent outdoors with friends (eating and drinking, of course).  It was exactly what I needed.  A chance to decompress a little.

While I sat at the table, dropping heaping tablespoons of dough onto the baking sheet, Eric walked into the room and inspected the cookies that were cooling on the wire rack.  Always eager to be my taste-tester, he snatched one up and took a bite.

These are great!  Where did you get the recipe?

I looked up.

What do you mean?  I created it.  

They're really, good. There's some kick there. Cayenne?  

Yup. And some cinnamon too.

I love that.  Gonna post these on the blog?

Of course.

Awesome.

Spiced Double Chocolate Cookies

Spiced Double Chocolate Cookies

Spiced Double Chocolate Cookies

Spiced Double Chocolate Cookies

Servings 2 dozen cookies

Ingredients

2 1/4 cups all-purpose flour

1/2 teaspoon salt

1 teaspoon baking powder

1 teaspoon baking soda

1/4 cup unsweetened cocoa powder

1 1/2 teaspoons cayenne pepper

2 teaspoons cinnamon

1 cup (2 sticks) unsalted butter, softened

3/4 cup packed light brown sugar

3/4 cup granulated sugar

2 large eggs, at room temperature

1 1/2 teaspoons pure vanilla extract

1 pound bittersweet chocolate, shaved using a chef's knife

Instructions

1. Place the oven rack in the center of the oven.  Preheat the oven to 325°F.

2. In a bowl, stir together the flour, salt, baking powder, baking soda, cocoa powder, cayenne pepper and cinnamon and set aside.

3. In the bowl of a food processor (or this can be done with a stand mixer fitted with a paddle attachment) add the butter and both sugars and pulse until combined. This may require that you stop the machine periodically and, using a spatula, pull the butter/sugar mixture from the sides of the bowl. Add the eggs and vanilla to the bowl and pulse to combine.

4. Carefully add half the dry ingredients to the bowl of the food processor and pulse to combine. Repeat with remaining dry ingredients.

5. Transfer the dough to a mixing bowl and, using a spatula, fold in the chocolate.

6. Scoop heaping spoonfuls of dough into the palms of your hands and roll into two and a half inch balls.  Place dough balls onto a non-stick baking sheet (or one lined with parchment paper) and space them about 2 inches apart.  Bake for about 15 minutes, or until lightly browned around the edges.

7. Remove from the oven and let sit on the tray for 3 minutes before transferring to a wire rack.  Let cool completely before serving.

Why I Love Taking Pictures With My Phone (+ Some Tips/Tricks)

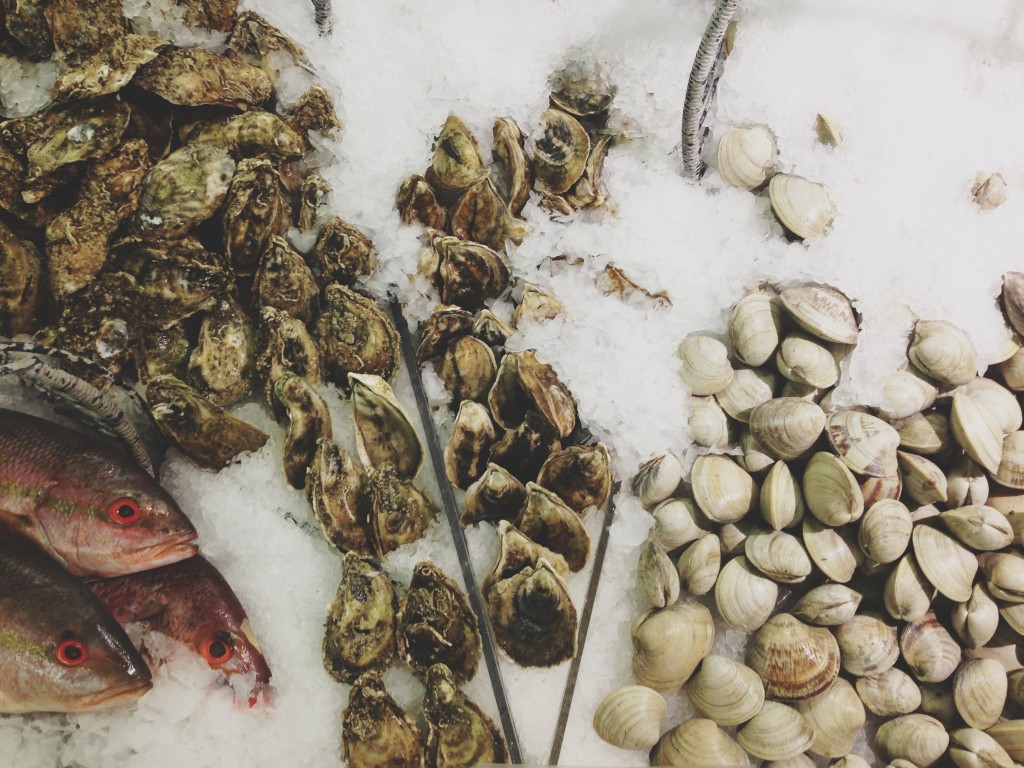
Seafood Display at Whole Foods (photography by Brian Samuels)

The first time I brought a camera into a restaurant was over two years ago.  This was before I'd purchased my first smart phone, and I lugged around my hefty camera and lenses wherever I went.  Despite the challenges of carrying a camera everywhere, this was my creative outlet and I loved capturing my favorite restaurants and landmarks.

Ever since I started working professionally as a food photographer, I do like to take a break from my camera from time to time.  Sometimes you just need a little space.  I rarely bring it along when we go out to eat or are traveling anymore.  On a recent trip to Vegas, I only took my camera out once, opting to use my phone to take all my pictures.

As a photographer, there's something very liberating about shooting with a smart phone.  First off, you can be discrete about taking pictures.  It's easier to capture the environment of a restaurant when you're not whipping out a massive lens.  Both patrons and servers get weird when they see a camera pointed at them (and I don't blame them for that... it's a bit intrusive).  A phone, however, can be used to take a picture without anyone noticing.

iPhone Food Photography Tips from Brian of A Thought For Food

I also feel like I've grown tremendously as a photographer because of the amount I shoot with my phone.  I'm constantly finding ways to get creative in an environment when the light may not be ideal.  Or I see a dish and think, "Ok, what are all the ways I can shoot this?" and, to my husband's dismay, I play with every option.   It gets me thinking outside the box and that may be the most important thing for us as artists.

Over the last few months, I've started teaching classes on iPhoneography for folks who are interested in amping up their food photos.  I wanted to share a few points from that class with you today:

1. Remember that taking pictures with your phone is the same as using a DSLR... consider the key elements of photography: subject, composition, and lighting. Some dishes or ingredients aren’t always going to be bright and colorful, but there should be something about what you’re photographing that’s going to be interesting to the viewer.  Use the other elements (composition and lighting) to elevate the subject or create a mood.

2. Action can be the subject.

iPhone Food Photography Tips from Brian of A Thought For Food

3. Texture does a lot to make a smart phone image interesting.  This can be as simple as shooting the dish on a rustic table (think aged wood) or textured background.  I've gone as far as to put my food on the sidewalk, using the bricks as my surface.

iPhone Food Photography Tips from Brian of A Thought For Food

4. Use natural light... and never use the flash! I see it all the time. I'm at a restaurant and someone takes a picture and they light up the room with their phone's flash.  My suggestion, and this goes for all restaurant photography (even with a DSLR), is to only shoot during the day (or during day light).  It's incredibly difficult to take a shot of food with your phone in a dimly lit room.  Even if the dish is beautiful and the composition of the shot is perfect, the picture is going to come out super grainy.

5. Shoot from above.  Because the iPhone doesn't have the same depth of field capabilities as a DSLR, shooting from the side doesn't always work as well as one would like.  The best way to capture a dish (or a whole table of plates) is to get the shot from above.  If you do shoot from the side, keep your shot simple and with minimal props, because everything in the shot will remain in focus.

iPhone Food Photography Tips from Brian of A Thought For Food

6. Taking pictures is fun!  If your friends are joining you at a restaurant, let them in on the experience.  You can even let them be your model.  They'll like that. And then let them eat.  They'll like that more.

iPhone Food Photography Tips from Brian of A Thought For Food

To see some more of my iPhone shots, head on over to Instagram.  And to see my husband's pictures of me taking pictures of food, check out his Tumblr page, Waiting For It: Married to a Food Photographer.

The above pictures were taken at the following places (listed in order of appearance):

Whole Foods (Andover, MA) Barbuto (New York, NY) West Bridge (Cambridge, MA) Four Seas Ice Cream (Centerville, MA) Mei Mei Street Kitchen (Boston, MA) Lyric (Yarmouth Port, Cape Cod, MA) Island Creek Oyster Bar (Boston, MA)

Pimm's and Tonic

Pimm's and Tonic

As Eric and I packed for our weeklong trip to the Cape, we both felt it was necessary to box up some of our liquor cabinet.  What a shame it would be if we wanted to make a drink with vermouth in it, only to find we had none! Our traveling bar was chock-full of bottles of Aperol, St. Germain, Pimm's, and assorted infused syrups and bitters. Over the next seven days, more than a few of those were emptied.  We were very productive.

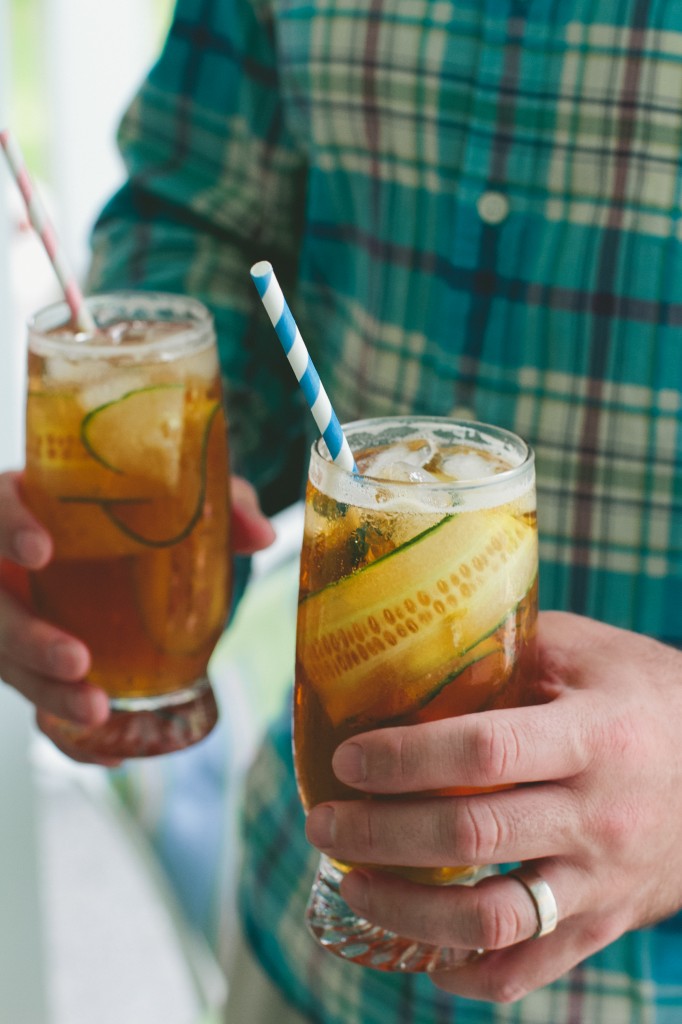
Unlike the traditional Pimm's Cup, which is a simple concoction of Pimm's topped with lemon-lime soda, I decided to use tonic and add a splash of Aperol to kick things up a notch.  A squeeze of lemon and a cucumber garnish turns this into the perfect late summer beverage.  It almost makes you forget how quickly this summer is flying by.

Pimm's and Tonic

Pimm's and Tonic

Pimm's and Tonic

Servings 4 drinks

Ingredients 8 oz Pimm's 2 oz Aperol 1 oz lemon juice 1 English cucumber, peeled lengthwise into thin strips. Tonic

Instructions

1. Pour 2 ounces of Pimm's, 1/2 ounce of Aperol, and 1/4 oz lemon juice into each Collins glass.

2. Fill three-quarters of the way with ice.

3. Garnish the glass with cucumber.

4. Add tonic.

5. Give a quick stir with a spoon and serve.