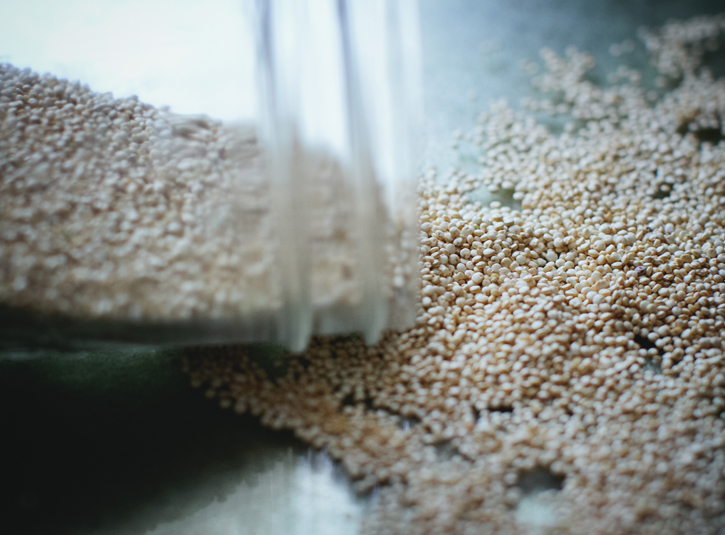
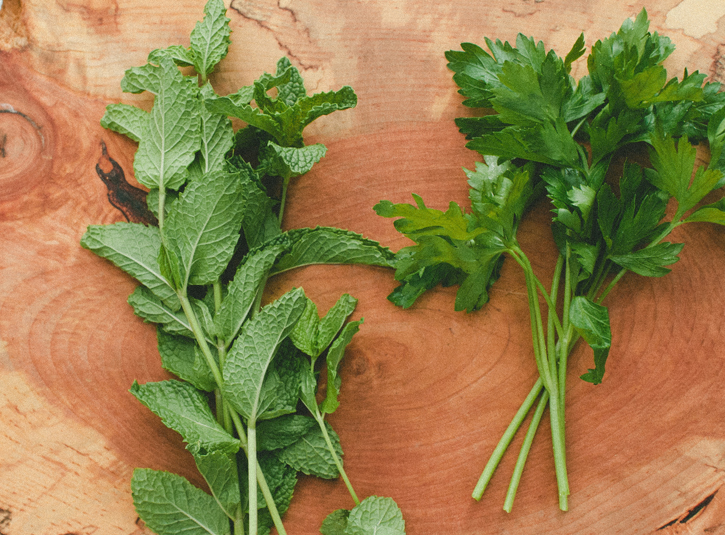
Spicy Carrot and Quinoa Tabbouleh

Yesterday afternoon I looked at Eric and suggested that maybe we head back to Boston in the morning. Yes, we'd have to wake up at 5:30 to give ourselves enough time to get to work, but it's totally worth it.  It would mean another sunset, a few extra glasses of wine, and, most importantly, additional time surrounded by nature... rustling leaves, chirping birds and croaking frogs, and the soft, repetitive sound of rippling waves hitting the dock.

This weekend was rejuvenating. Amidst the stress in our lives, we took these few days to have some friends on the Cape to eat, drink, and play Taboo. Unfortunately, we need at least a few days to get into vacation mode (isn't that sad?) so when we all began chatting about departing, a few of us suggested that calling in sick to work would be a good idea (unfortunately, Facebook ruins this).  We just all felt like this was what we needed right now... some time to clear our heads, to enjoy the presence of close companions, and indulge in epic feasts.

Before our journey down here, I made sure to have a few containers of food prepared. When I was making this bowl of tabbouleh and frantically photographing each ingredient, something I completely neglected was that I'd already posted a quinoa tabbouleh.  The good thing, though, is that they are quite different from one another.  The first is loaded with tomatoes and cheese and beets and can stand on its own as a meal, where as this is definitely a taboulleh that you serve with other dishes, like hummus and pita and all that good stuff.  But I do apologize.  I hope you're not sitting there at your computers, completely bored by the site of this bowl.  I promise, though, it's quite delicious and worth giving it a try.

Spicy Carrot and Quinoa Tabouleh

Yields: 4-6 servings, as a side

Tools Pot, for cooking quinoa Whisk

Ingredients 1 cup quinoa, rinsed and drained in a colander 2 cups veggie broth 4 large carrots, grated 1/4 cup walnuts, coarsely chopped 1 tablespoon chopped shallot 2 tablespoons lemon juice 1/4 cup finely chopped flat-leaf parsley 1/4 cup finely chopped mint 1/2 teaspoon allspice 1 jalapeño or serrano pepper (depending on the amount of heat you want), seeds removed and finely chopped 1 teaspoon kosher salt

Instructions

1. To cook the quinoa, add the veggie broth to a pot and bring to a boil.  Stir in the quinoa, cover and reduce heat to medium low.  Simmer until all the veggie broth has been absorbed, approximately 15 minutes.  Remove from heat and let cool.

2. Once it has cooled, transfer the quinoa to a serving bowl.  Stir in the carrot and chopped walnuts.

3. In a separate bowl, stir together the shallot, lemon juice, parsley, mint, allspice, serrano pepper, and 1/4 teaspoon salt.  Add this to the other bowl and stir until it is evenly distributed throughout the quinoa and carrot mixture.

4. Let sit for 30 minutes before eating.  Test for seasoning and, if necessary, add more salt.
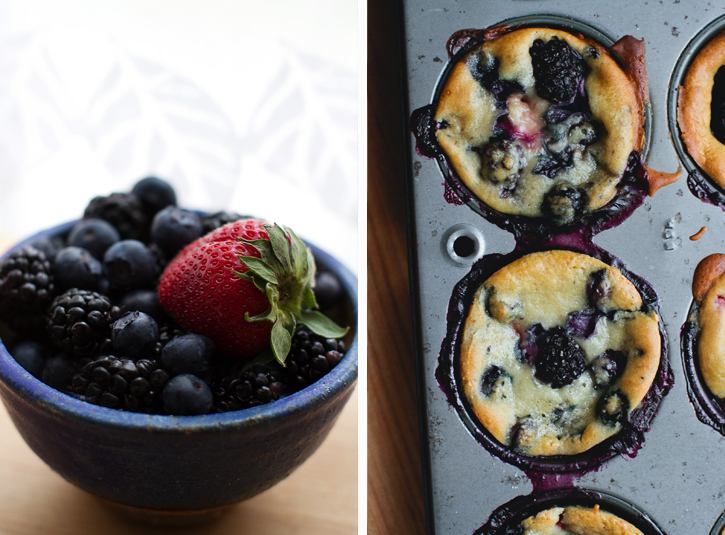
Honey, Ricotta and Berry Muffins

It occurred to me as I sat on the plane to Vegas that I hadn't read a book in a while.  Like, a really long time.  Articles in The New York Times or pieces in The New Yorker, yes.  But an actual book?  It'd been over a year.  Before our trip, though, I purchased the latest David Sedaris book, thinking that maybe he could set things right.  And, you know what, he did.  As always, I found his words engaging, his stories honest and hilarious.  Just what I needed to get back on the reading wagon.  As I finished the book and flipped the last page (or, in this case, tapped my phone), I gave myself a pat on the back.  And now I'm searching for another great piece of literature (any suggestions are welcome).

Memorial Day marked the start of my family's annual summer reading contest, where we see who can read the most books.  When it was just the four of us participating (meaning my parents and sister) the race was tight.  Over the last few years, though, we've invited other relatives and friends to join in and I've pretty much given up any notion of winning.  It's still a lot of fun, though, and I'm so happy that we've continued this tradition.

Books and breakfast seem like the perfect summer pairing.  Mornings are when I get most of my reading done, either in bed or sipping on a cup of coffee at our kitchen table, the windows open to let a warm breeze in.  Leisurely mornings like that make every day feel like vacation.  While I'm kind of a scone fanatic, sometimes a muffin is what I crave.  As we roll into berry season, I feel the need to pack all of my morning treats with them.


Honey Ricotta and Berry Muffins

Yield: 12 muffins

Tools Whisk Regular muffin tin (not mini)

Ingredients 2 cups all-purpose flour 2 teaspoons baking powder 1/2 cup sugar 1/2 teaspoon salt 2 large eggs 1/4 cup honey 1/4 cup, plus 2 tablespoons whole milk 1 tablespoon pure vanilla extract 1/2 cup ricotta cheese zest of 1 lemon 1 1/2 cups mixed fresh berries (chopped strawberries, whole blackberries, and blueberries)

Instructions

  1. Preheat oven to 400 degrees F. with rack in the center position. Line a 12-cup muffin tin with fluted paper liners or grease the cups with butter.
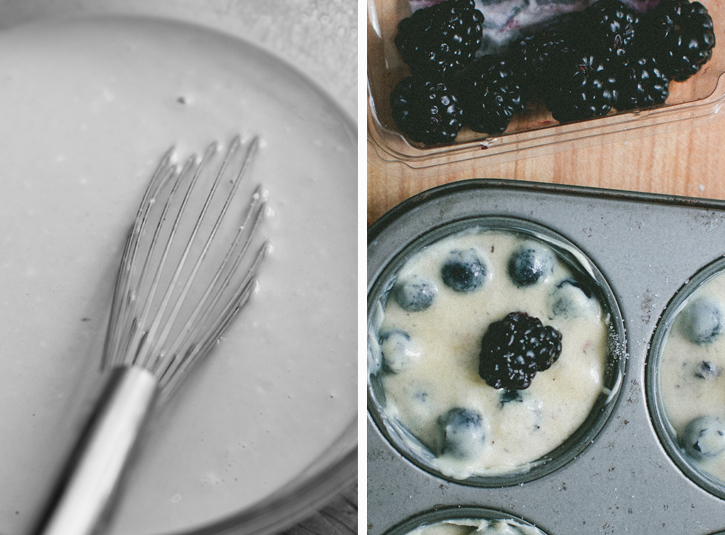
  2. In a large mixing bowl, sift together the flour, baking powder, sugar and salt.  In a separate bowl, whisk together the eggs and honey until they are blended together.  Whisk the milk and vanilla extract into the wet mixture.
  3. Mix the wet mixture with the dry ingredients and stir to combine.  Fold in the ricotta cheese and mix in the lemon zest.
  4. Fold in the berries.
  5. Spoon the mixture into the greased muffin cups so each is filled a little more than halfway.  Add a blackberry to the top of each and push in slightly with your finger.
  6. Bake for approximately 20 minutes, or until a toothpick is inserted and comes out clean.  Let sit for 5 minutes before taking out of the pan.  Transfer to a rack to cool before serving.


Pasta Tossed With Mint Pesto, Asparagus, and Shiitake Mushrooms

I'm keeping things short and sweet today, folks.  There's a ton of work piling up and instead of getting it done, I'm here slackin' off.  But, heck, sometimes we need to play a little, right?  I'm currently in the middle of a cookbook shoot and I have some other fun projects coming up, including an iPhone food photography class I'm teaching next week at a local Whole Foods.  I've taught one on one classes before, but this is going to be quite different.  Actually, I'm really excited about it.  We're starting off the class by going around the store, taking pictures of the various produce, cheese, and fish displays.  From there, we're going to do have a little cooking class and, as we prepare each dish, I'll go over some ways to style and shoot the food.

So, yeah, I'm feeling a little overwhelmed by things, but I didn't want all of this to stop me from posting.  I've had mint pesto on my mind a lot recently.  I first had it at a restaurant years ago and my mind was blown by how refreshing it was and how wonderfully it paired with other spring produce, like asparagus.  Here, I've tossed it up into a big pasta dish and have included one of my other favorite seasonal ingredients... mushrooms.  Enjoy!


Pasta Tossed with Mint Pesto, Asparagus and Shiitake Mushrooms

Yield: Serves 4-6

Tools Chef's knife Large pot (for cooking pasta)

Ingredients 3/4 lb pasta, such as penne, gemelli or cavatelli (not long pasta) 2 1/2 cups mint leaves, stems removed, rinsed and dried 1/4 cup whole almonds, chopped 1 garlic clove 1/4 cup olive oil, plus 1 tablespoon 1/2 cup finely grated parmesan cheese 1 lb shiitake mushrooms, sliced 3/4 lb asparagus, ends trimmed and stalks cut into 1 inch pieces Salt and pepper Zest of 1/2 a lemon

Instructions

  1. Put a pot of salted water on the stove and bring to a boil.  Cook the pasta as directed on the box.
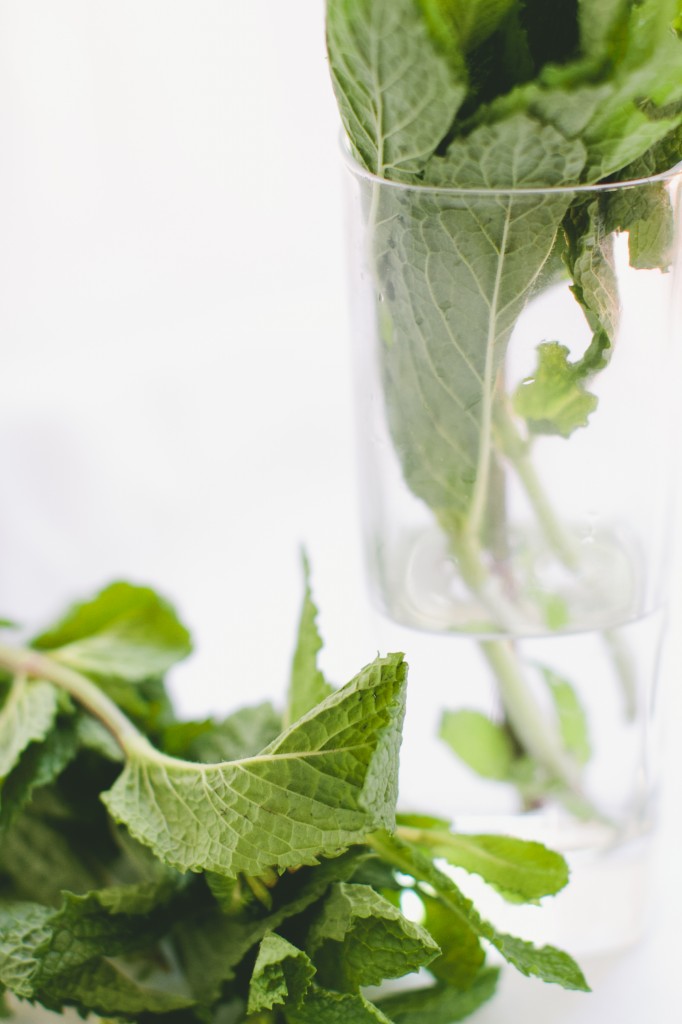
  2. While it is cooking, prepare the pesto.  You can do this in a food processor, but I like doing it by hand, so as to not turn the pesto into mush.  To do it by hand, place the garlic clove on a large cutting board and add 1/3 of the mint leaves on top of that.  Using a large chef's knife, chop the leaves and the garlic. Once it is finely chopped, add another 1/3 of mint leaves and continue chopping.  Repeat with the remaining mint.  Once this is done, add the chopped almonds on top and chop until they are incorporated into the pesto.  Add the cheese on top and chop and fold into pesto mixture to combine.  Add this mixture to a bowl and stir in 1/4 cup olive oil. Set aside.
  3. At this point, the pasta should be finished cooking.  Drain and let cool as you cook the asparagus and mushrooms.
  4. In a medium skillet, heat 1 tablespoon of olive oil over medium-high heat.  Add the mushrooms to the pan and let cook for a minute. Add in the asparagus and season with salt and pepper.  Cook for an additional 2-3 minutes, or until the asparagus is bright green and, when you taste a pieces, it remains slightly crunchy.
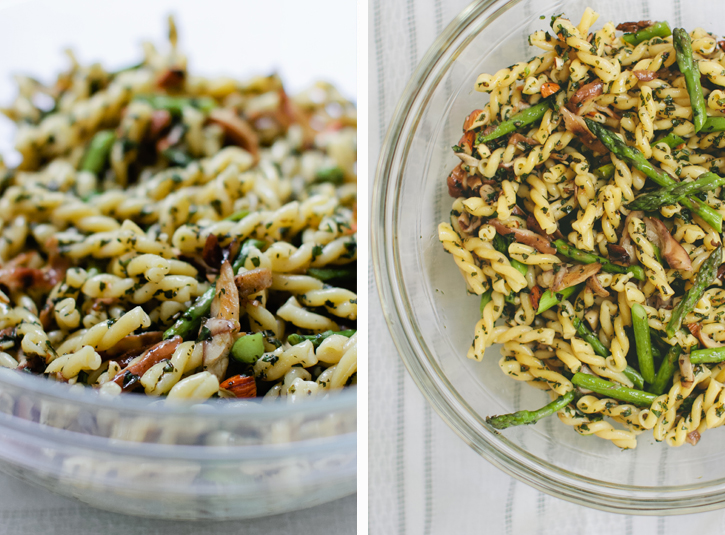
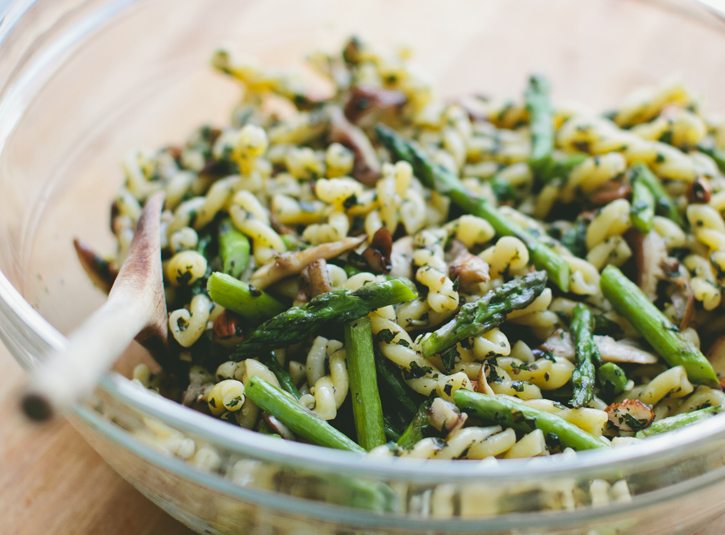
  5. In a large serving bowl, toss the pasta with the pesto, making sure to coat each piece evenly.  Mix in the mushrooms, asparagus, and lemon zest.  Taste for seasoning and, if necessary, add additional salt and pepper.


Silent Sunday: Las Vegas and Saveur Food Blog Awards (in iPhonography)

For more shots, follow me on Instagram

Featured in this post:

Resorts/Casinos

Bellagio Cosmopolitan Aria Planet Hollywood

Restaurants/Bars/Clubs

Eat. Lotus of Siam Secret Pizza (Cosmopolitan) Hyde (Bellagio) Blue Ribbon Bar and Grill (Cosmopolitan) The Chandelier (Cosmopolitan) Sensi (Bellagio)

People

Joy Wilson - Joy the Baker Aimee Wimbush-Bourque - Simple Bites Tsh Oxenreider - Simple Mom Teri Lyn Fisher - Spoon Fork Bacon Jenny Park - Spoon Fork Bacon Sara and Hugh Forte - Sprouted Kitchen Eric Frishman (the man giving me a smooch)

Classic Negroni

NEGRONI-0618negroni triptich

As I open the door I’m greeted by Maki’s wagging tail.  In no mood to play, I do my best to brush her away, but our sweet dog’s persistance wins me over.  Fine… just a few minutes.  She guides me into the living room so we can roll around on the floor.  Soon, she has me pinned down and I get attacked with a few licks of her tongue, leaving long streaks of slobber across my glasses.

Exhausted, I call it quits and get my body off the ground.  Maki, disappointed, retires to her bed.  She wonders if maybe, just maybe, I’ll come back to play with her.  Sorry pup, I’m finished for the night.  It’s time to make dinner… and mix a drink.

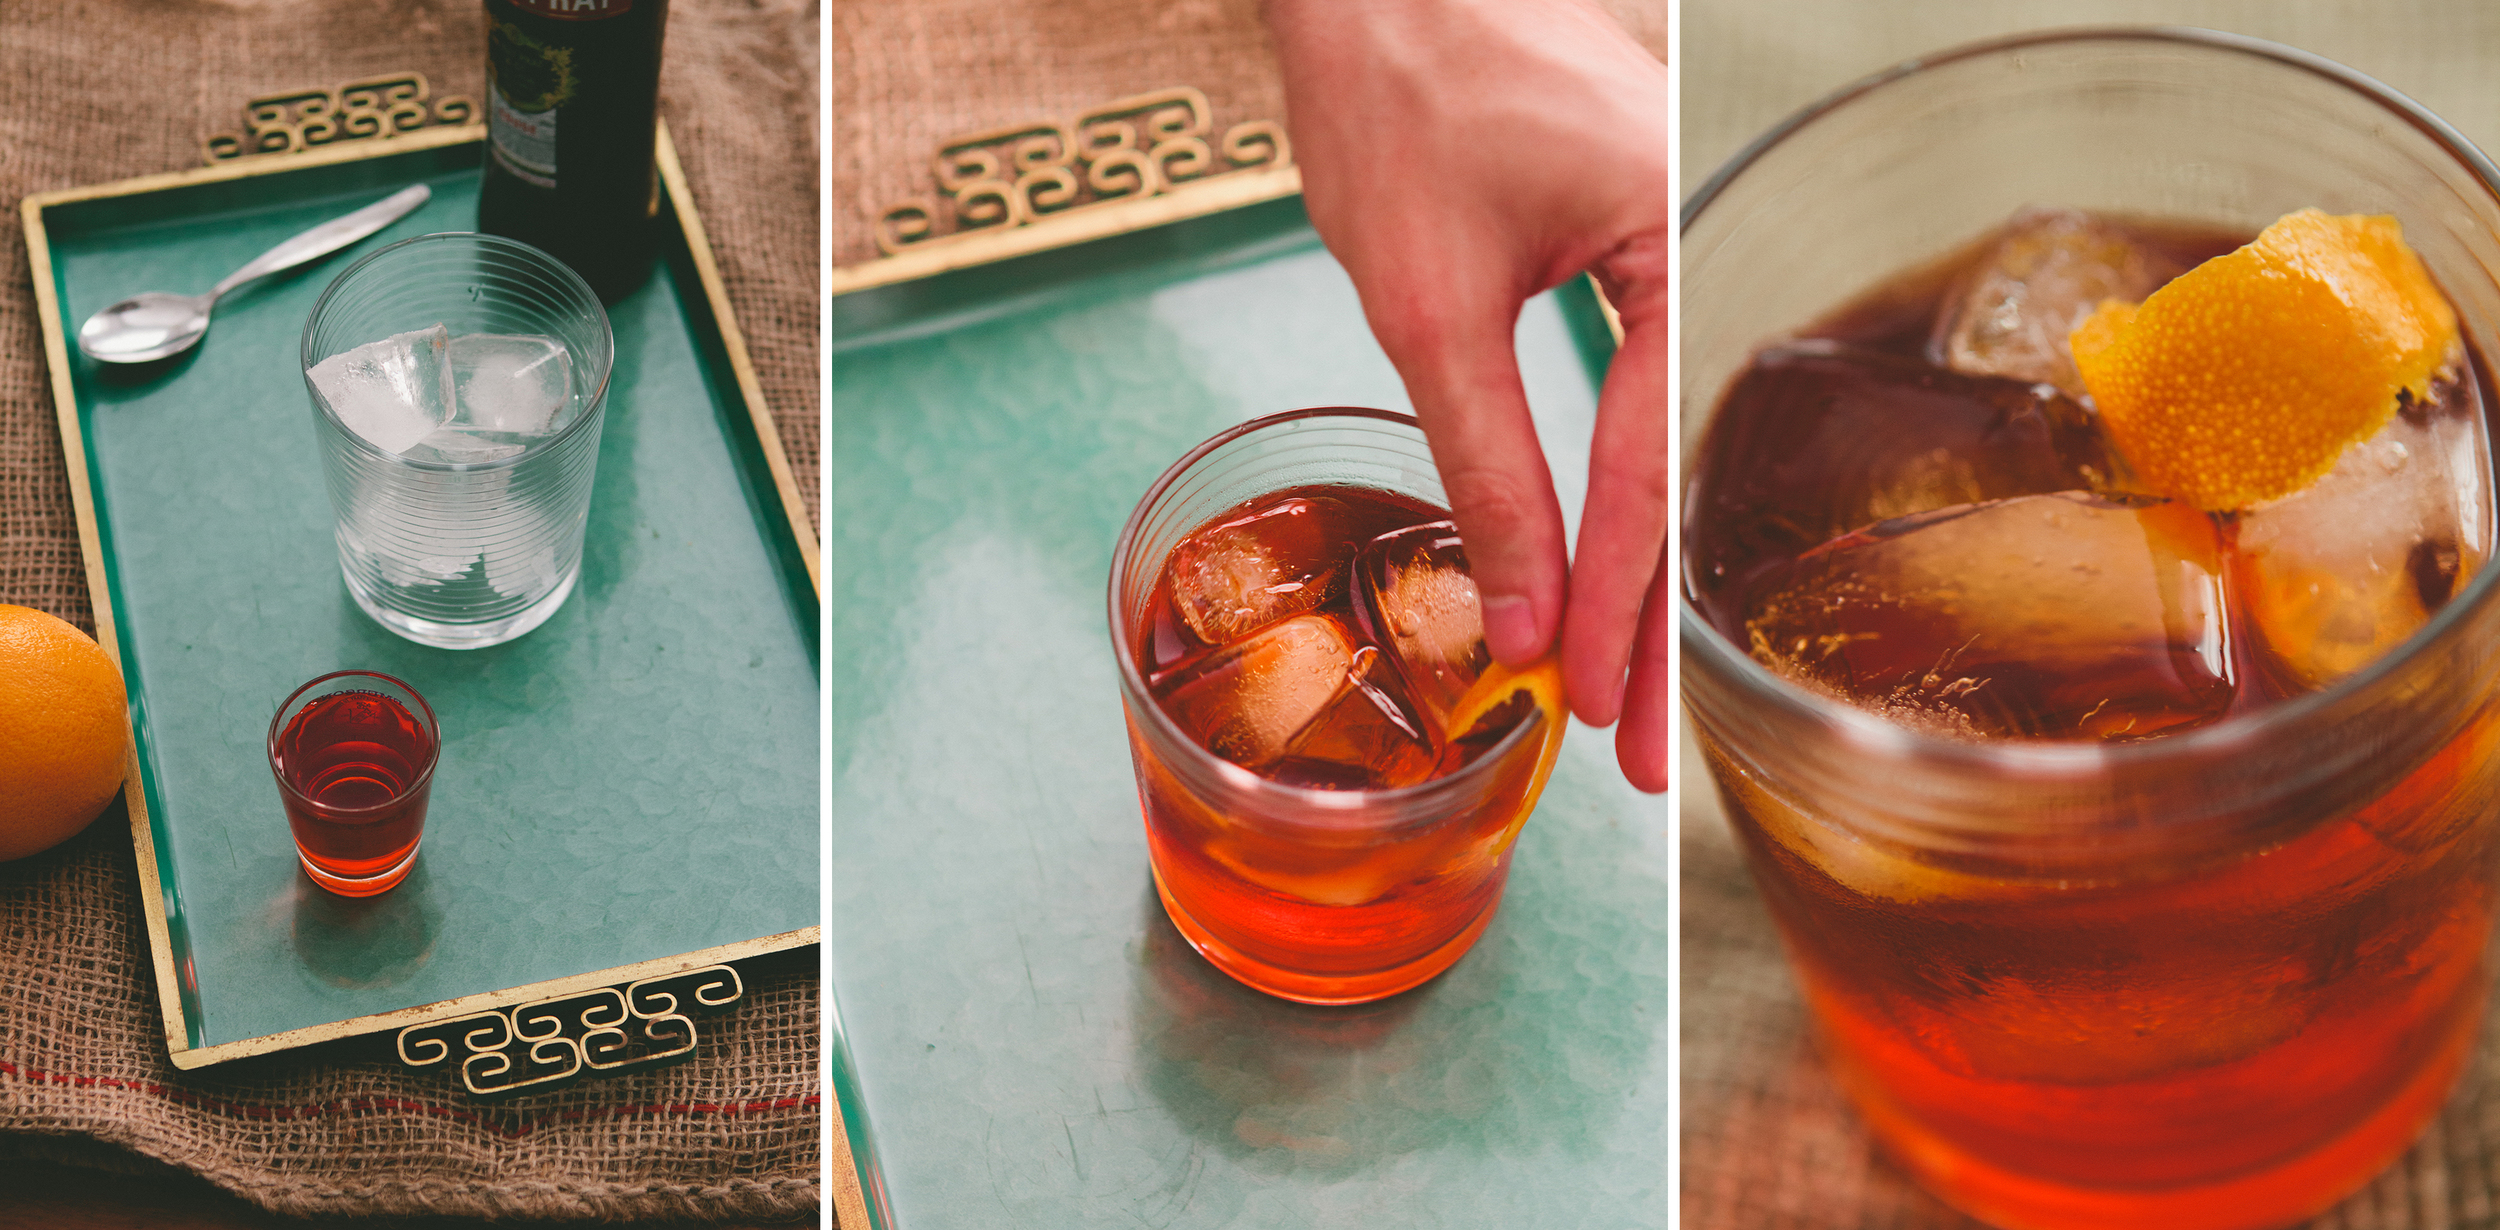
After a long day, the kitchen becomes my sanctuary.  Before any onions are chopped, I throw a few rocks into my glass. An aperitif is in order to ease into a relaxing night of nothingness.  I whip up my old standard: a Negroni.  An equal pour of the three ingredients, a quick stir, and we’re in business.

Before the drink hits my lips, I shave a piece of orange peel and rim the glass with it.  The result is subtle, but effective.  The aroma of the citrus breathes life into the Negroni, but a bitter herbaceousness is present in the first sip, mellowed only by the sweet vermouth.  Another taste and my mind is no longer thinking of work and the stresses of my day.  I’m in the here and now.

The onion and garlic sizzle as they hit the pan of butter.  I rub my hand across my perspiring forehead, only to look down to see the glass sweating as well.  You and me both, my friend.  I pick up my drink. Cheers. Sip. Smile.

NEGRONI-0625


Classic Negroni

Yield: 1 cocktail Glassware: Rocks Glass

Tools Bar spoon Jigger or shot glass

Ingredients 1 1/2 oz (45 ml)  gin 1 1/2 oz (45 ml) Campari 1 1/2 oz (45 ml) sweet vermouthIce
Orange peel, garnish
Ice
Instructions
1. Fill the glass with ice, followed by the gin, Campari, and sweet vermouth.  Stir gently.
2. Rim the glass with the orange peel and then add the peel into the drink.
3. Serve.


Potato Salad with Dill + Horseradish Aioli

What a week!  Actually, what a month!  I can't believe May is wrapping up.  Feels like I always say that.  It's so odd how time just flies by.  The burst of travel hasn't helped with slowing things down.  And next week I pack up for a few days in Vegas, where I'll be attending the Saveur Blog Awards (our little project, The Boys Club, won the Best Cocktail Blog category).  As soon as I mentioned the win to Eric, he scurried off to his computer to look at flights.  Having never been to Vegas, we're doing it up... fancy dinners, theater tickets (Eric's birthday is coming up as is our wedding anniversary, so this is our big celebration).  No gambling though... I'm not a fan, though I have a feeling he might hit the tables while I'm off doing foodie things.

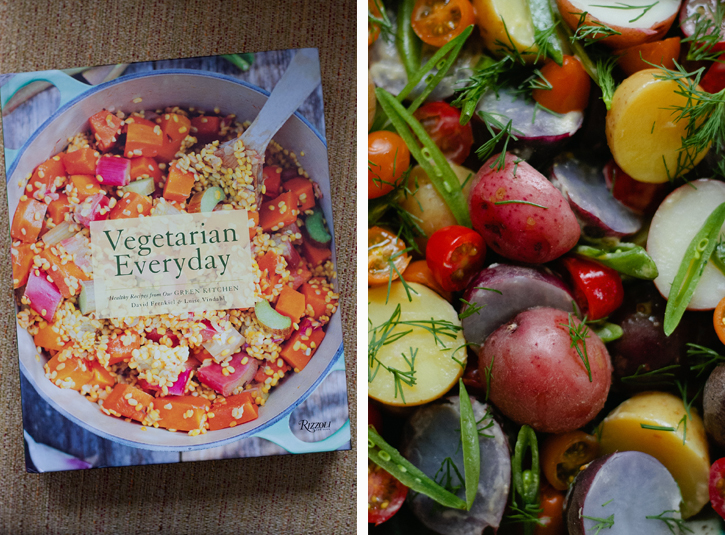
There are no words to express how excited I am to finally get to meet the bloggers going to this event.  Some of my favorites are going to be there, including David and Luise, creators of the blog Green Kitchen Stories, who have just come out with their book, Vegetarian Everyday.  Often when I'm asked which sites are my favorites, I rattle of a long list, but between you and me, GKS is at the top.  I've been a fan of theirs for a long time and am so thrilled for their much deserved success (a wonderful mobile app, a cookbook, and a Saveur award all in twelve months).  So, yeah, I'm kind of psyched to meet them next week.

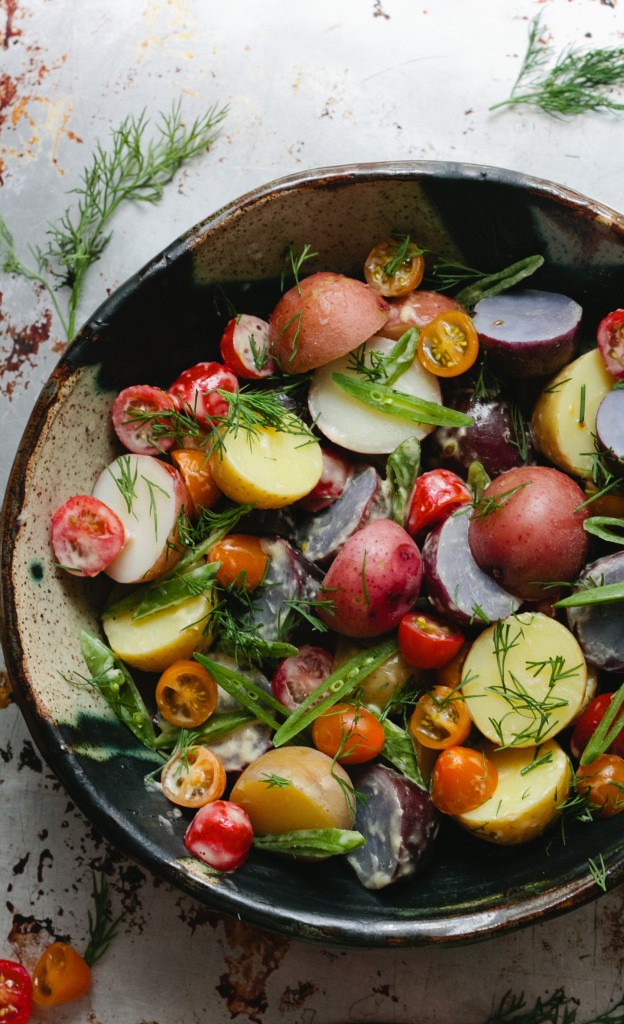
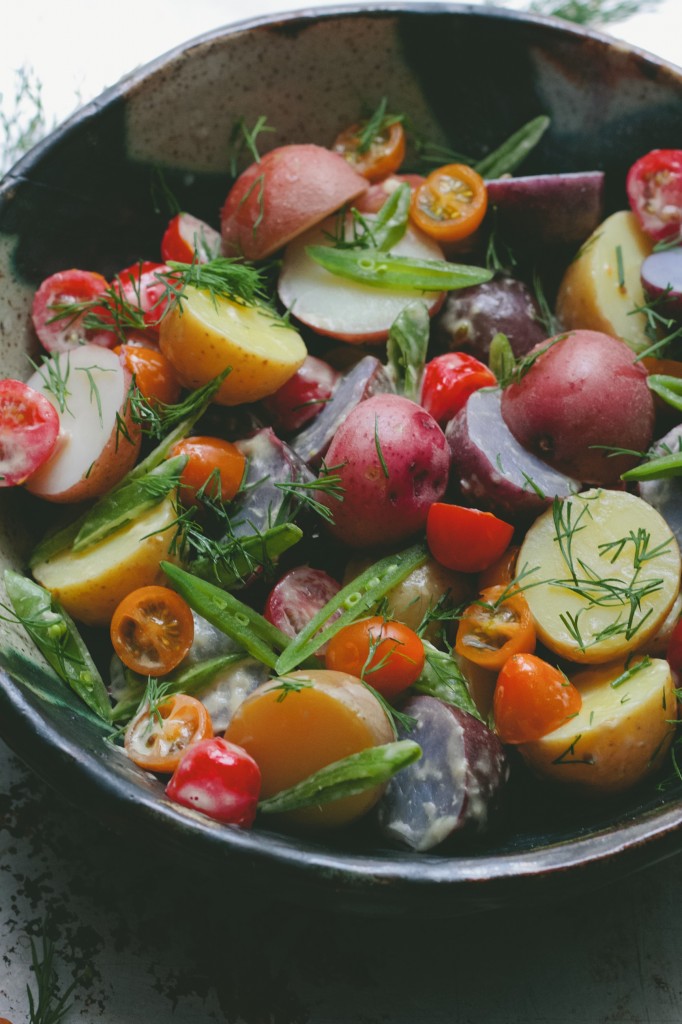
While flipping through Vegetarian Everyday, the dish that tantalized me the most, surprisingly, was their potato salad.  It's a stunner... never had I seen a potato salad with such vibrant colors and flavors. I knew immediately that I had to make it and get it up here before the Memorial Day weekend.  I've taken some liberties and incorporated homemade aioli into it.  Their recipe is definitely healthier than mine, but I'm a mayo fan and it's not potato salad in my world without a little of it thrown in.

Potato Salad with Dill + Horseradish Aioli

Source: Adapted from Vegetarian Everyday by David Frenkiel + Luise Vindahl

Yield: Serves 4

Tools A pot, large enough to cook the potatoes Medium bowl Whisk

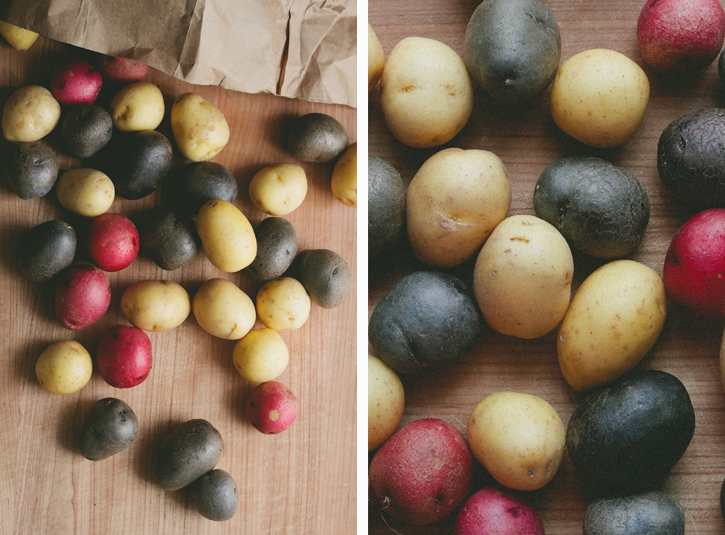
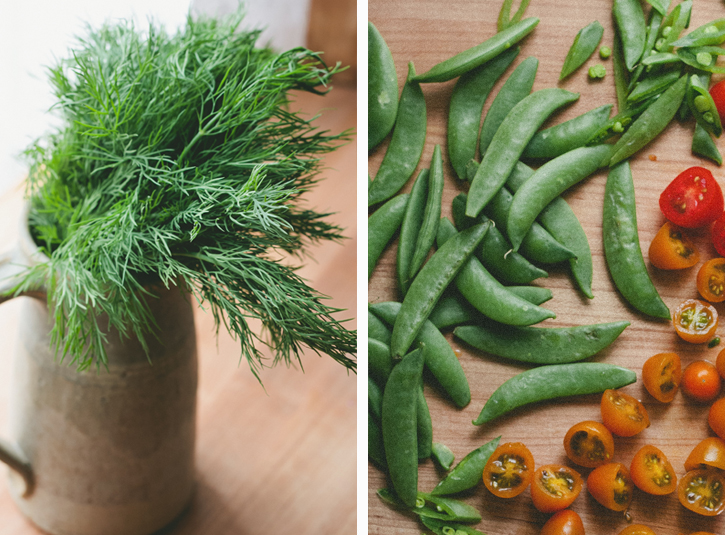
Ingredients 2 lb - 3 oz small new potatoes 15-20 red and yellow cherry or grape tomatoes, halved 2 cups fresh sugarsnap peas, sliced lengthwise 1 large handful of fresh dill, coarsely chopped Kosher salt and freshly ground black pepper, to taste

Horseradish Dressing 2 egg yolks 2 teaspoons lemon juice 1 teaspoon kosher salt ¾ cup canola oil 1 tablespoon prepared horesradish

Instructions

  1. Place the potatoes in a saucepan with just enough cold salted water to cover. Bring to a boil then reduce to simmer for 15 minutes.  Test with a small sharp knife. If the potatoes fall off the knife, they're done.
  2. Drain and set aside to cool.
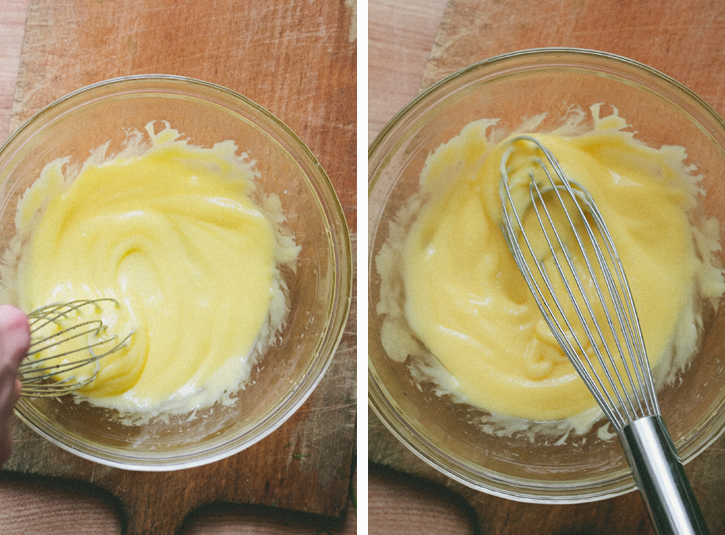
  3. To make the horseradish dressing, whisk the egg yolks, 2 teaspoons lemon juice, and 1 teaspoon salt.   Slowly drizzle in the canola oil while whisking nonstop until the mixture begins to emulsify.  Continue to whisk in the oil until mixture has achieved a thick, mayonnaise-like consistency. Whisk in the horseradish and, if necessary, season with additional salt and pepper.
  4. Combine the tomatoes, peas and dill in a large serving bowl.
  5. When the potatoes have cooled, transfer them to the serving bowl.  Pour the dressing over them and toss with your hands to coat with the aioli.  Serve.


Honey Green Tea and Rosemary Refresher and an Honest Tea Giveaway

I was watching Louis CK's 2011 comedy special, Live at the Beacon Theatre, the other night and was cracking up at his rant about how he believes humans are aliens because we are constantly complaining about how uncomfortable we are here on Earth.  We use air conditioning and heating units and fans to make everything juuuuuuust right.  Louis notes that it just doesn't make sense that we were meant to be on this planet.  If we were, we would just be able to deal with the extreme highs and lows without freaking out.  I'll admit that I'm one of those complainers. While I can handle winter weather alright, the heat and sweat and that stickiness that takes over from June to August is unbearable.
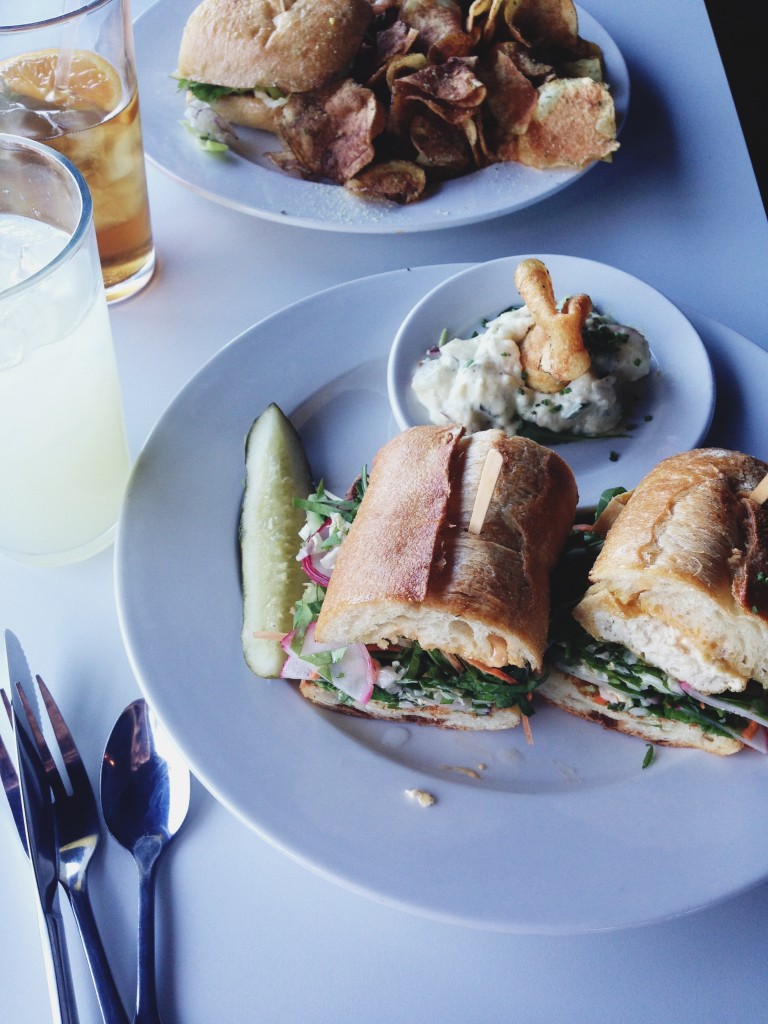
This weather we've been having recently, however, has been perfect... and I feel the need to say that out-loud to myself that at least once a day. "This is fantastic! It needs to stay like this forever. Ah, yes... seventy degrees and sunny with a slight breeze."  I know it won't last long, but I'm taking as much of it in as I can before it gets warmer.

You may have noticed a lot of beverages on here recently and I've been enjoying playing around with some fun cocktail recipes for you (Hope you've been enjoying consuming some of them too!).  Over the last few weeks, Eric and I have switched from whiskey drinks to gin and vodka and tequila. Just like food, our bodies crave different libations as the seasons change. So, here is a vodka "refresher" for you to all enjoy that utilizes some of Honest Tea's Honey Green Tea, which the company generously sent over for me to try.  I was thrilled with the subtle sweetness of the tea, especially since I had planned on including a little simple syrup in the cocktail.

In addition, they're offering one lucky A Thought For Food reader a chance to win a month's supply of their tea (30 drinks)!   Woo hoo!

See below for details on how to enter the giveaway:

A word from the folks at Honest Tea:

"Honest Tea would like to keep you refreshed for 30 days, on us. Brewed with organic tea leaves and half the calories and sugar of other bottled teas, we hope you’ll find it a sip in the right direction.  "

To Enter the Honest Tea Givaway:  Leave a comment here telling me what your favorite warm-weather beverage is (alcoholic or non-alcoholic).

Giveaway Disclaimer: No purchase necessary. Open to US residents only . Giveaway will end on May 27th 2013 at 12:00 pm EST. One winner with a valid entry will be selected at random using random.org. Winner will be notified by email and will have 48 hours to claim their prize or another winner will be selected. Samples of Honest Tea products and the giveaway items were provided to me by Honest Tea through the NoshOnIt Publisher Partner Program. 

[print_this]

Honey Green Tea and Rosemary Refresher

Yields: 2 drinks

Glassware Highball glass

Ingredients 3 fl. oz. vodka, optional 1 fl. oz. rosemary simple syrup, see recipe below 2 tsp. lemon juice 1 16 fl. oz. bottle of Honest Tea's Honey Green Tea Ice Rosemary sprig, for garnish Lemon slice, for garnish

Directions

  1. In each glass, pour in 1.5 oz vodka, .5 oz rosemary simple syrup, and 1 tsp. lemon juice. Stir together with a spoon.
  2. Fill the glasses half way with ice and then top with the tea.  Give another stir with a spoon.
  3. Garnish the rim with the lemon slice and insert the rosemary sprig into the glass.

[/print_this]

[print_this]

Rosemary Simple Syrup

Yield: Approx. 1 cup

Tools A small pot Whisk

Ingredients 1 cup water 1 cup sugar 1 rosemary sprig

Instructions

  1. Put water and sugar into the pot and bring to a simmer.
  2. Whisk until sugar dissolves.
  3. Add rosemary sprig
  4. Remove from heat and let sit for 10 minutes.  Once it has cooled, it can be used in the cocktail.
  5. Store in refrigerator for 2-3 weeks.

[/print_this]

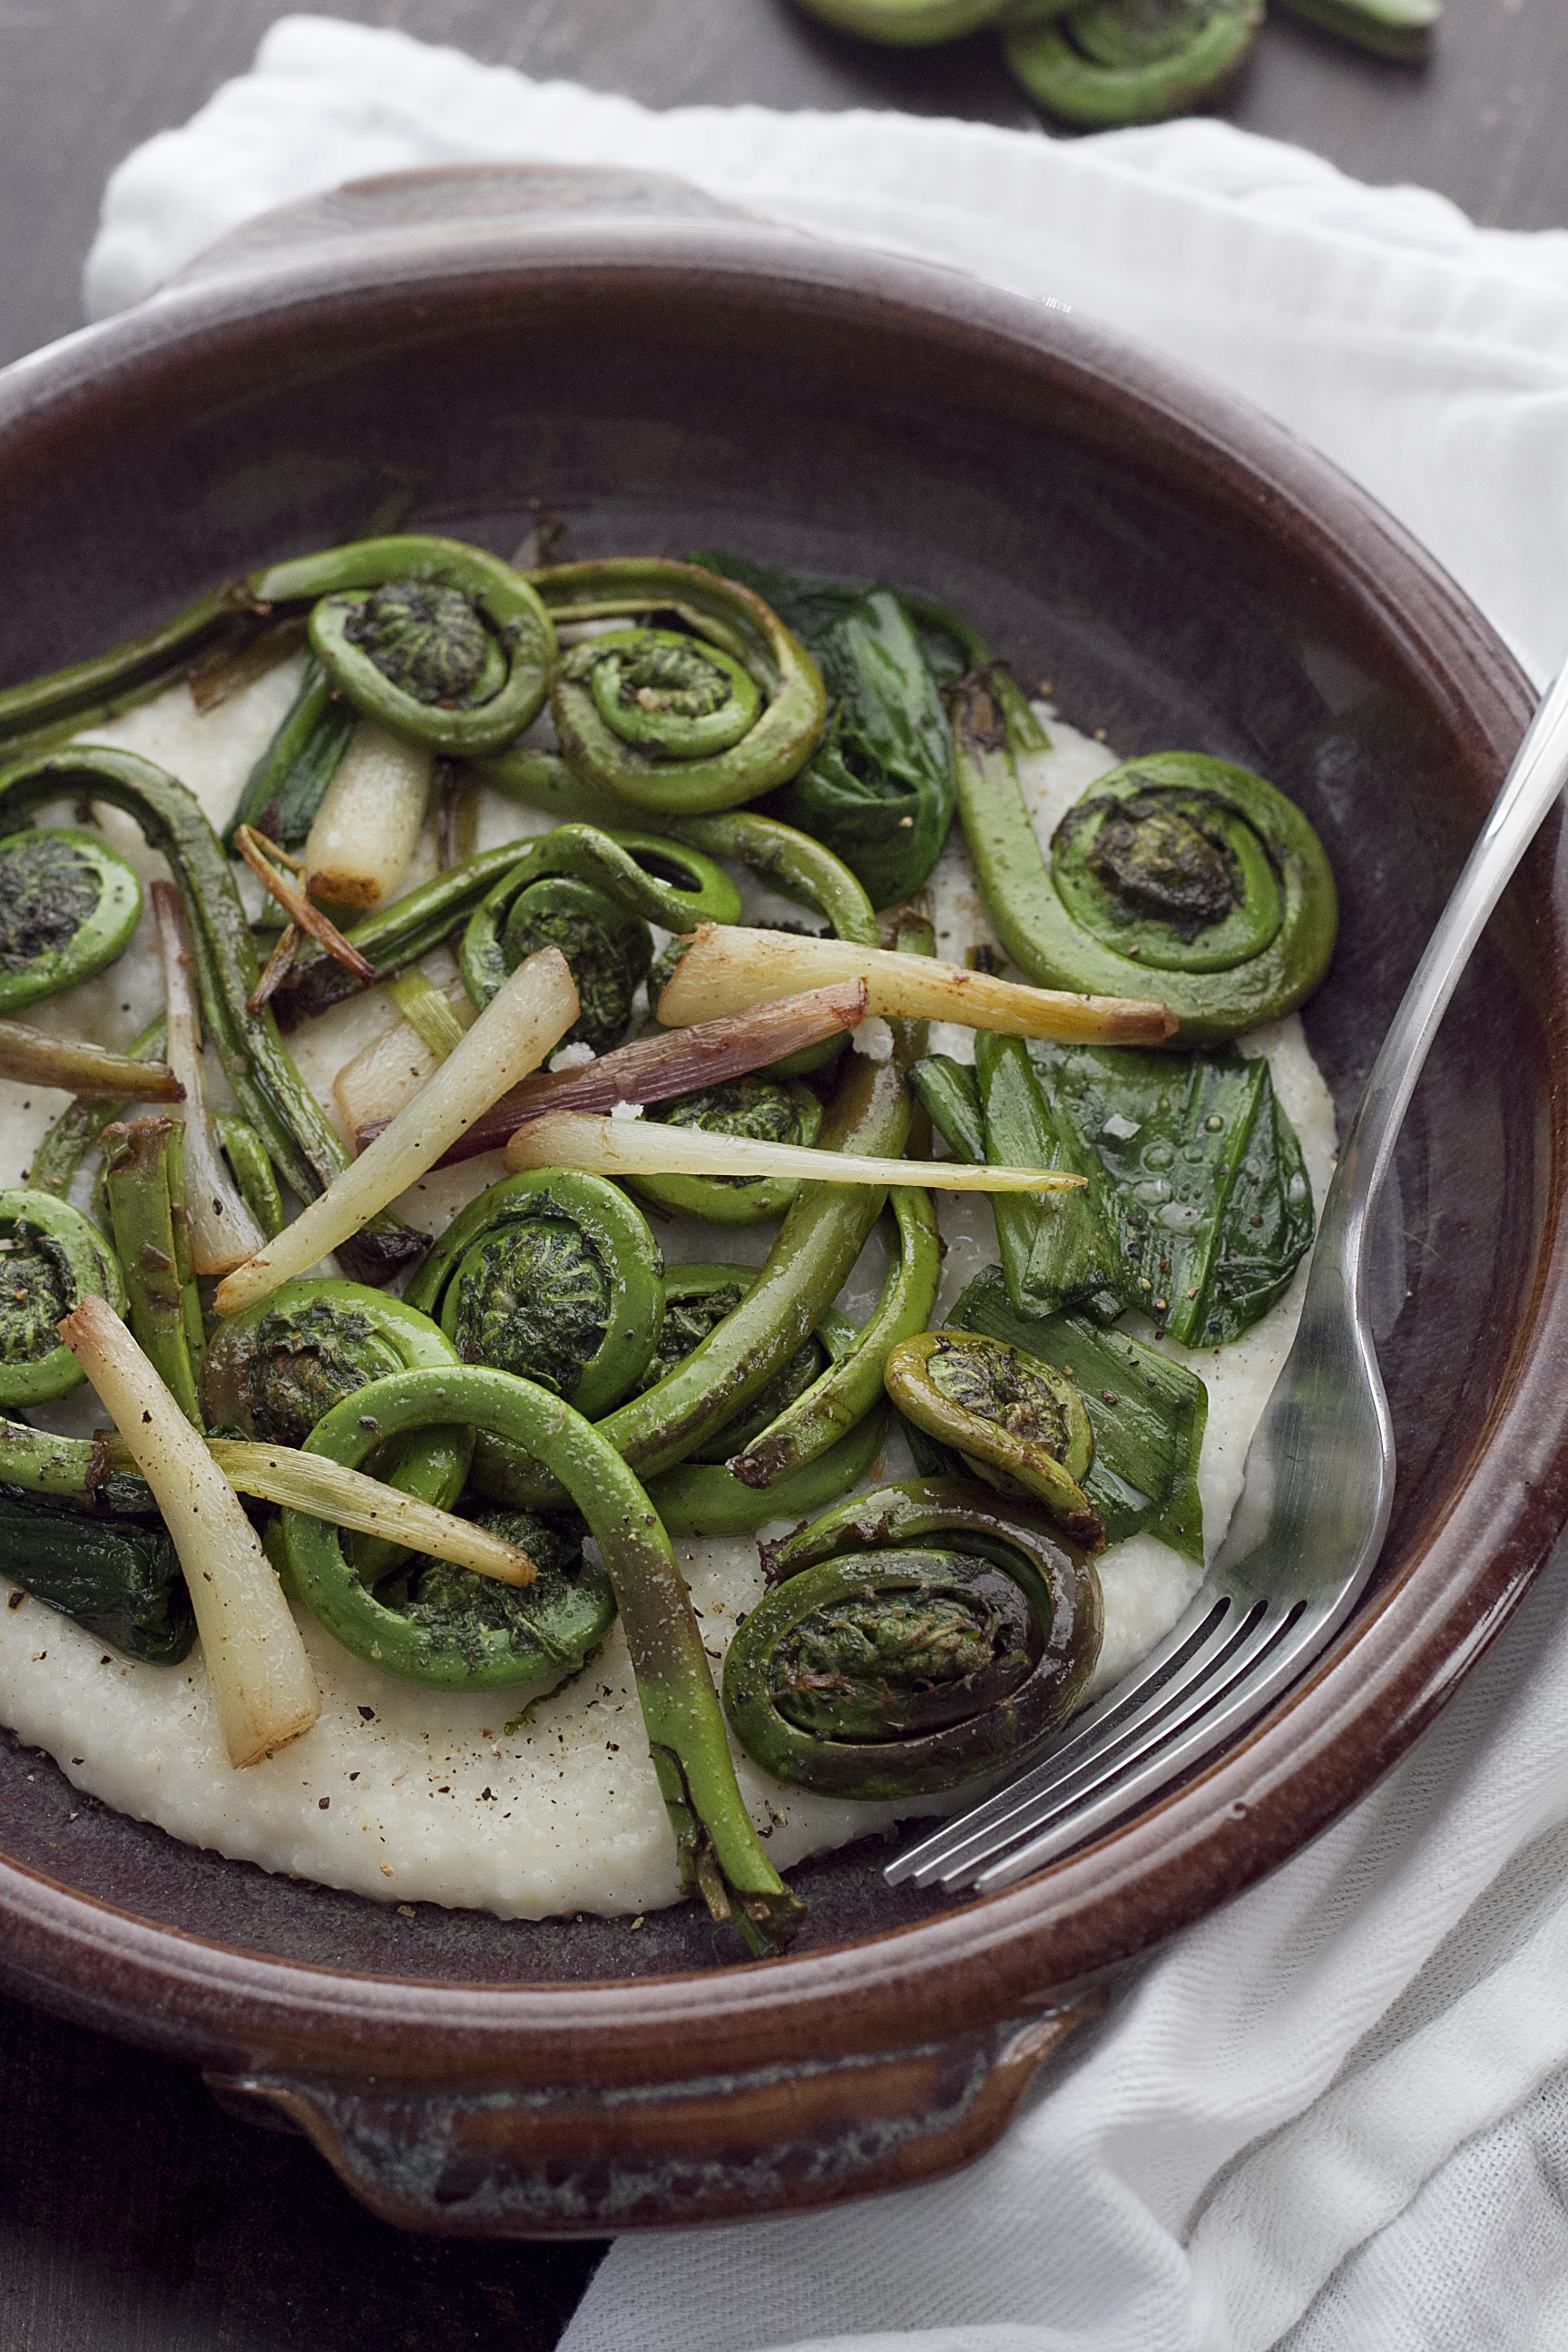
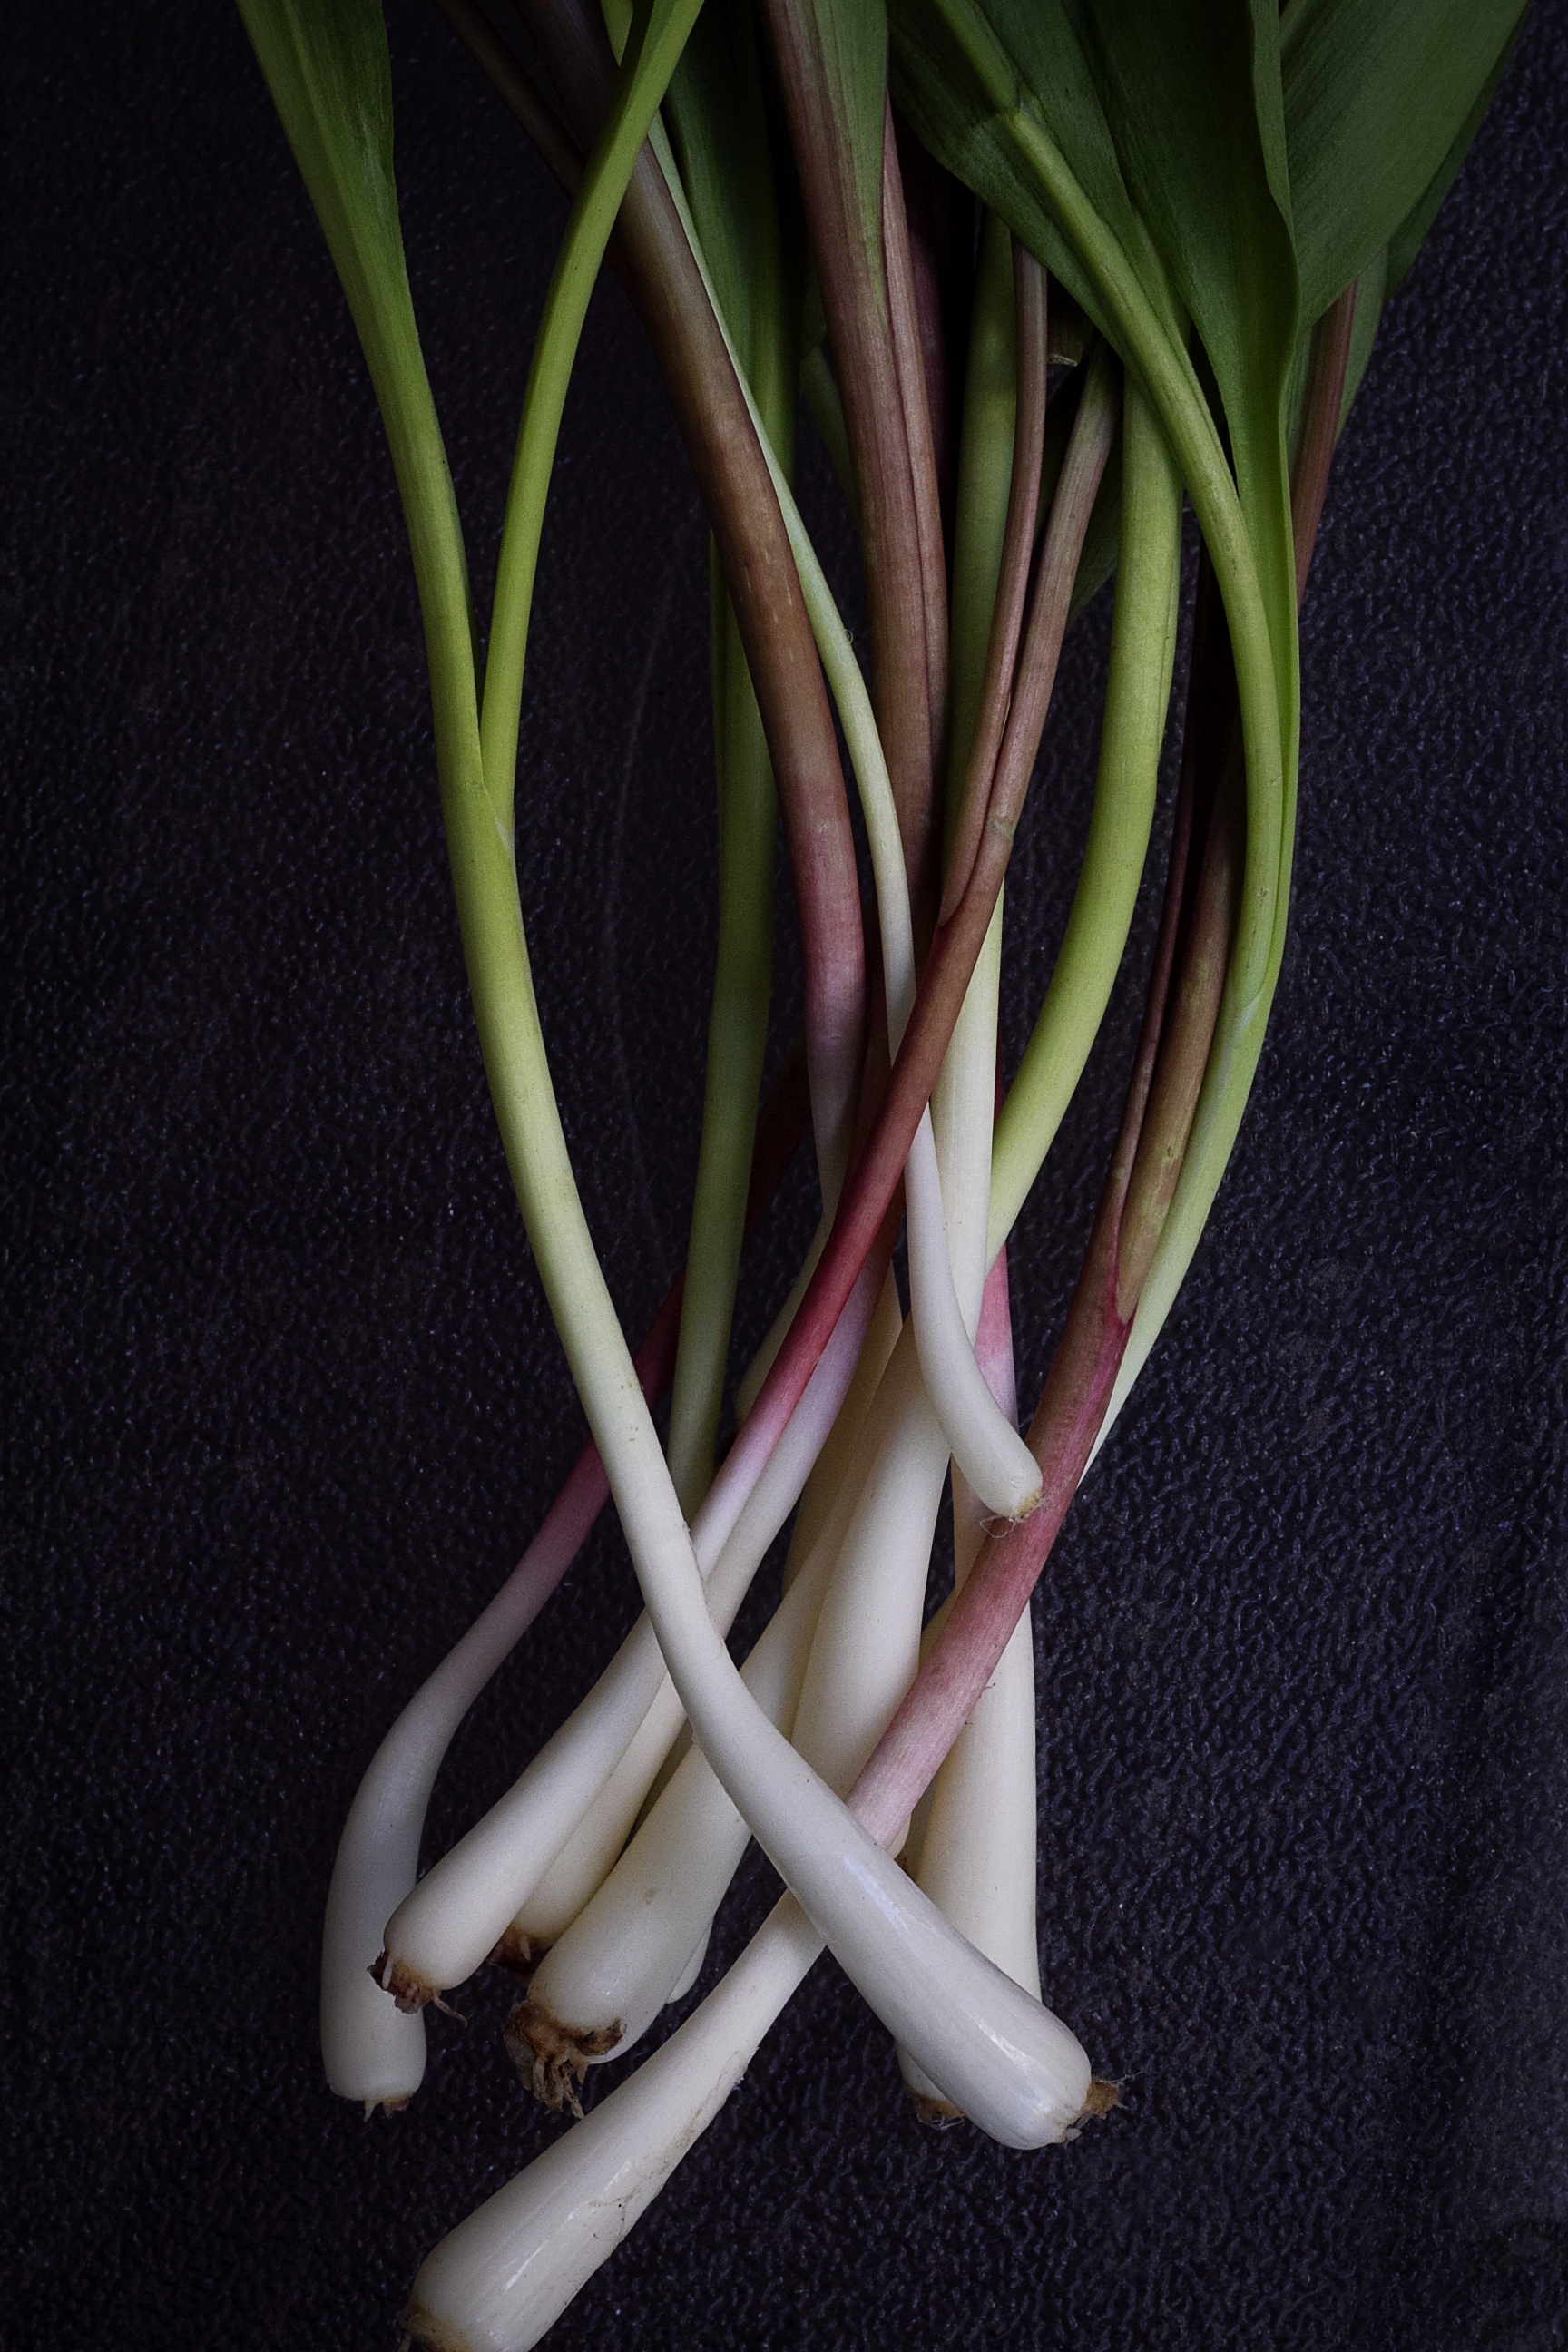
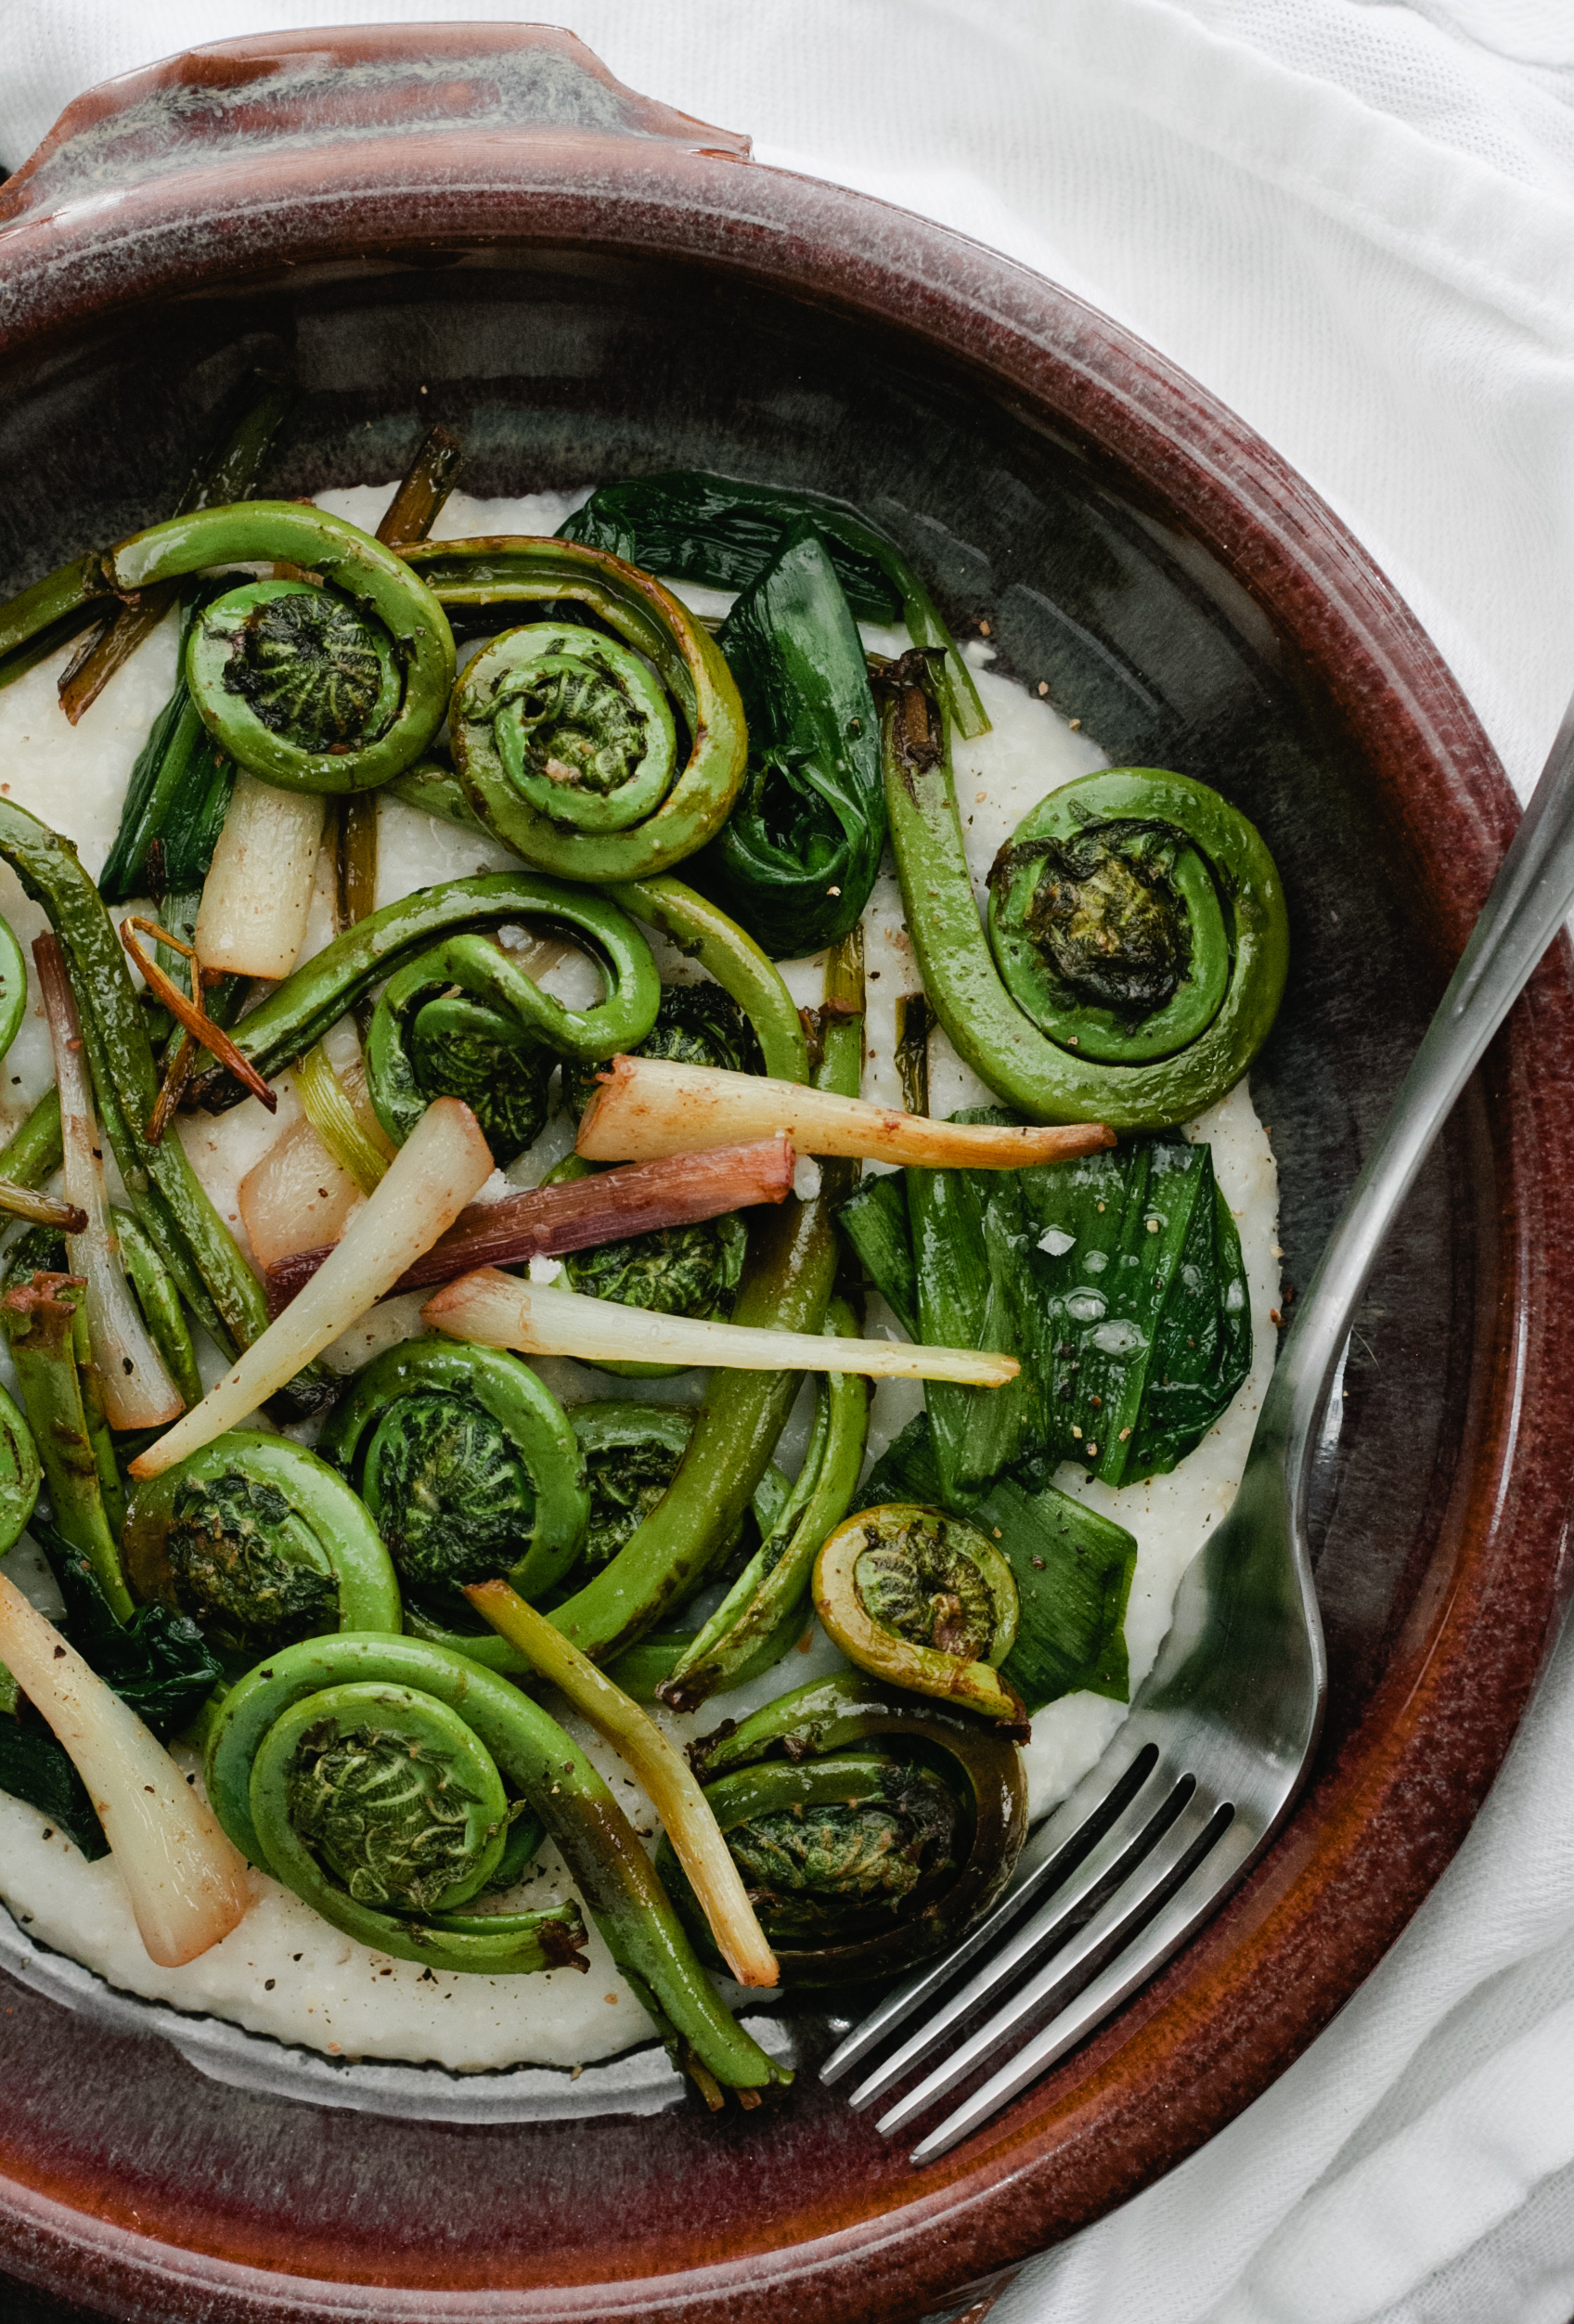
Cheese Grits with Fiddleheads and Ramps in Brown Butter

IMG_8655IMG_8104

I've been on the road a lot recently.  Well, not just the road, in the air as well.  It makes writing a bit challenging, so I usually get most of my posts down on my iPhone. Whenever I mention this to people, they always shake their heads... they can't imagine typing that much with their thumbs. I find it freeing though. Grammar and spelling become less important and I'm able to focus on my thoughts. I'm not a natural writer and often struggle to find the words to convey what I'm feeling. But this little keyboard allows me to get it out without over-thinking it.

As I mentioned, I've been traveling a lot these last few weeks. It started at the end of April with a whirlwind trip out to Los Angeles by way of New Jersey. After a long weekend out west for the Big Traveling Potluck, I returned to my parents house to help out as my mom recovered from an operation.  It was nice to be there... to be with my family and the daily routine of things, even though it was obviously a very hard time for my mother.

When I returned to Boston, things didn't slow down. I've been fortunate enough to work on some great projects that have kept me pretty busy.  There were a few slow days this last week where I got to create some recipes that have been stewing in my brain for a bit.  One was this bowl of grits topped with two of my favorite seasonal ingredients: fiddlehead ferns and ramps.  I kept the dish fairly rustic.  My goal was to create a comforting dinner for a rainy spring night that would stick to your ribs a little.  With a bit of brown butter and cheese mixed into the grits, I would call this one a huge success.

Now my thumbs are tired. I'm going to give them a little rest.

Enjoy!

Cheese Grits with Fiddleheads and RampsCheese Grits with Fiddleheads and Ramps3

Cheese Grits with Fiddleheads and Ramps in Brown Butter

Yields: 4 servings

Ingredients

1 cup quick cooking grits

6 oz. Gruyère cheese, shredded

1 tablespoon lemon zest

4 sprigs of thyme

1/2 lb fiddleheads, rinsed

1 large bunch of ramps, rinsed

1 stick unsalted butter, cut into cubes

Salt

Freshly Ground Black Pepper

       Directions

  1. Follow the directions on the packaging for cooking the grits.  Once they are done, stir in the shredded cheese and 3 tablespoons of butter lemon zest, and the leaves from the thyme sprigs. Season with a little salt and pepper
  2. Place the fiddleheads in a large microwave-safe bowl and add in an inch of water.  Cover and cook in the microwave at high heat for 4 minutes.  Remove from the microwave and drain water.
  3. Set a large pan on the stove over medium-high heat.  Add the remaining butter to the pan and let it melt, whisking frequently.  Once it starts to foam, add in the ramp bulbs (not the greens) and cook in the butter for a minute or two.  At this point, the butter will begin to brown and the ramps will get some color on them.  Add in the fiddleheads and the ramp greens and cook for another 2 minutes.  Season with salt and freshly ground pepper.  
  4. Transfer the grits to plates or bowls and top with fiddleheads and ramps.  Be sure to get as much of the butter on top of the dish.

[/print_this]

Strawberry Rhubarb Shrub

We drank a lot that Monday night.  More than we normally do.  More than we should have on any weekday, but, hell, we were doing it as a part of our mixology education.  The class was with Domingo-martin Barreres, the head bartender at Market by Jean-Georges and he had provided a number of recipes to try that night. Besides the six cocktails we were also given free reign to play with the ingredients purchased for the class. That led to another four or five beverages.  Oh, and we hadn't eaten dinner yet.

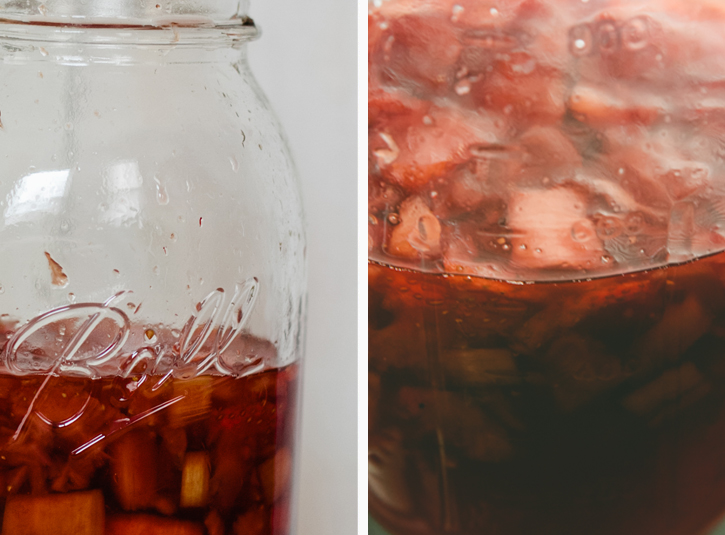
Two things I took away from that evening were 1) that cocktails incorporating egg whites are da bomb and 2) that shrubs are going to be used in every one of our cocktails this summer.  Shrubs, for those of you who aren't familiar with them, are vinegar based syrups.  These shrubs are made by mashing fresh fruit with sugar and then soaking the fruit in vinegar for a week.  The result is a slightly acidic, sweet, and fruity liquid that can be added to a cocktail to give it a little zip.  There are basic shrubs (mango, strawberry, apple), but you can also play around with them to create some fun pairings (mango sriracha, strawberry basil, apple ginger).  Here, though, I wanted to go seasonal, so I went straight for the classic strawberry-rhubarb combo.

Strawberry Rhubarb Shrub

(adapted from the recipe from Domingo-martin Barreres, the head bartender at Market by Jean-Georges)

Ingredients

.75 cups cut up fresh strawberries

.75 cups cut up rhubarb

1.5 cups white sugar

.75 cups balsamic vinegar

.75 cups cider vinegar

       Directions

  1. In a bowl, combine the cut up strawberries and rhubarb.  Sprinkle the sugar on top and then mix together until all the fruit is coated with sugar.  Let sit for 1 hour at room temperature.
  2. Mash the fruit with a wooden spoon or whatever tool you have around to break up the fruit.  Once you have done so, let sit for another hour.  At this point, a lot of the juices should have been released.
  3. After it has sat, mash the fruit again until it is completely mushy. Let sit, covered, at room temperature, for 24 hours.
  4. Add in the vinegar, stir, and let sit, covered, for one week, making sure to give it a good stir every day.
  5. After a week, strain the fruit from the mixture and save the liquid in a mason jar for up to 3 weeks.  Use in a cocktail (I've provided a recipe for a Strawberry Rhubarb Collins below)

Strawberry-Rhubarb Shrub Collins

(created by Domingo-martin Barreres, the head bartender at Market by Jean-Georges)

Yields: 1 drink

Ingredients

1.5 fl. oz. citron vodka

1.5 fl. oz. strawberry-rhubarb shrub

4 fl. oz. soda water

1 strawberry slice, optional

       Directions

  1. Add vodka and shrub to a collins glass
  2. Fill the glass with ice.
  3. Top with soda water and garnish with strawberry slice on the rim.

Caesar Salad with Avocado Dressing and A Cookbook Giveaway

It's hard to believe that it was almost a year ago that I met Gaby for the first time.  The introduction occurred at the Big Summer Potluck last July but it was in the car ride there that Lisa first mentioned her name.

"Who are you rooming with?" I asked her.

"Her name is Gaby, pronounced GOB-ee not GAB-ee. She's a blogger from LA."

"Do you know anything else about her?"

"Nope."

"Well, hopefully she's not a weirdo!"

Ok... I may have made up that last line. If I didn't say it out loud, I was definitely thinking it.  But as I got acquainted with Gaby, I quickly learned that she wasn't a wacko.  In fact, she was immediately welcoming and completely open and honest (even going so far as to express her love for colonics.  Sorry Gaby, I had to say it). We spent hours drinking wine together in the hotel room that night. Instant bonding.

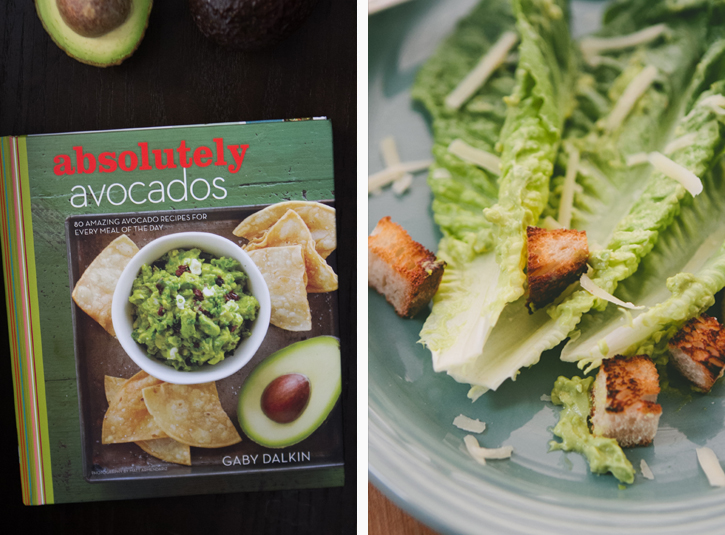
I also got to hear about the book she was working on about avocados. Now, I must admit that I rarely purchase cookbooks that focus on a single ingredient. But, hell, who doesn't like avocados? They're damn expensive here in the Northeast and this makes me even more jealous of the plentiful supply of beautiful (and cheap!!!) avocados that West Coasters get to enjoy.   Then again we do have $4 lobsters here, so I guess I can't complain too much.

Back to Gaby. Well, what else is there to say except that I adore her.  She's kind-hearted and incredibly talented and I'm honored to call her my friend.  We spent this last weekend together... she picked me up at LAX when I was there for The Big Traveling Potluck and rushed us off to her favorite restaurant for lunch, followed by a fun-filled car ride to the event. Let's just say that I almost peed myself because I was laughing so hard.

Anyway, the book is out and I recommend that everyone orders it right away... especially if they want to get it in time for Cinco de Mayo.  With that being said, Gaby and the publishers of Absolutely Avocados have graciously offered to do a giveaway of the book here!  Details on how to enter follow, but if you're anxious to get your hands on it, head on over to Amazon and buy a copy. Here are the details:

To enter this giveaway, leave a comment on this post telling us how you like to eat avocados (on their own, in a dish)?

Official Rules: No purchase necessary. Open to US residents only . Giveaway will end on May 6th 2013 at 12:00 pm EST. One winner with a valid entry will be selected at random using random.org. Winner will be notified by email and will have 48 hours to claim their prize or another winner will be selected.


Caesar Salad with Avocado Dressing

modified ever so slightly from Gaby Dalkin's Absolutely Avocados

makes about 1 1/2 cups

Ingredients

For the Dressing

1 Hass avocado

1/3 cup extra-virgin olive oil, plus more if needed

1/4 cup grated Parmesan cheese

2 tablespoons red wine vinegar

1 tablespoon fresh lemon juice

1 or 2 garlic cloves, peeled

3/4 teaspoon Worcestershire sauce

1/4 teaspoon coarse salt

1/4 teaspoon freshly ground black pepper

For the Salad

1 head Romaine lettuce, leaves washed and dried

Croutons

Parmesan cheese

Directions

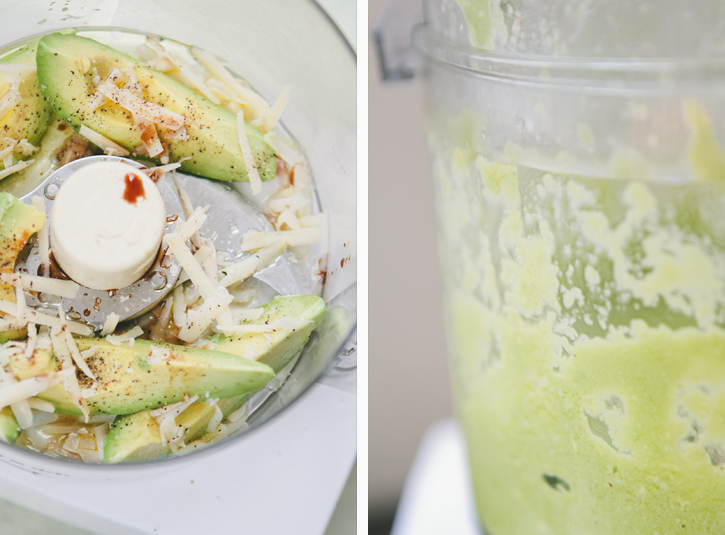
1. Cut the avocado in half lengthwise.  Remove the pit from the avocado and discard.  Remove the avocado from the skin and place the avocado flesh in a food processor bowl.

2. Add the olive oil, Parmesan, vinegar, lemon juice, garlic cloves, Worcestershire, salt, and pepper.  Pulse for 1 to 2 minutes, until smooth and creamy.  Adjust the salt and pepper if needed.

3. Use immediately, or refrigerate for up to 3 days.

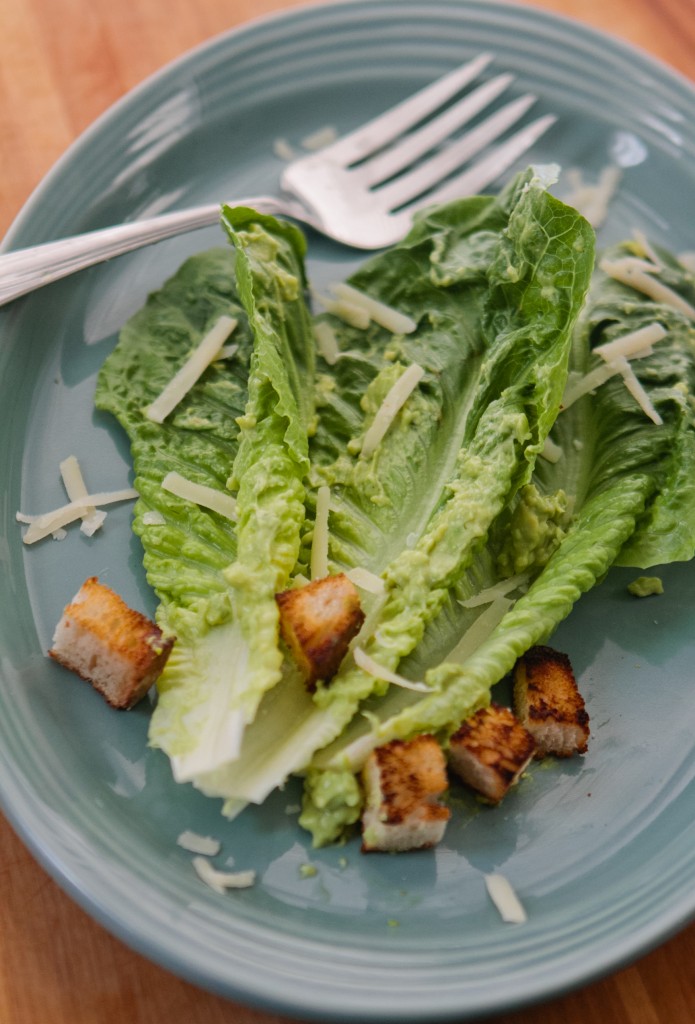
4. To assemble the salad, line a platter with Romaine lettuce.  Drizzle the dressing over the lettuce, top with croutons and sprinkle with additional Parmesan cheese.  Grind some fresh ground pepper over the salad.  Serve.

Sit Down By The Fire

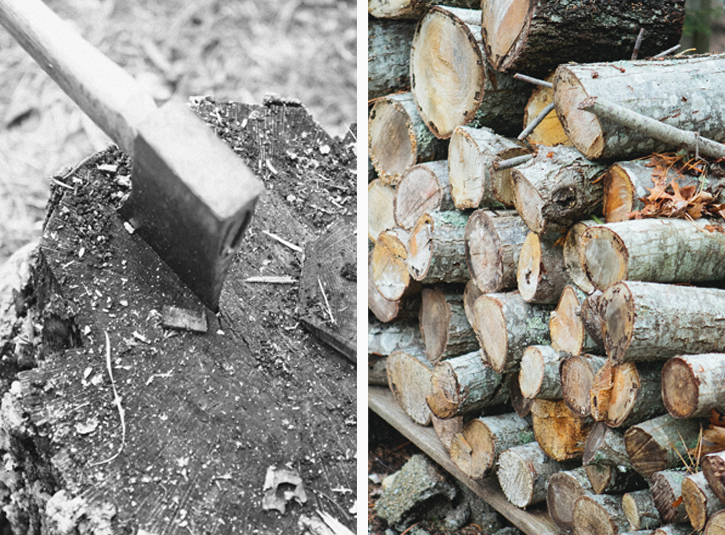
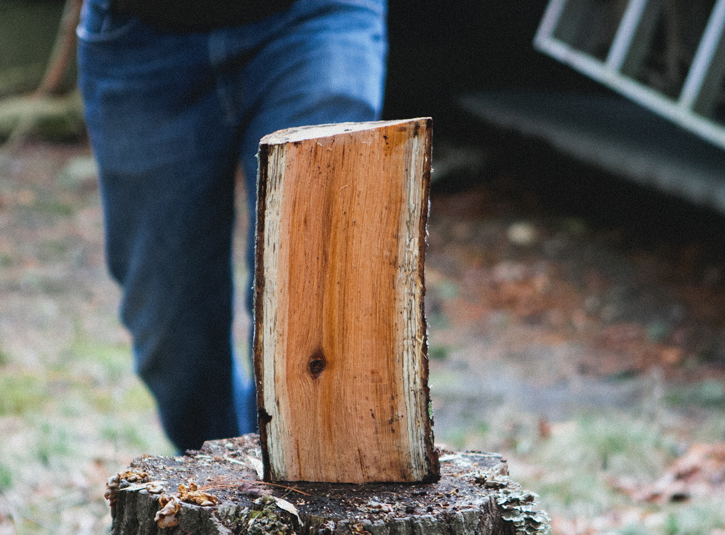
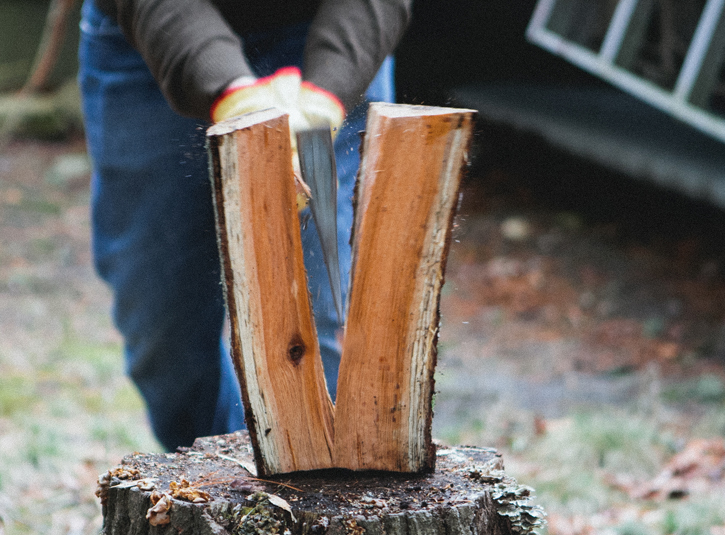
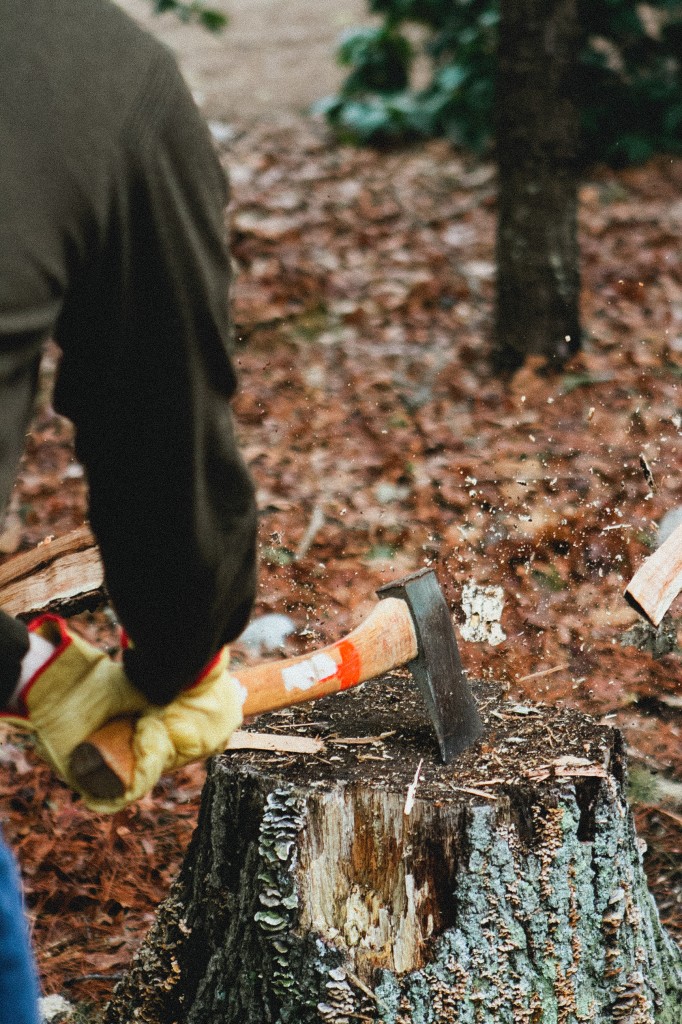
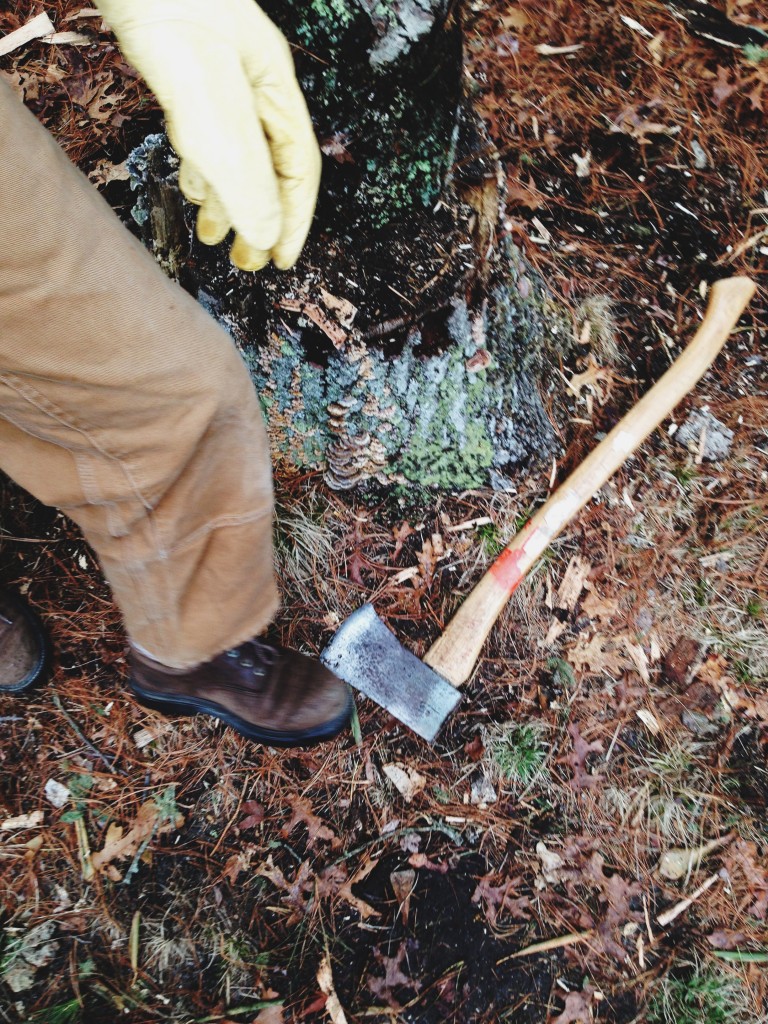
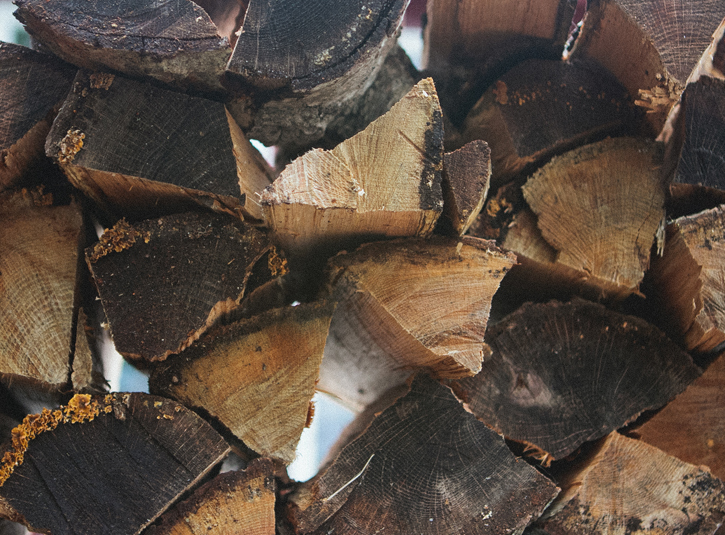
Opening the Cape house involves very little work.  We take the furniture outside, we wipe away some cobwebs and air out the rooms, which can get a bit musty during the six months we're away.  Since the house isn't insulated very well, we utilize the fireplace as much as possible. Eric and his brother Andy went out to chop some firewood. They were so proud of themselves and had a nice bonding moment.

Dill Pickles

I stepped into the kitchen after spending hours in front of the television.  I just couldn't take it anymore.  I needed a break.  From the fridge I pulled ingredients for dinner.  I hovered over the stove and stirred, staring into a pot of stew. My thoughts brought me back to where I was when the terrorist attacks on the World Trade Center occurred and the years it took before it felt normal to go into the City again.  I wondered if it'd be that way here in Boston; if I'd do all I could to avoid Copley Square so I wouldn't have to be reminded of what happened.  And would we see a change in people?  Maybe a bit more camaraderie and compassion?  Is it possible for us to take something out of this that will make our lives a little brighter?


Garlic Dill Pickles

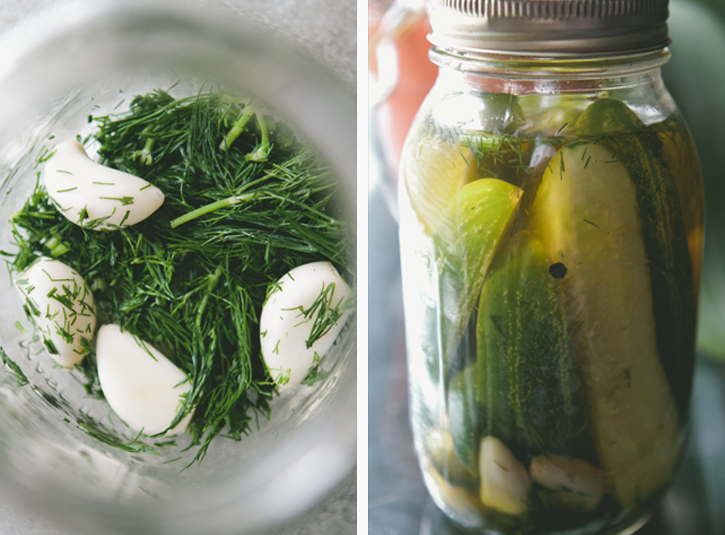
A craving for pickles led me to my favorite pickling expert, Marisa McClellan and her wonderful book (and blog of the same name) Food in Jars. I've adapted it slightly here.

Ingredients

8-10 (approx. 3 lbs) kirby cucumbers, rinse and dried 1 1/2 cups apple cider vinegar 1 1/2 cups filtered water 2 tablespoons pickling salt 6 garlic cloves, peeled and crushed fresh dill weed 2 teaspoons black peppercorns 1 teaspoon red chili flakes

Directions

1. Wash the jars in warm, soapy water.  To prepare shelf stable pickles, prepare a boiling water bath canner.  Put the canning jar lids into a small saucepan with 3 inches of water and set to a low simmer.

2. Remove blossom end of the cucumbers.  Cut into chips, spears or leave whole, depending on your preference.

3. In a saucepan, combine the vinegar, water and salt and bring to a boil.

4. Equally divide garlic cloves, a big hunk of dill weed, black peppercorns and red chili flakes between the jars.  Add the the cucumbers to the jars and pack as tightly as possible without crushing them.

5. Carefully, pour the brine into the jars, leaving 1/4 inch of room from the rim of the jar.

6. Remove air bubbles from the jars by gently tapping them.

7. Wipe the rims of the jars and apply lids and bands (don't screw them on too tightly).

8. If making shelf stable pickles, lower jars into your processing pot. When water returns to a boil, set a timer for 10 minutes.

9. When the 10 minutes is up, remove jars from canning pot and allow them to cool. When jars are cool enough to handle, check seals.

10. If you choose not to process your jars, let them cool before putting them into the refrigerator. Do note that your jars may seal during the cooling process. However, without the boiling water bath process, that doesn't mean they're shelf stable. Refrigerate them.

11. Let pickles rest for at least one week before eating.

Steamed Asparagus with Fried Eggs and Pecorino

News: Before we get into the actual post and recipe, I wanted to share that The Boys Club, the cocktail blog that I am the Managing Editor for, has been nominated in the Best Cocktail Blog category in the 2013 Saveur Food Blog Awards.  We are so thrilled and proud of all of our incredibly talented contributors.  Voting is taking place over on the Saveur site until midnight on Friday, April 19th.

While flipping through the latest Bon Appetit I was struck by a page filled with simple, single-line recipes utilizing asparagus.  These dishes, the ones that require little fuss but magically transform into beautiful, rustic plates, are why I fell in love with cooking.  This recipe for steamed asparagus topped with a fried egg and shaved parmesan (modified here by switching it out with pecorino) stood out and I immediately marked it. I sat down and treated this as a light lunch, paired with a glass of wine (nothing wrong with a little lunchtime vino).  Even though we've had some fickle weather, a meal like this reminds me of how much I look forward to summer afternoons.  The way this year has been flying by, I expect them to be here before I know it.

[print_this]

Steamed Asparagus with Fried Egg and Pecorino

Ingredients

Asparagus, washed, trimmed and steamed

Egg

Pecorino cheese, shaved

Salt and Black Pepper

Directions

Drizzle steamed asparagus with olive oil. Top with a sunny-side-up egg and shaved Pecorino; season with salt and pepper.

Tags: Vegetarian, Side Dish

[/print_this]

A Chat with Food Stylist Molly Shuster

A few weeks ago, food stylist Molly Shuster and I spent an afternoon together working on a test shoot.  We had a blast, playing around with a variety of burgers and sandwiches.  Watching Molly build these dishes, I was struck by how much thought went into each one.  It then occurred to me that it'd be fun to have Molly talk a bit about what it's like to be a food stylist and give us a little insight into the craft.

To see more of Molly's work, take a look at her portfolio.

Cheeseburger with Avocado - Photographer: Brian Samuels, Styling: Molly Shuster

These two burgers obviously have a very different feel.  What was your goal in creating these two different looks?

I think at it's best, what we do is inspire people to cook and get in the kitchen. I always love getting people to think about food and their relationship to it. So whenever I work on something I always think, what makes this beautiful? What about this is delicious? Sometimes you go into a shot and have a clear idea in your head of what something will be or what it will look like. Other times it's something that has to be found...sometimes that's easier than others!

As for the different feel of each burger, sometimes it's nice for things to be clean and structured and classic, other times it's nice to be loose and messy and a bit more familiar. And this often depends on the type of shoot you're doing...whether it be editorial, ad or commercial- they'll be certain objectives for each shoot and that often dictates the direction the food takes.

Perfectly Grilled Burger - Photographer: Brian Samuels, Styling: Molly Shuster

What is your working relationship like with photographers?  Do you find it to be a collaborative process or does it vary from project to project?

Yes, absolutely, it's always a collaboration. Of course, that's one of the interesting things about this job- the team is never the same! You're always working with different photographers, crews and clients, and everyone has their own style and method. So it definitely varies shoot to shoot.

But that's also one of the great things about this job. You meet so many lovely, talented and creative people.

Any other fun tips/tricks/suggestions you want to throw out to food bloggers or aspiring stylists?

I'd say keep at it! Keep cooking. Keep writing. Follow your favorite food magazines and cookbook authors. Always seek out new foods and flavors. Cook the food that inspires you. Always be willing to try something new.

And if you're interested in styling- assist! There is no better way to gain experience than working for established stylists. I have learned so much and have a huge amount of respect for all of the women I've worked for. They've all taught me a tremendous amount and I feel hugely indebted to them.

Caprese Sandwich with Heirloom Tomatoes - Photographer: Brian Samuels, Styling: Molly Shuster


Double Chocolate Zucchini Bread

Let's call this "bread" what it really is.  It's a cake... a chocolatey cake that I've shaped into a loaf and thrown some zucchini into just so I feel a little bit better about eating it at all hours of the day.  Sometimes chocolate is what we crave.  Don't resist it.  Give in.  Make one for yourself and give the other to a friend or tuck it in the freezer for the next time you're hit with a craving.  And don't feel guilty when you slice into it for a quick breakfast... or a mid-morning snack... or right before bed.  We all deserve a little chocolate every now and then.


Double Chocolate Zucchini Bread

Yields 2 loaves

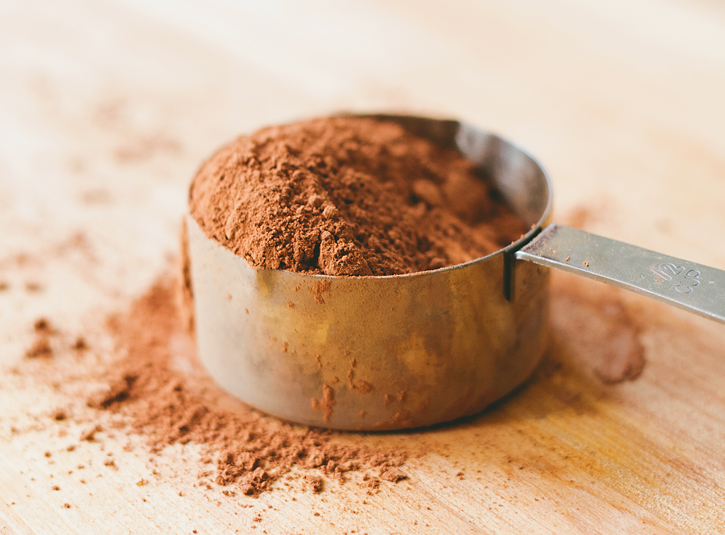
Ingredients 4 cups grated zucchini 3 eggs 1 cup olive oil 2 teaspoon vanilla extract 1 1/2 cups sugar 3 cups all-purpose flour 1/2 cup unsweetened, natural (not Dutched) cocoa powder 2 teaspoons cinnamon 2 teaspoons baking soda 1 teaspoon salt 1/2 cup dark chocolate chips

Directions

1. Preheat the oven to 350 degrees. Grease two loaf pans with butter or baking spray.

2. In a bowl, whisk together the eggs, olive oil and vanilla.

3. In a separate bowl, whisk together the dry ingredients.

4. Using a wooden spoon, combine half of the dry ingredients with the wet ingredients.  Repeat with the remainder of the dry ingredients.  Fold in the zucchini and chocolate chips.

5. Transfer half the batter into each of the loaf pans.  Smooth out with a spatula.

6. Bake for 50 minutes or until a toothpick comes out clean when inserted into the center of the bread.

Garlicky Collard Greens


There have been lots of things happening here on my end, but none of it is remotely related to these recipes. So, I've been a little late in sharing.  The big news of the moment is that I'm an uncle... again. Bryn Scarlett arrived on the first day of spring, though it was a snowy one and not very spring-like.  Hopefully her arrival means that warmer and sunnier days are on their way.  What it definitely means is that I will have another little child to run around with, to tickle and hug, to feed junk food, and to teach how to cook.  I can't wait to snuggle with her and soothe her when she cries.  I'll sing to her as she falls asleep in my arms.  And when she poops, I will pass her off to her mother or father.  Oh, I just love being an uncle!

And now on to the collards.  Yeah... I'm not sure where to go with this.  There's not really a good way to transition. This came out of desperation... we were either going to cook with them or they were just going to wilt away in our produce bin.  Collard greens often get neglected in our house. I don't know what it is about them, but I've never really been a fan.  I do know what the problem is actually... I haven't cooked them properly.  In the past, I've thrown them into dishes without much thought.  They come out tough and tasteless.  But I went in wanting to give my all.

Here's a great example of how when you put a little thought and care in how you treat an ingredient, you can come out with a pretty stellar dish.  The mixture of garlic and spice make for a lively side.  And, hey, I've learned that if you blanch the greens, they come out tender.  Sadly, I'm just figuring that out now.  After all this time.  Better late than never, right?


Garlicky Collard Greens

Ingredients

3 bunches  collard greens, washed, stems removed, and cut into 1 inch strips

1/4 cup olive oil

4 garlic cloves, sliced thinly

Salt and pepper

Red pepper flakes, optional

2 cups cooked rice, optional

Directions

1. Bring 1 quart of salted water to a boil in a pot.  Add the collard greens and cook for 10 minutes, stirring occasionally.  Drain greens in a colander.

2. Heat the olive oil in a large sauté pan on medium-high heat.  Add the garlic and cook for a minute, making sure to stir it continuously.

3. Add the collard greens, season with salt and pepper, and cook for an additional 3 minutes, or until the greens have wilted.

4. Transfer to a platter and season with red pepper flakes.  Serve with rice.


The Greyhound

A few weeks ago, Eric and I took my dad to Drink, a very trendy Boston bar where the mixologists create libations based on your desired flavor profile.  There's no menu available, so they ask what kind of liquor you like or if there's a specific cocktail you're fond of.  It's also common for patrons to tell the bartender what mood they're in... or what mood they'd like to be in.  See... totally trendy. But, you know what, they always nail the drinks.  Like, spot on.  You end up leaving with a new respect for the craft of mixing cocktails.

I think it was a fun experience for my father, who enjoys scotch and beer and wine, but hasn't really dabbled with cocktails.  With a little guidance from us during our visits home, he's starting to learn a bit more about creating them.  He especially likes drinks with citrus and bourbon.  On our night out, we had the bartenders whip up versions of the Brown Derby (bourbon, grapefruit, honey syrup) and with each sip, his eyes lit up.  We sent him home with a few recipes... now he has to try them on his own.

Eric and I have been working on a lot of grapefruit cocktails (we're a little obsessed actually).  I've done bourbon, gin, vodka, tequila... all of them work in their own way.  This is my take on the Greyhound.  I've made a few modifications from the original recipe.  I've seen many that call for vodka over gin and I just prefer the herbaceousness gin lends to a citrus cocktail.  To create depth, I've added in a few dashes of bitters, which brings in some spice, and a squeeze of lime to give it a zip.  These go down rather easily, which is never a bad thing for a cocktail. Just beware.

[print_this]

The Greyhound

makes 1 drink

Ingredients

4 oz fresh grapefruit juice

2 oz gin

.5 oz simple syrup

Angostura bitters

1 lime wedge

Ice

Directions

1. Pour the grapefruit juice, gin, simple syrup and 2 dashes of bitters into a cocktail shaker with three ice cubes.  Squeeze in the lime juice.  Shake until chilled, about 10 seconds.

2. Add ice to a rocks glass and pour the drink over it.  

Tags: Beverages

[/print_this]